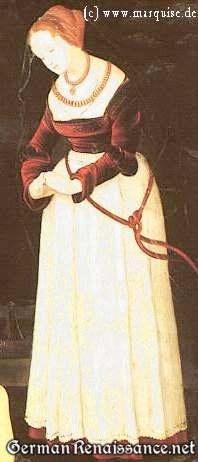
Tisbe by Hans Baldung Grien, 1530
Drawn thread work likely began in the 16th century and was popular in Italy, Germany, Sweden, and England. I discovered it while researching pleated aprons and I theorize that some German aprons utilized drawn thread techniques based on imagery. Drawn thread work can be seen in a simple form on the 1567 Nils Sture shirt (in the Cathedral Museum) and in a much more elaborate forms beginning at the tail end of the 16th century. Drawn thread work is also sometimes referred to as cutwork, pulled thread work, Punto Tirato, or whitework. The defining technique of drawn thread work is that some warp and or weft threads are drawn (removed) from the fabric.
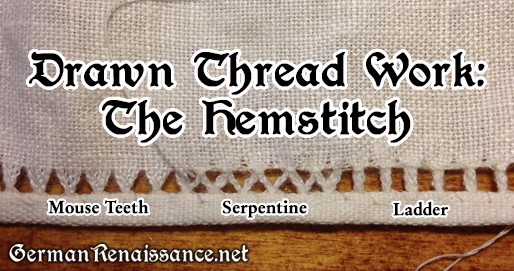
The simplest form of drawn thread work is the hemstitch, which is both pretty and practical. The hemstitch allows you to hem at the same time you decorate the edges of your fabric, which makes it so much more fun than a standard hem. Here’s how you do it:
1. Prepare your linen by squaring up your edge(s) evenly on the grain. This is typically done by drawing one thread very near to the edge and then cutting off the excess (here’s my tutorial on how to square linen). In this tutorial, the warp threads are the horizontal threads and the weft threads are the vertical threads on the fabric shown in the photos.

Squared linen
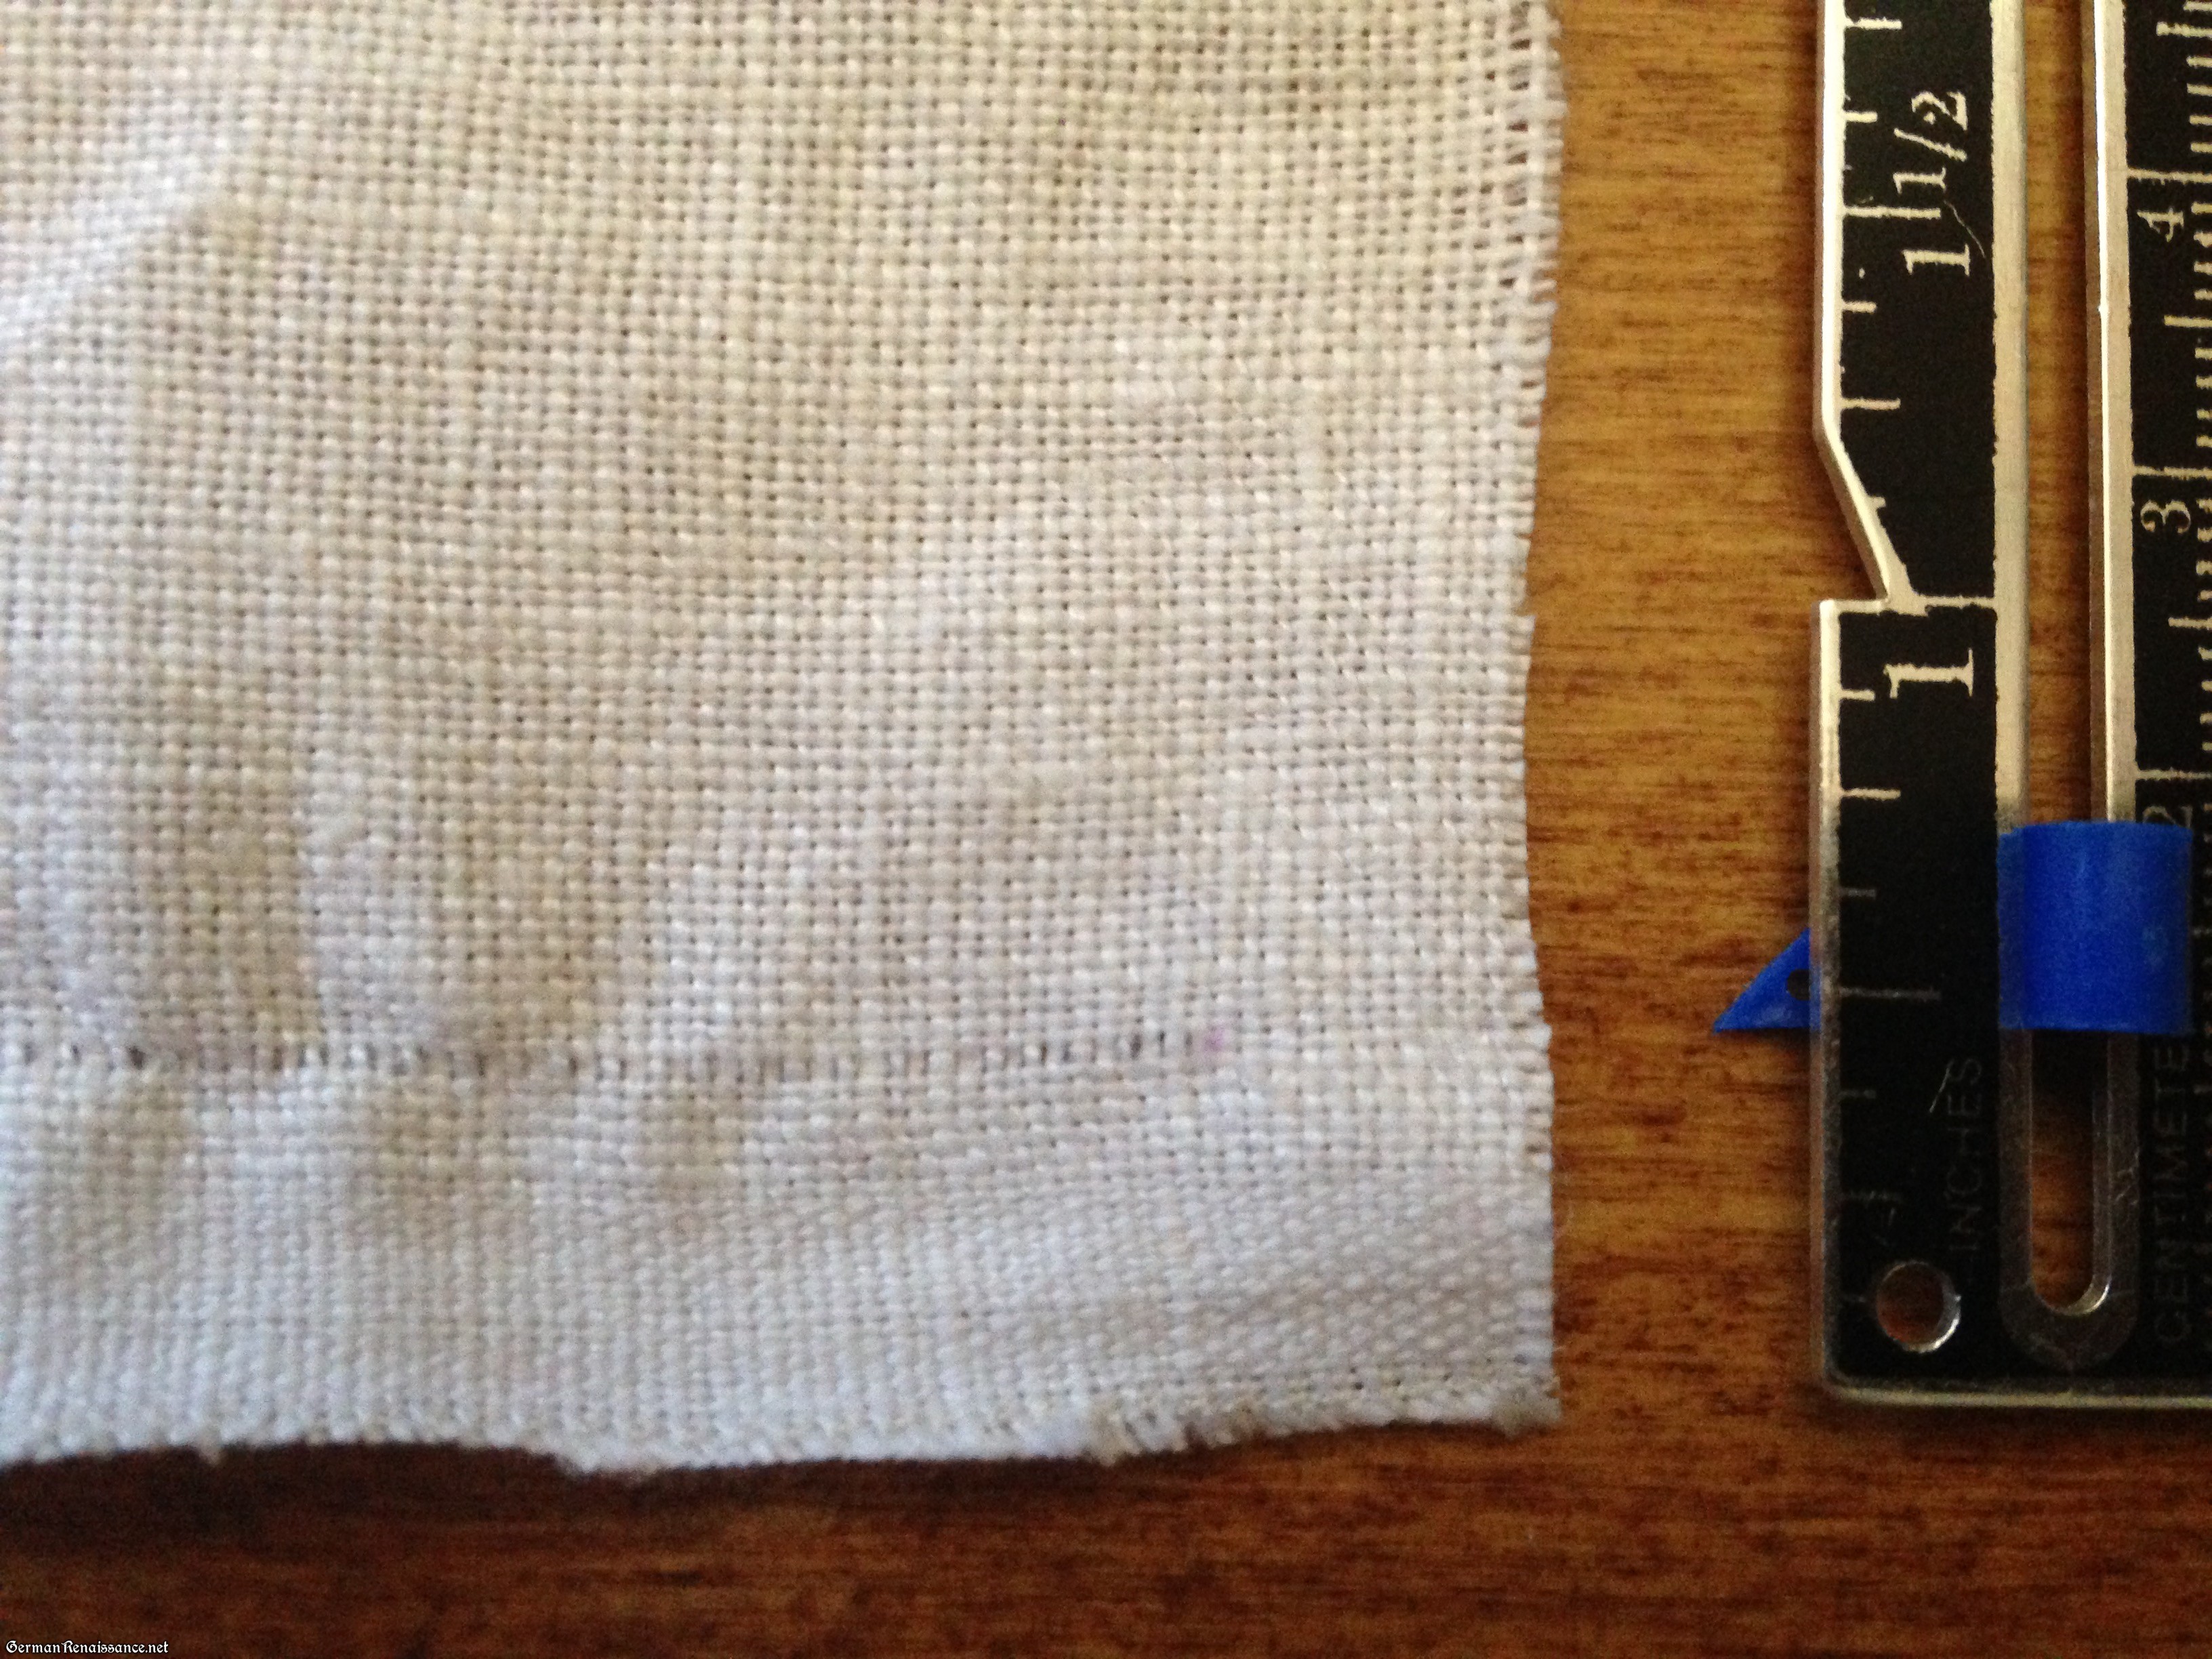
2. Calculate the width of your hem (1/8″ or 1/4″ is typical), multiple that number by 3, and mark that point at the corner of one edge. For example, if I want to make a 1/8″ hem, I measure 3/8″ from both edges at one corner and mark it clearly.

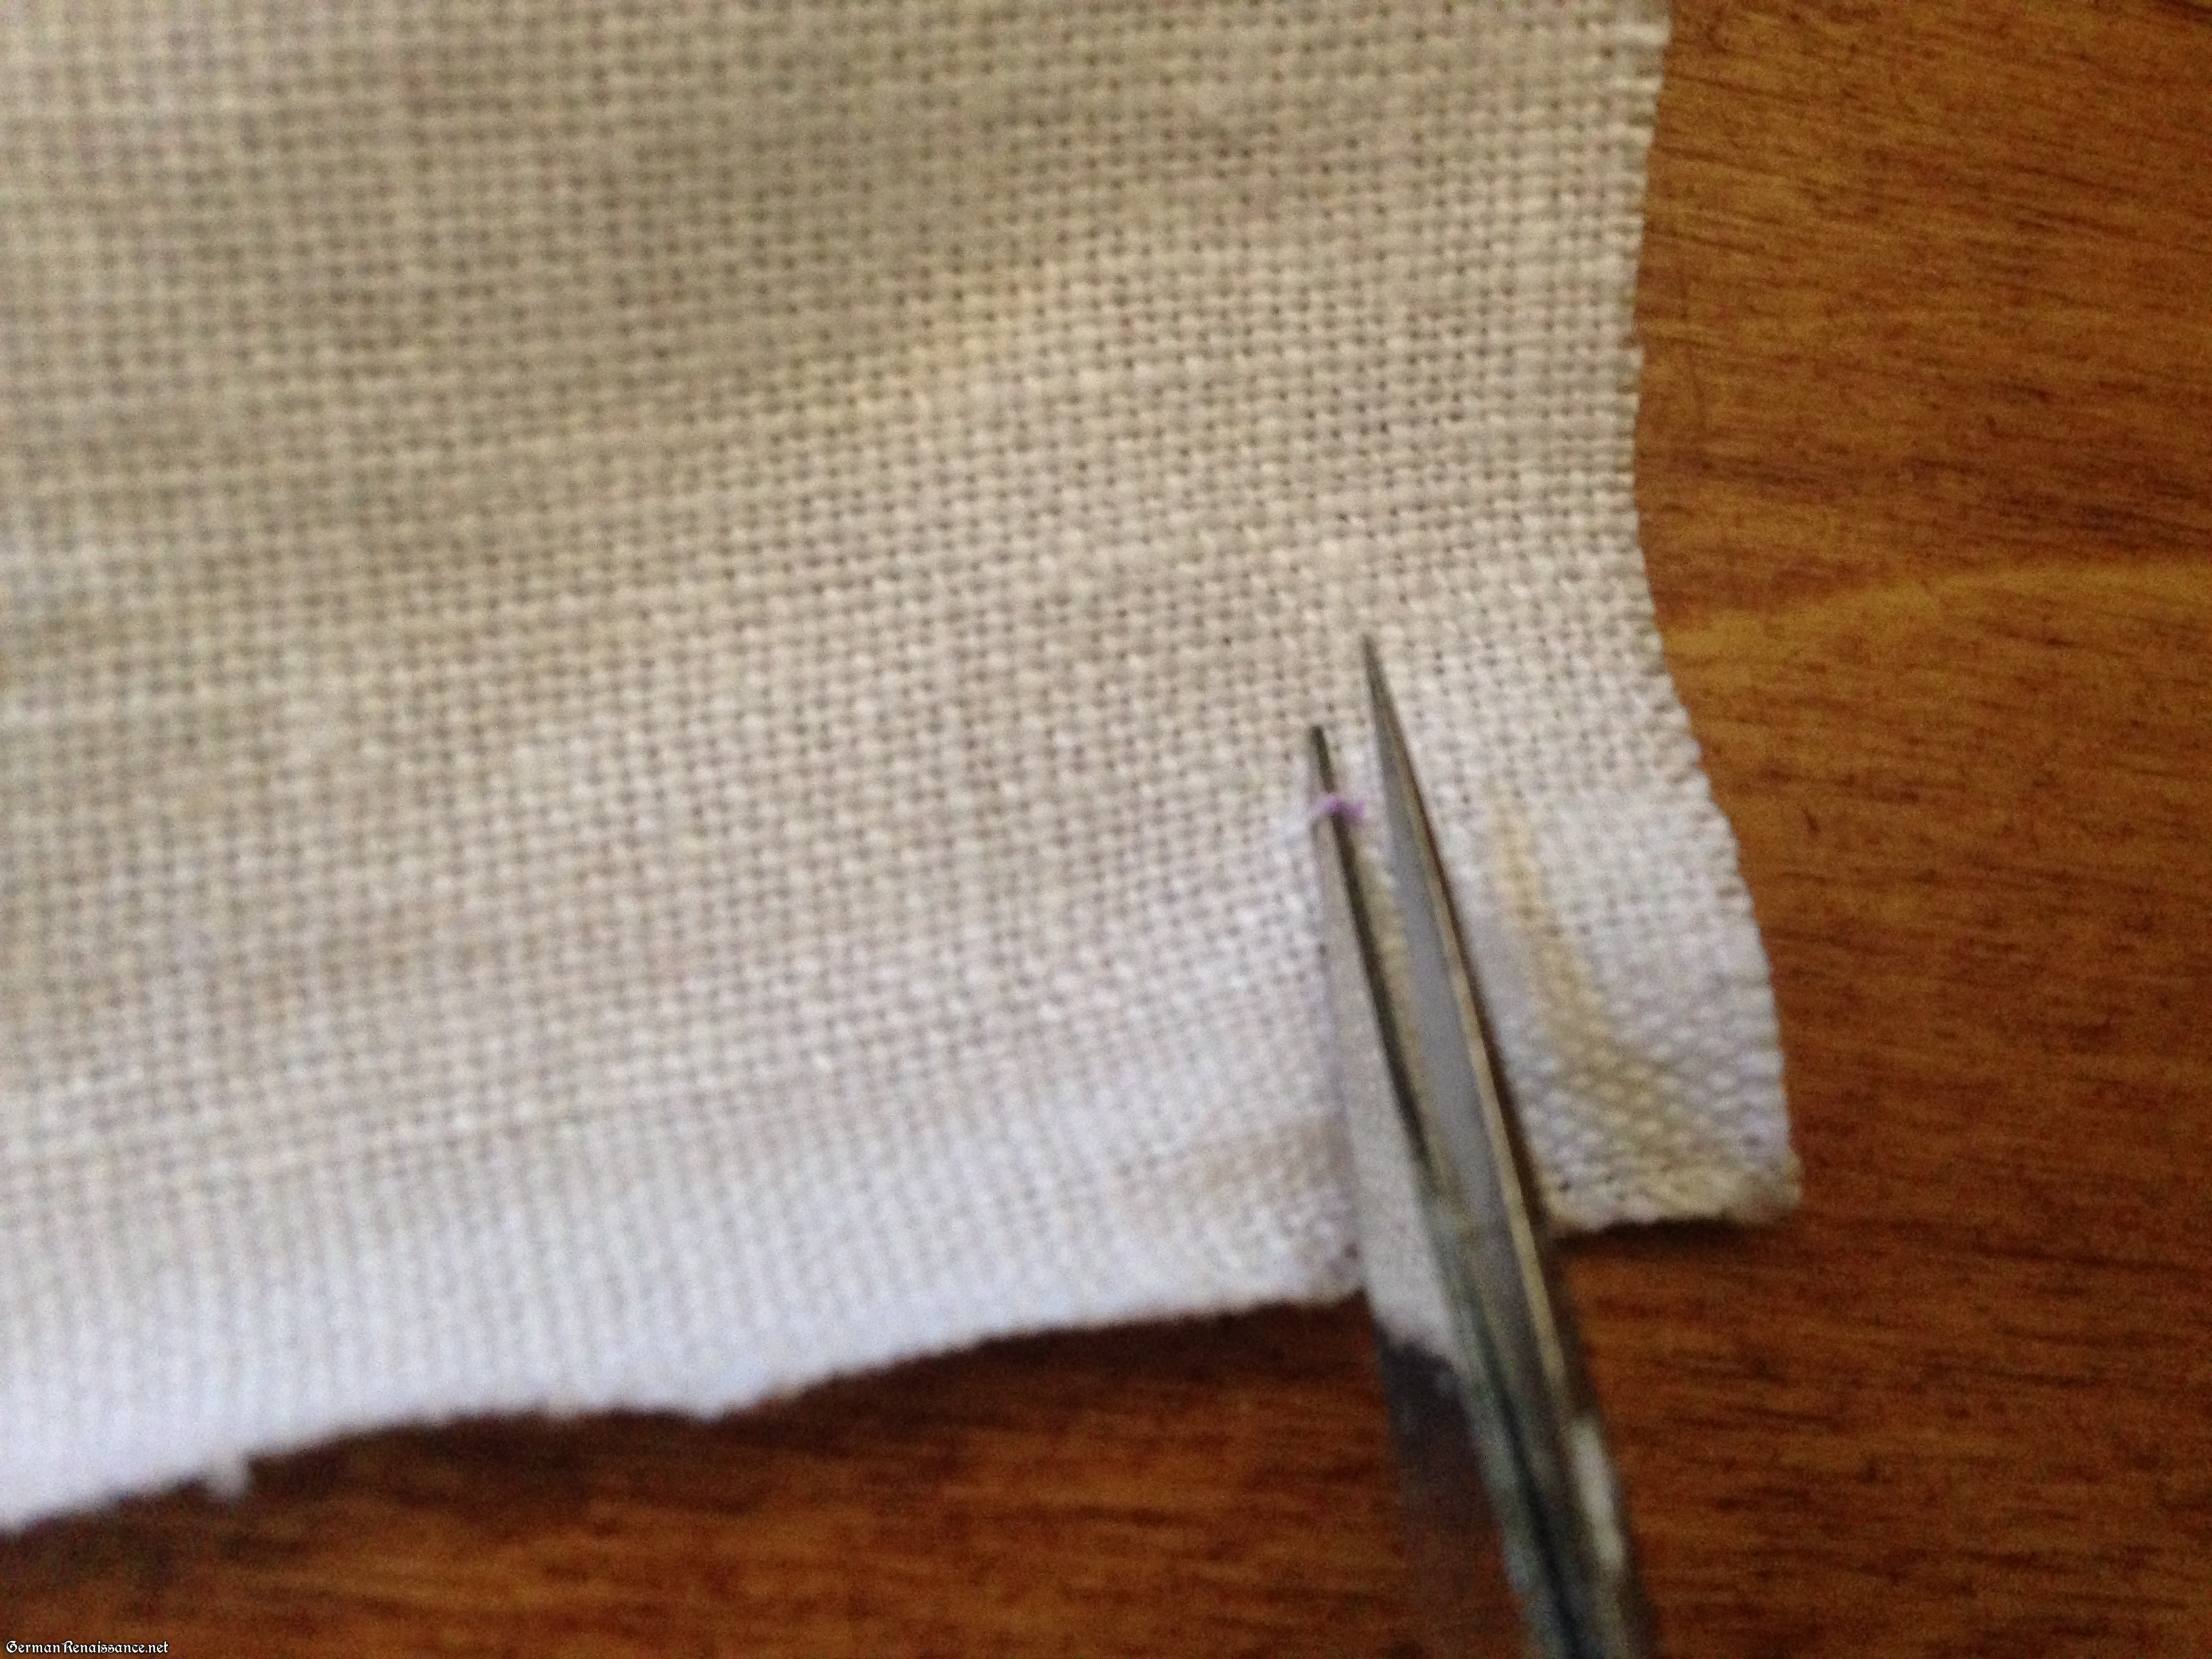
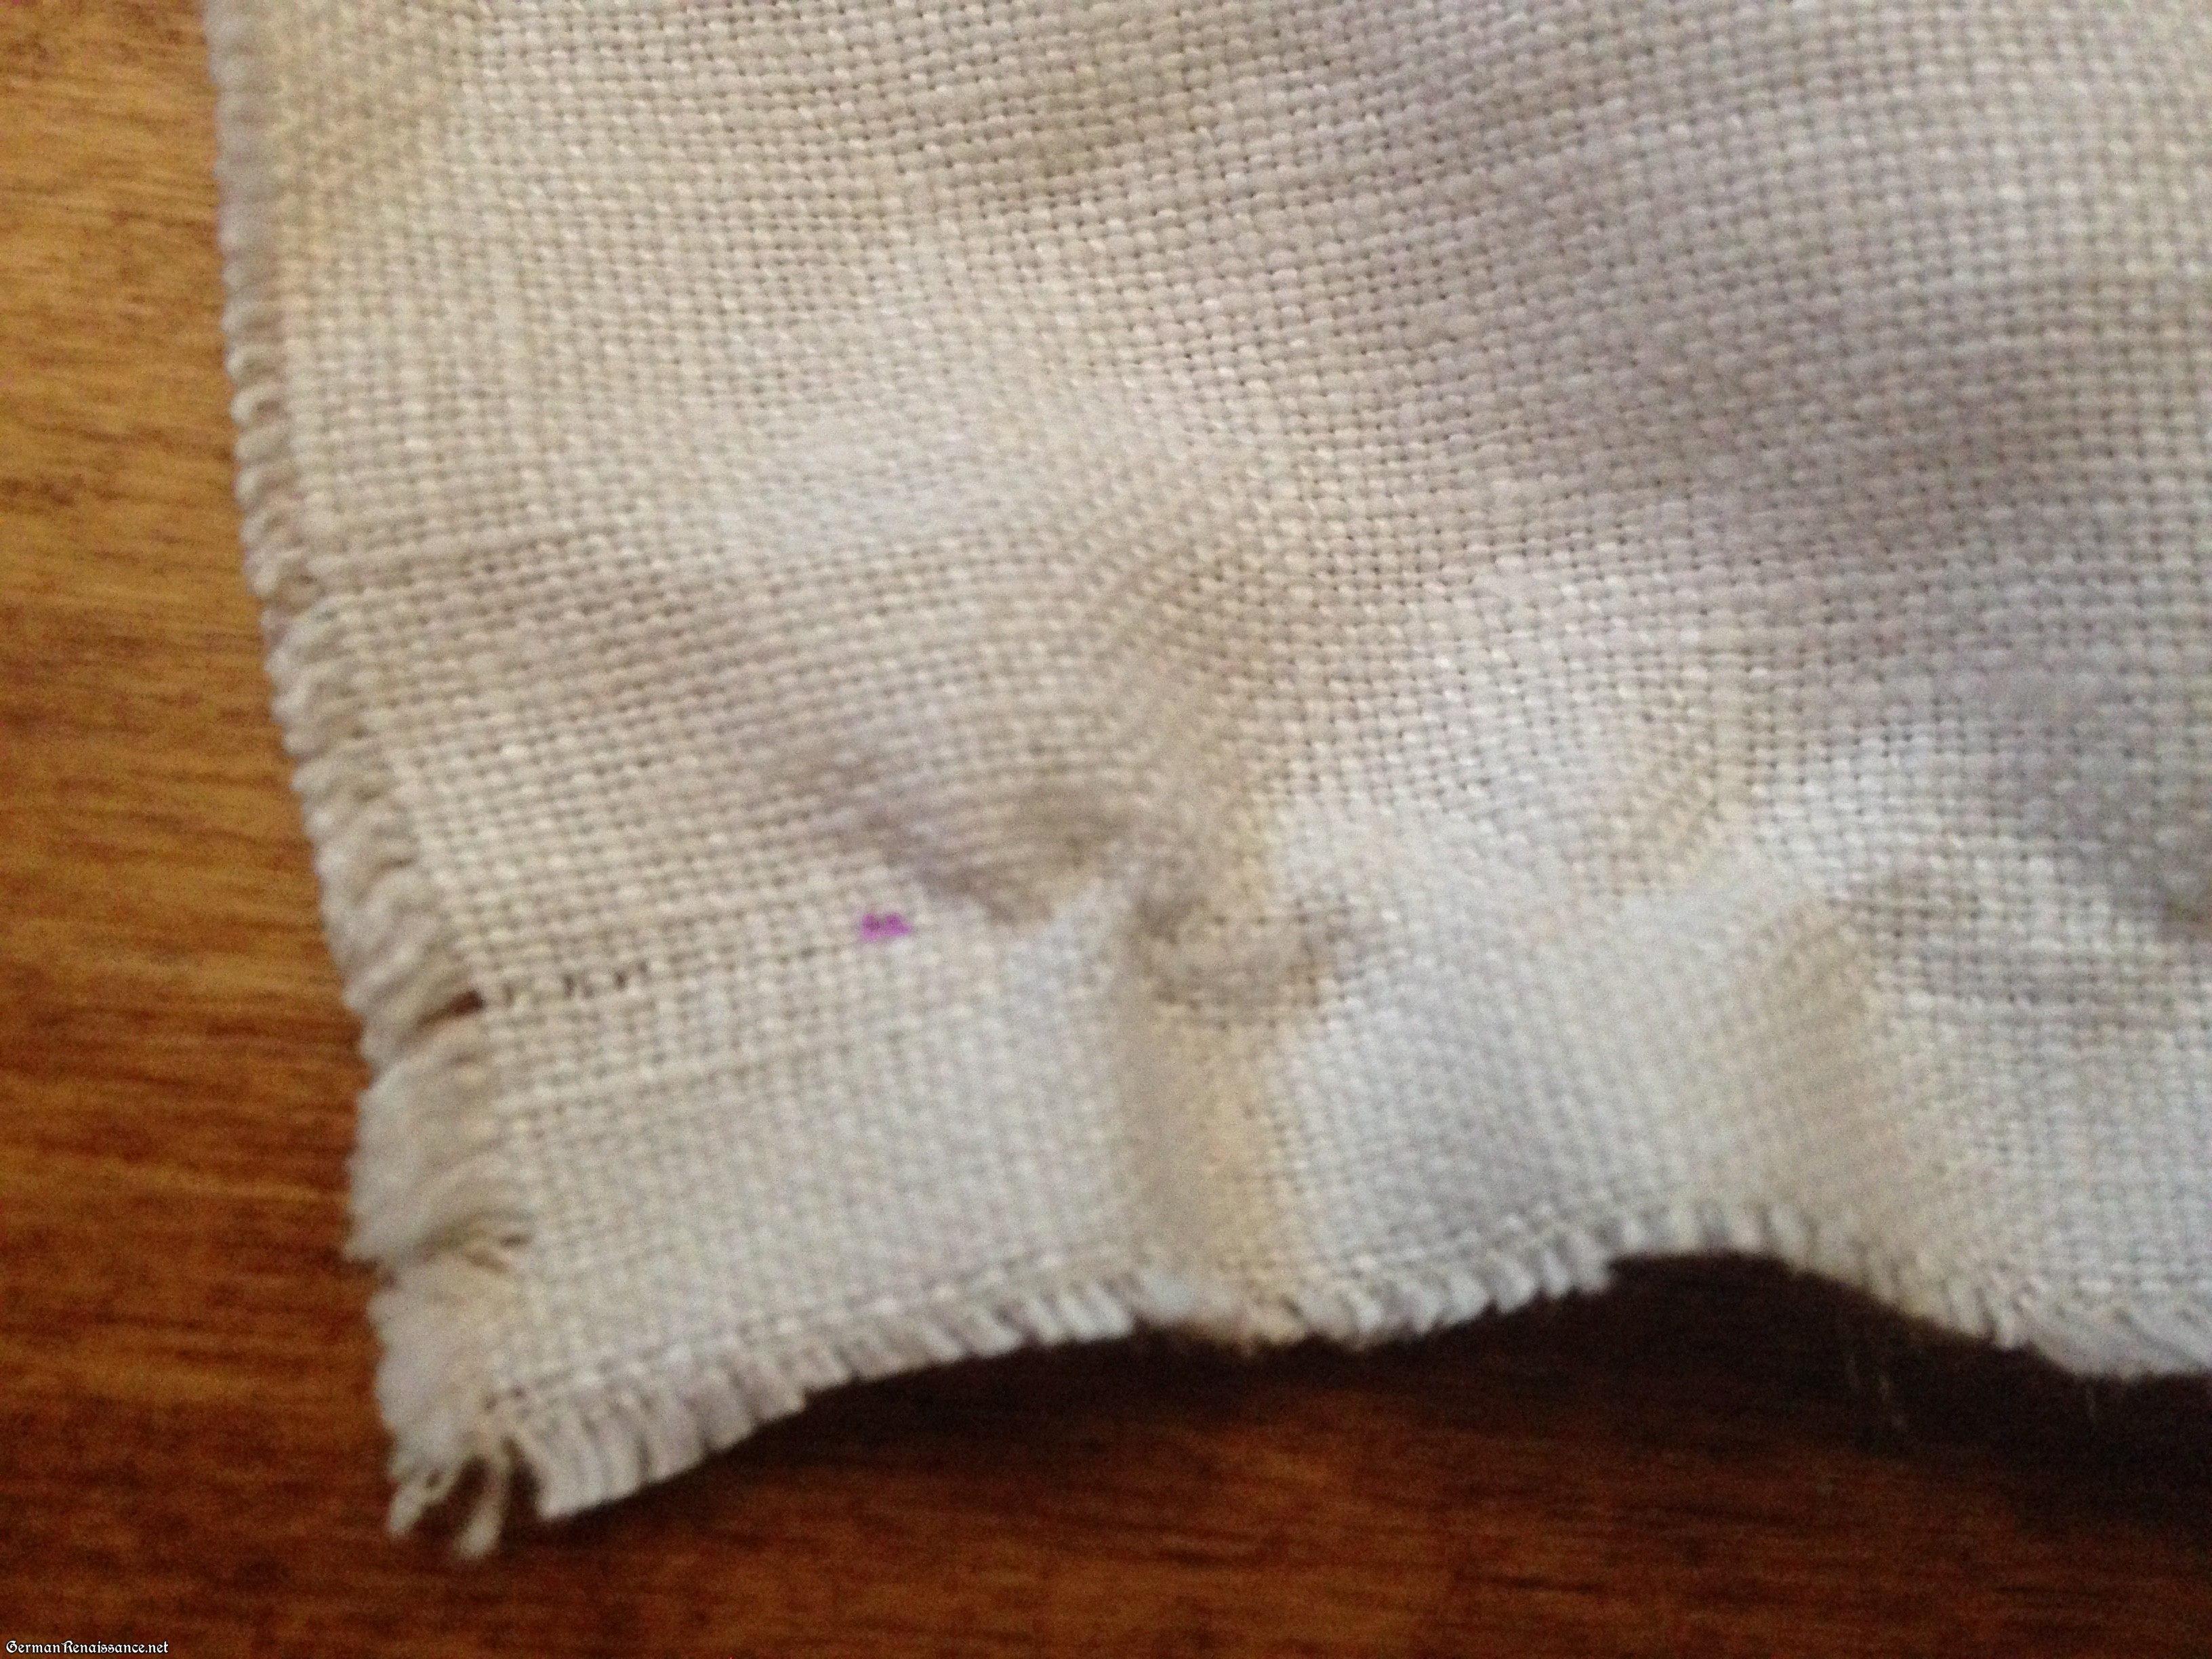
3. At the point you marked in step three, gently cut one warp thread — and only one thread — as shown below. You can use small, needle nose scissors as I do, or you can use a seam ripper.
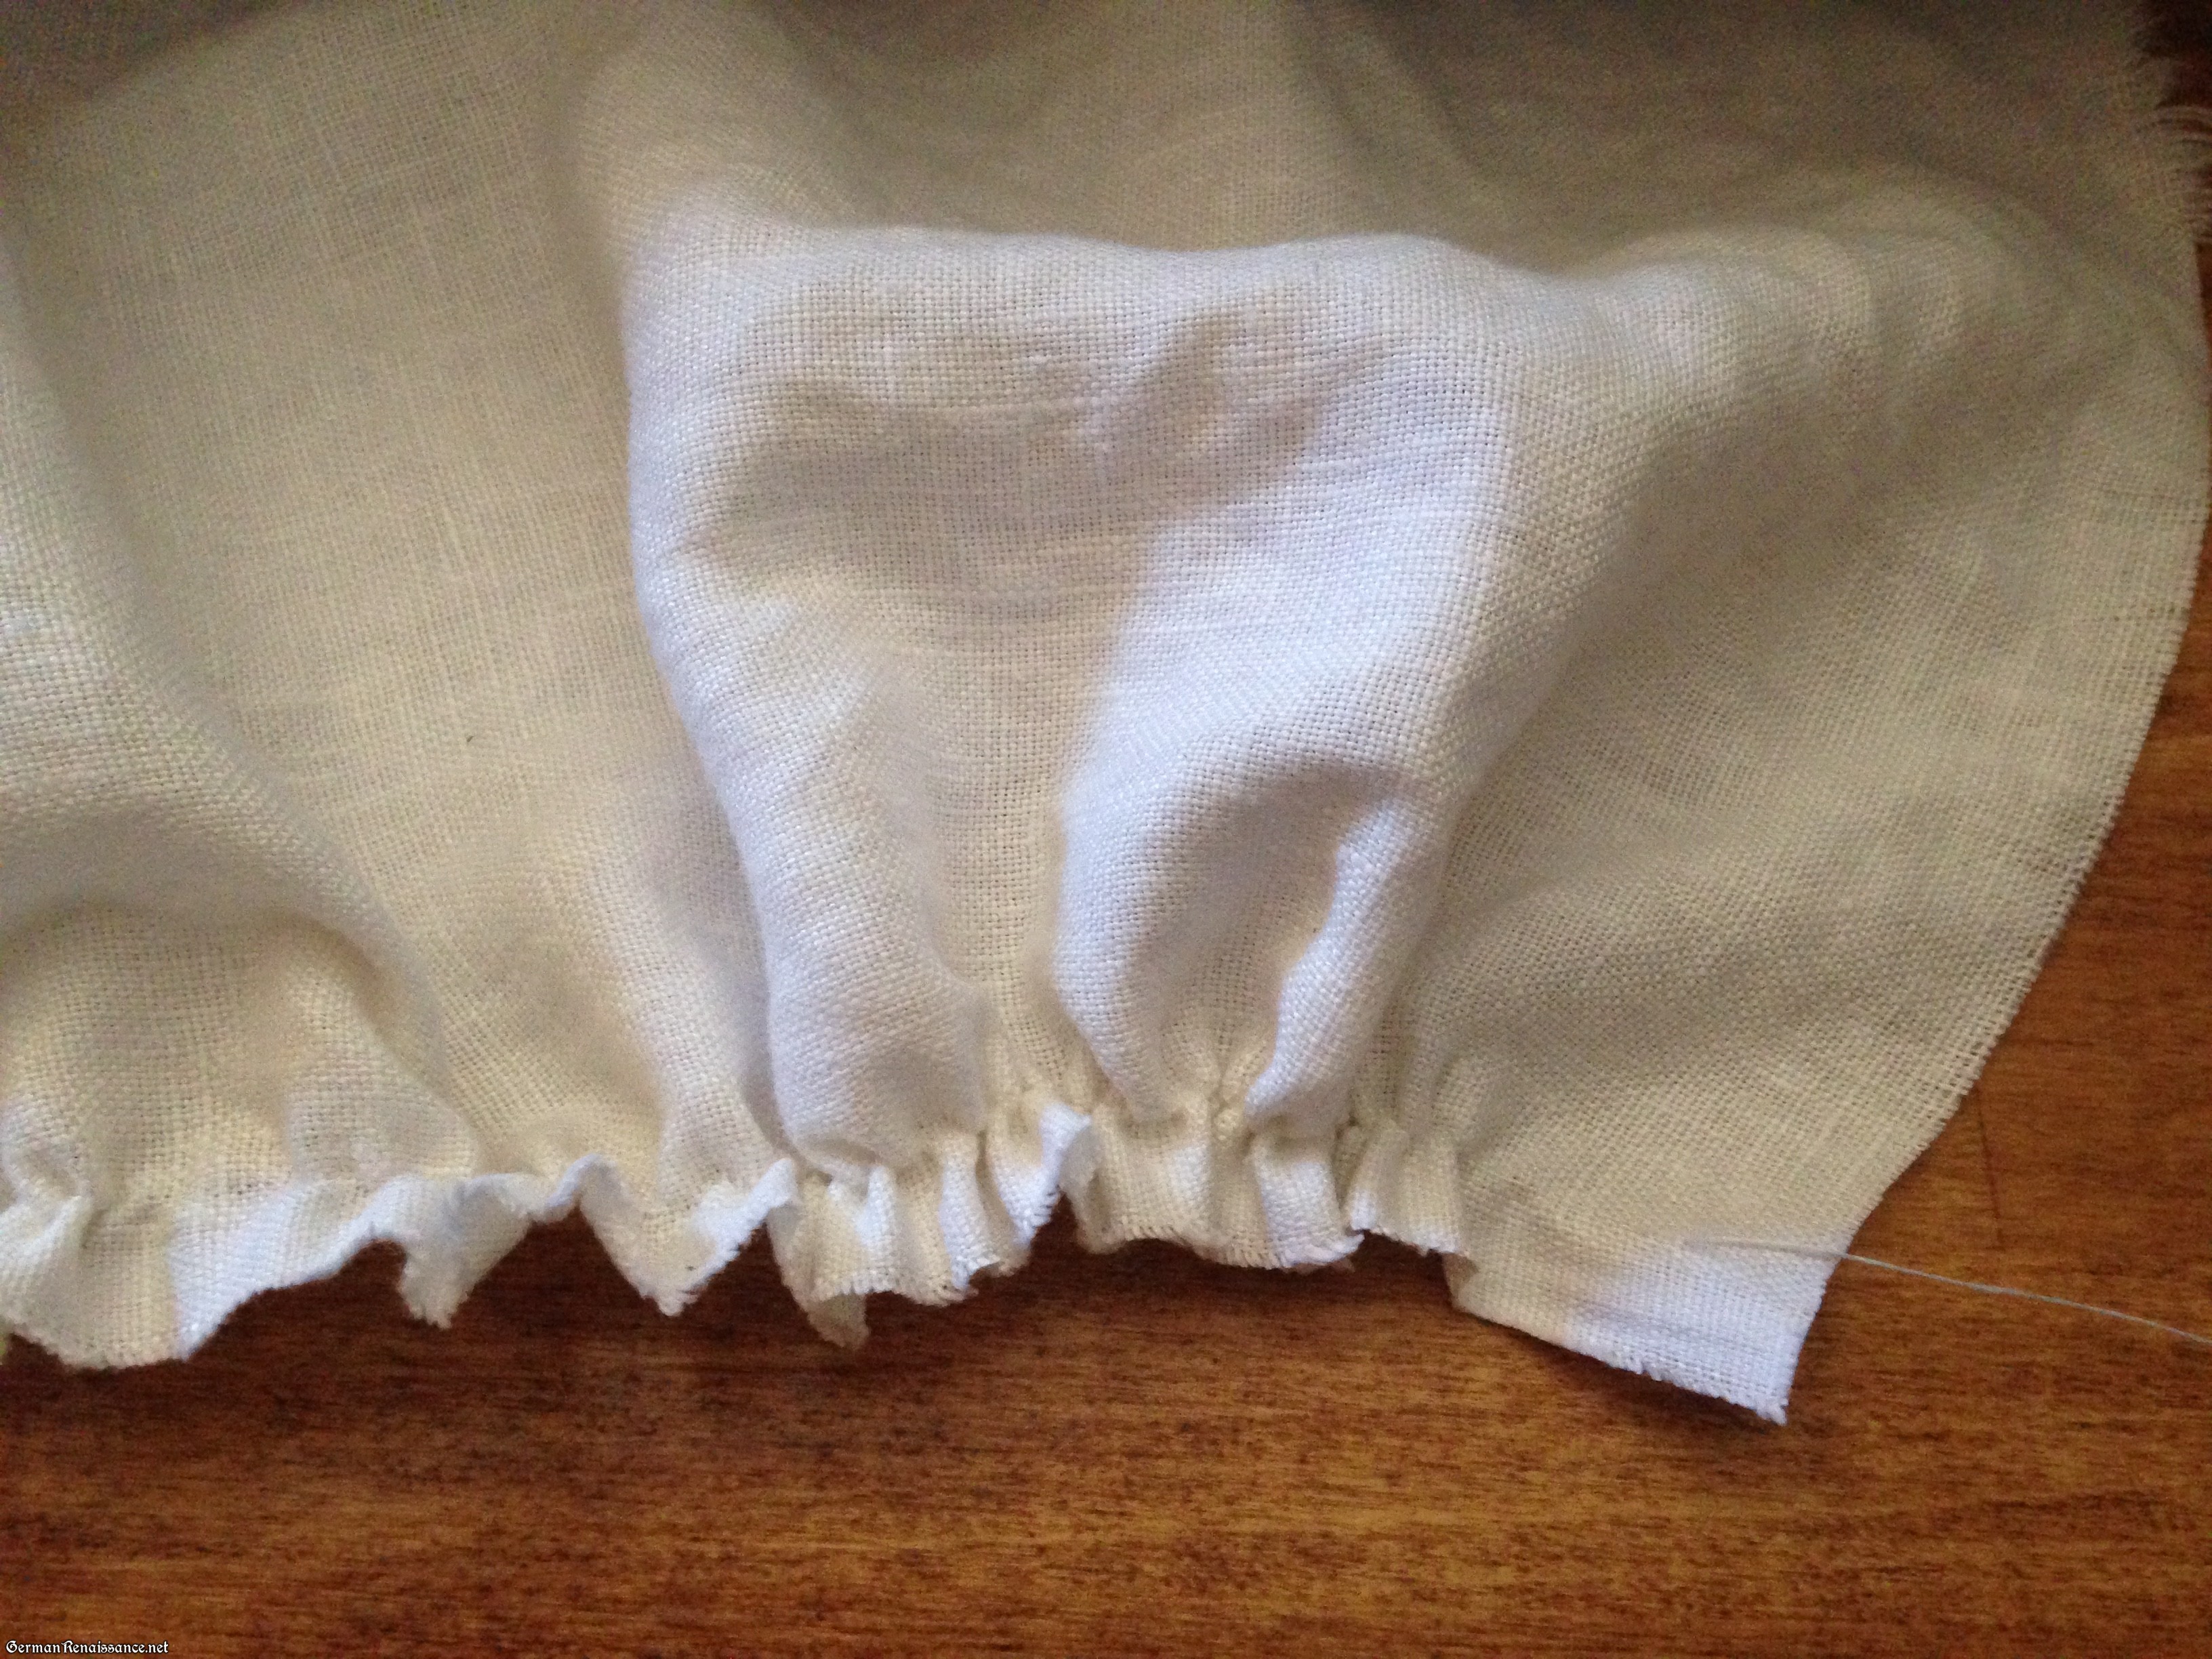
4. Gently tug the warp thread you cut (it may help to use tweezers here) until the fabric gathers along most of the edge, but do not pull it out yet. Stop pulling when you see the material gathering or tugging about 1/2 inch from the opposite corner.
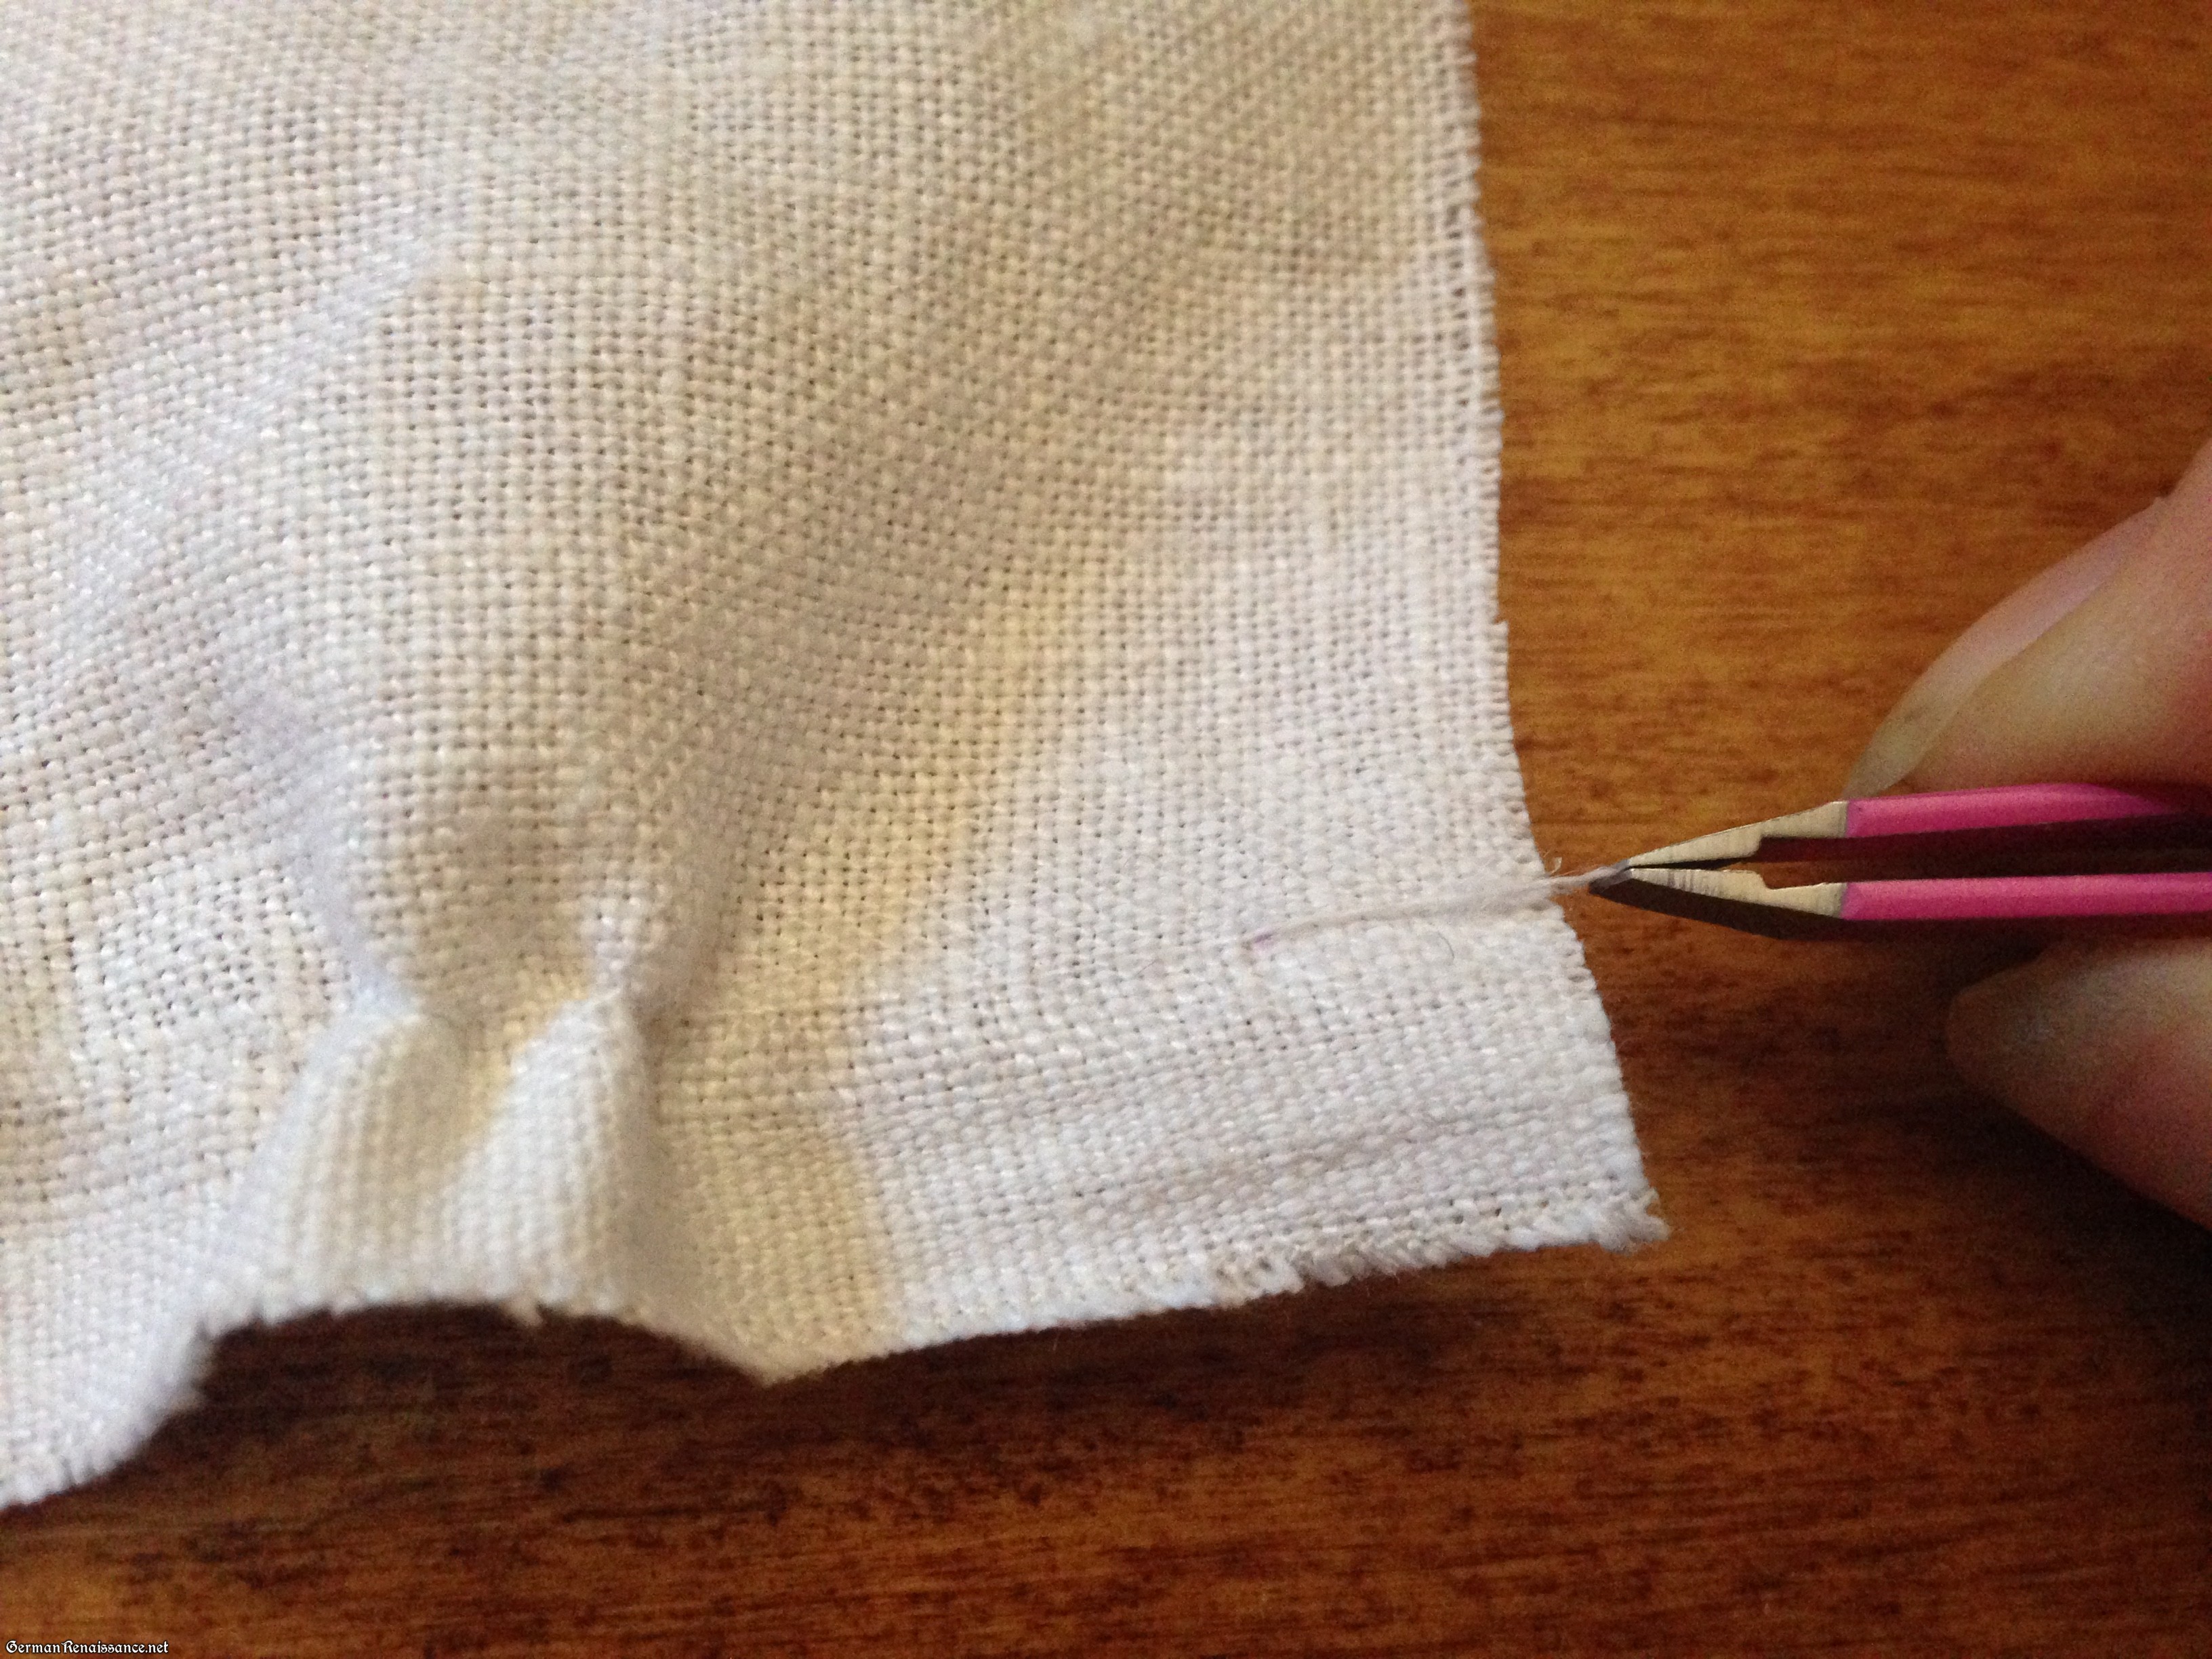
5. Following the tugged thread all the way to the other corner, measure the same distance you marked in step 2 (i.e., 3/8″), find the point at which your tugged thread meets that point, and snip it.
6. Pull the thread out along the full length of your fabric.
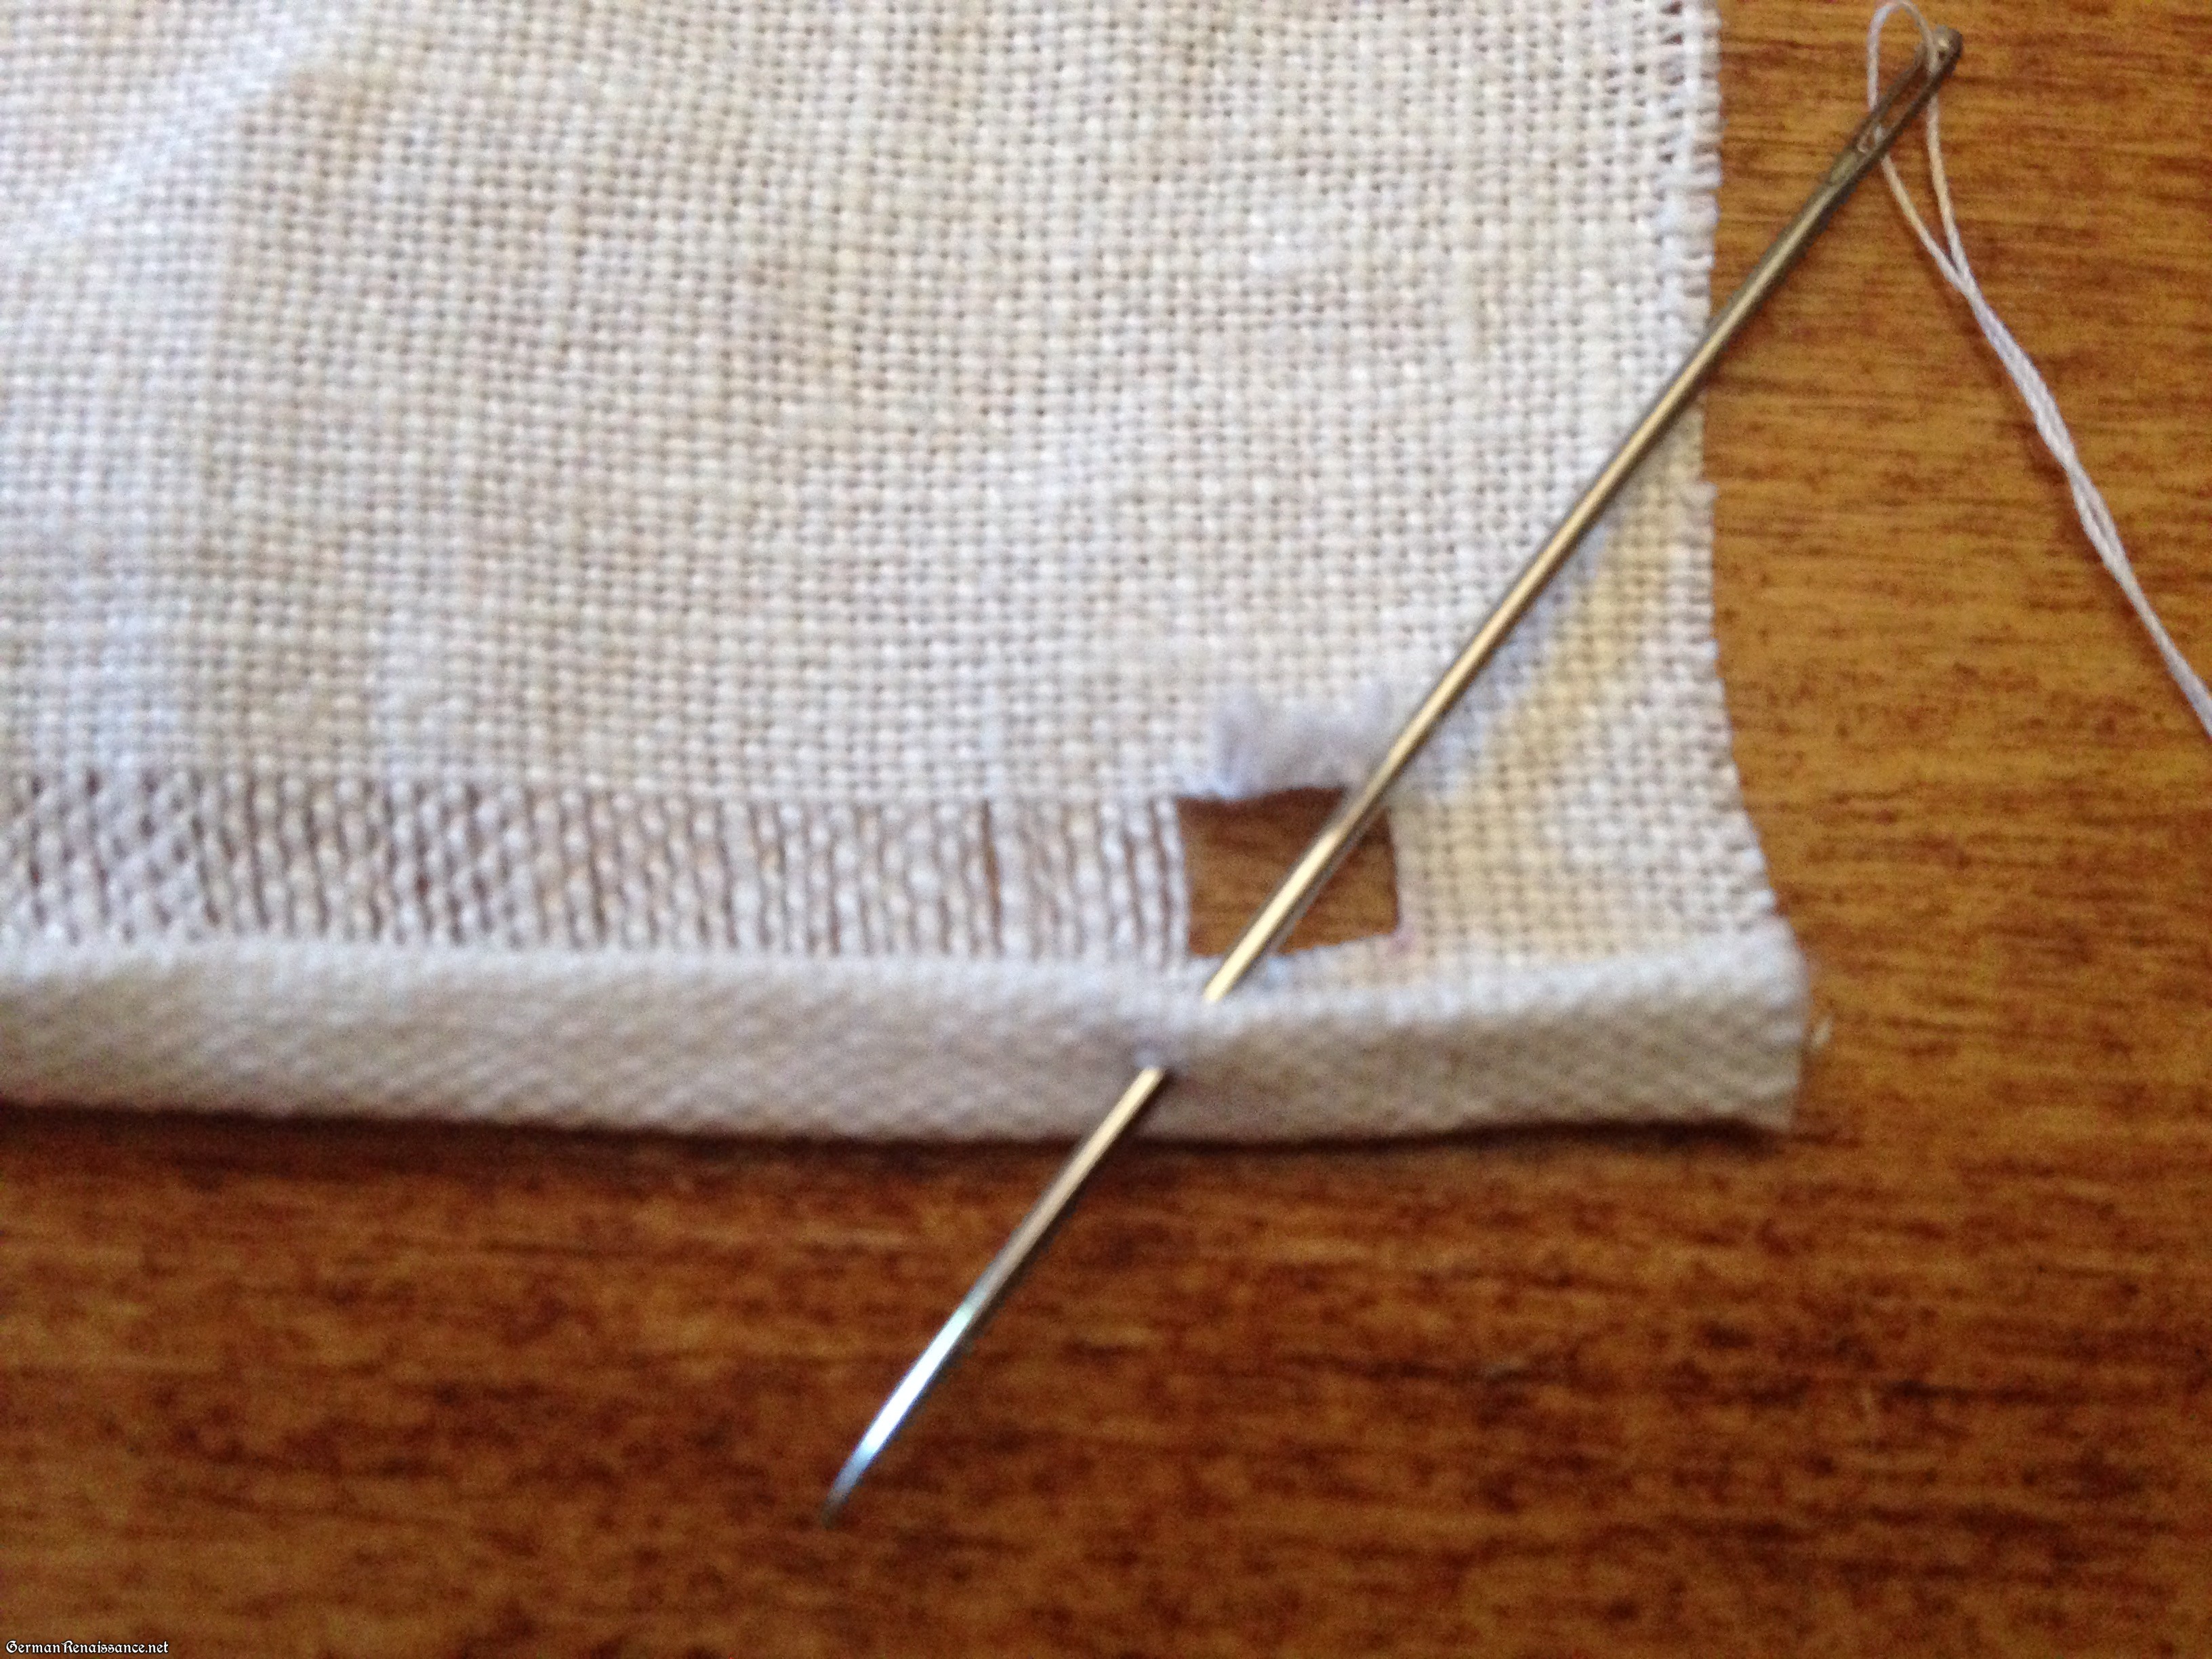
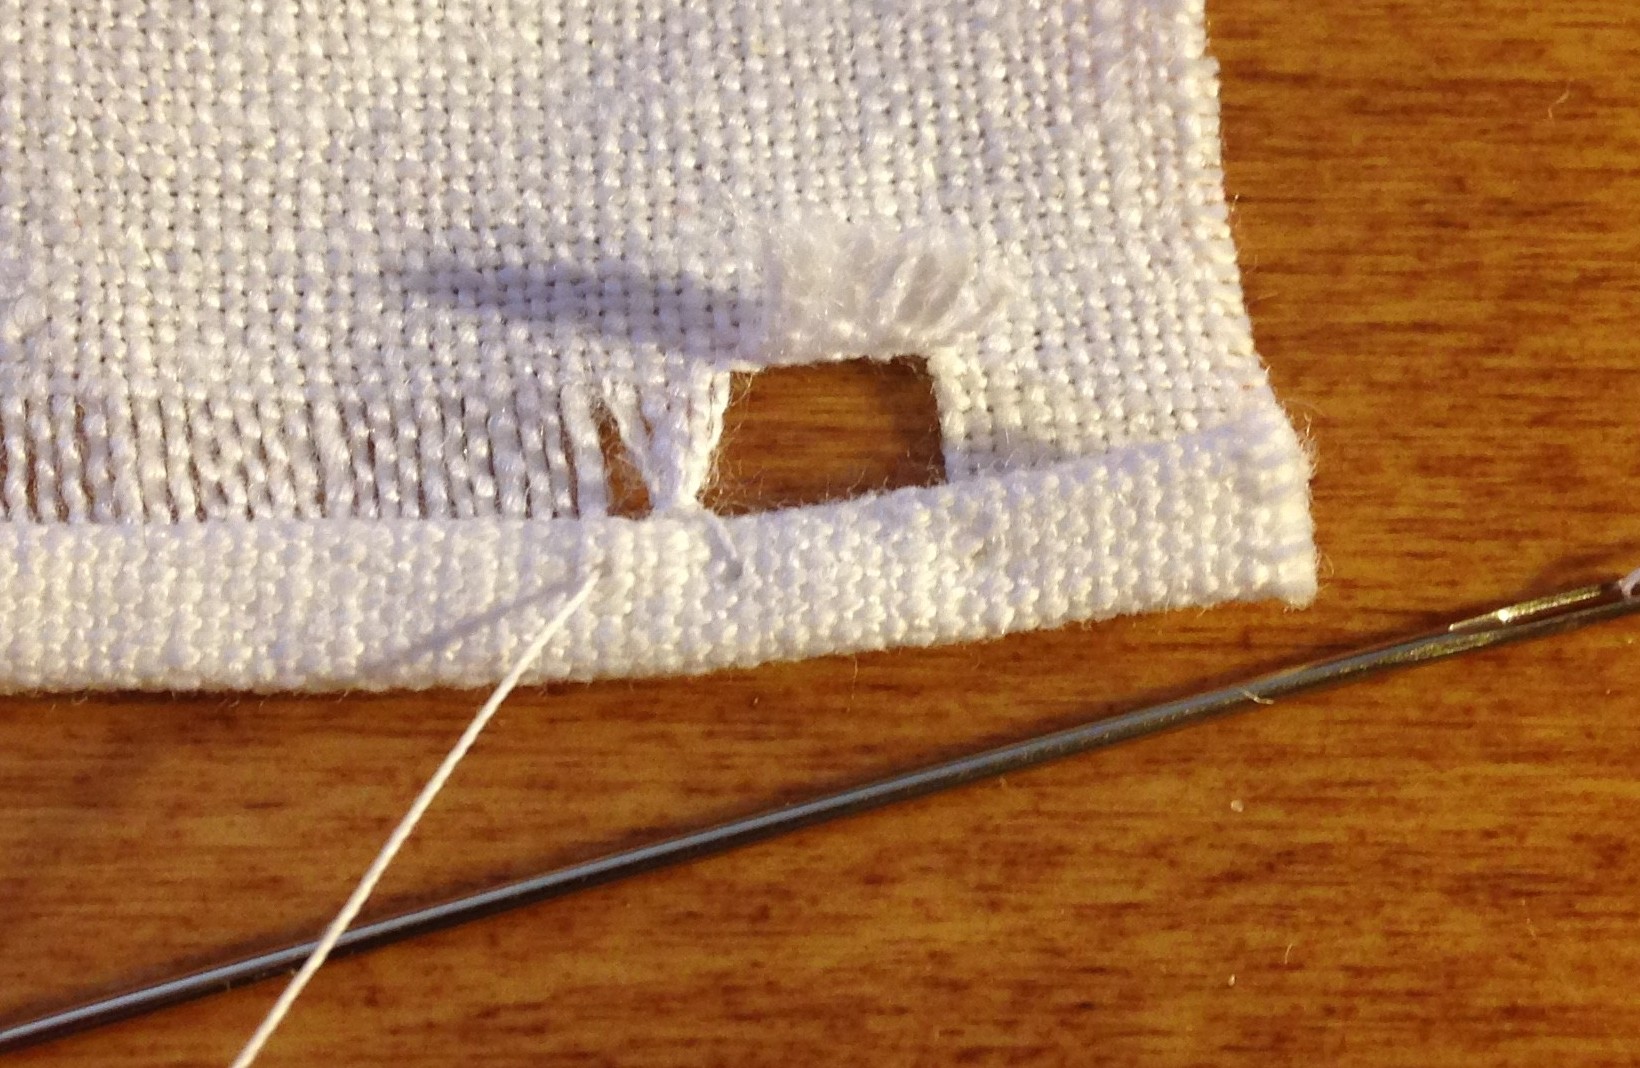
Tip: Most linens you can buy today have rather weak threads that tend to break while pulling, which leads to frustration and fuzzed threads in your linen. If you encounter this problem, try pulling out shorter sections of thread by snipping the tugged thread at intervals along your fabric. The easiest way to do this is follow the tugged thread and then use something like a needle to pull it up a bit (as shown below), then insert your scissors and snip. Now you can pull that thread and it is less likely to break midway.

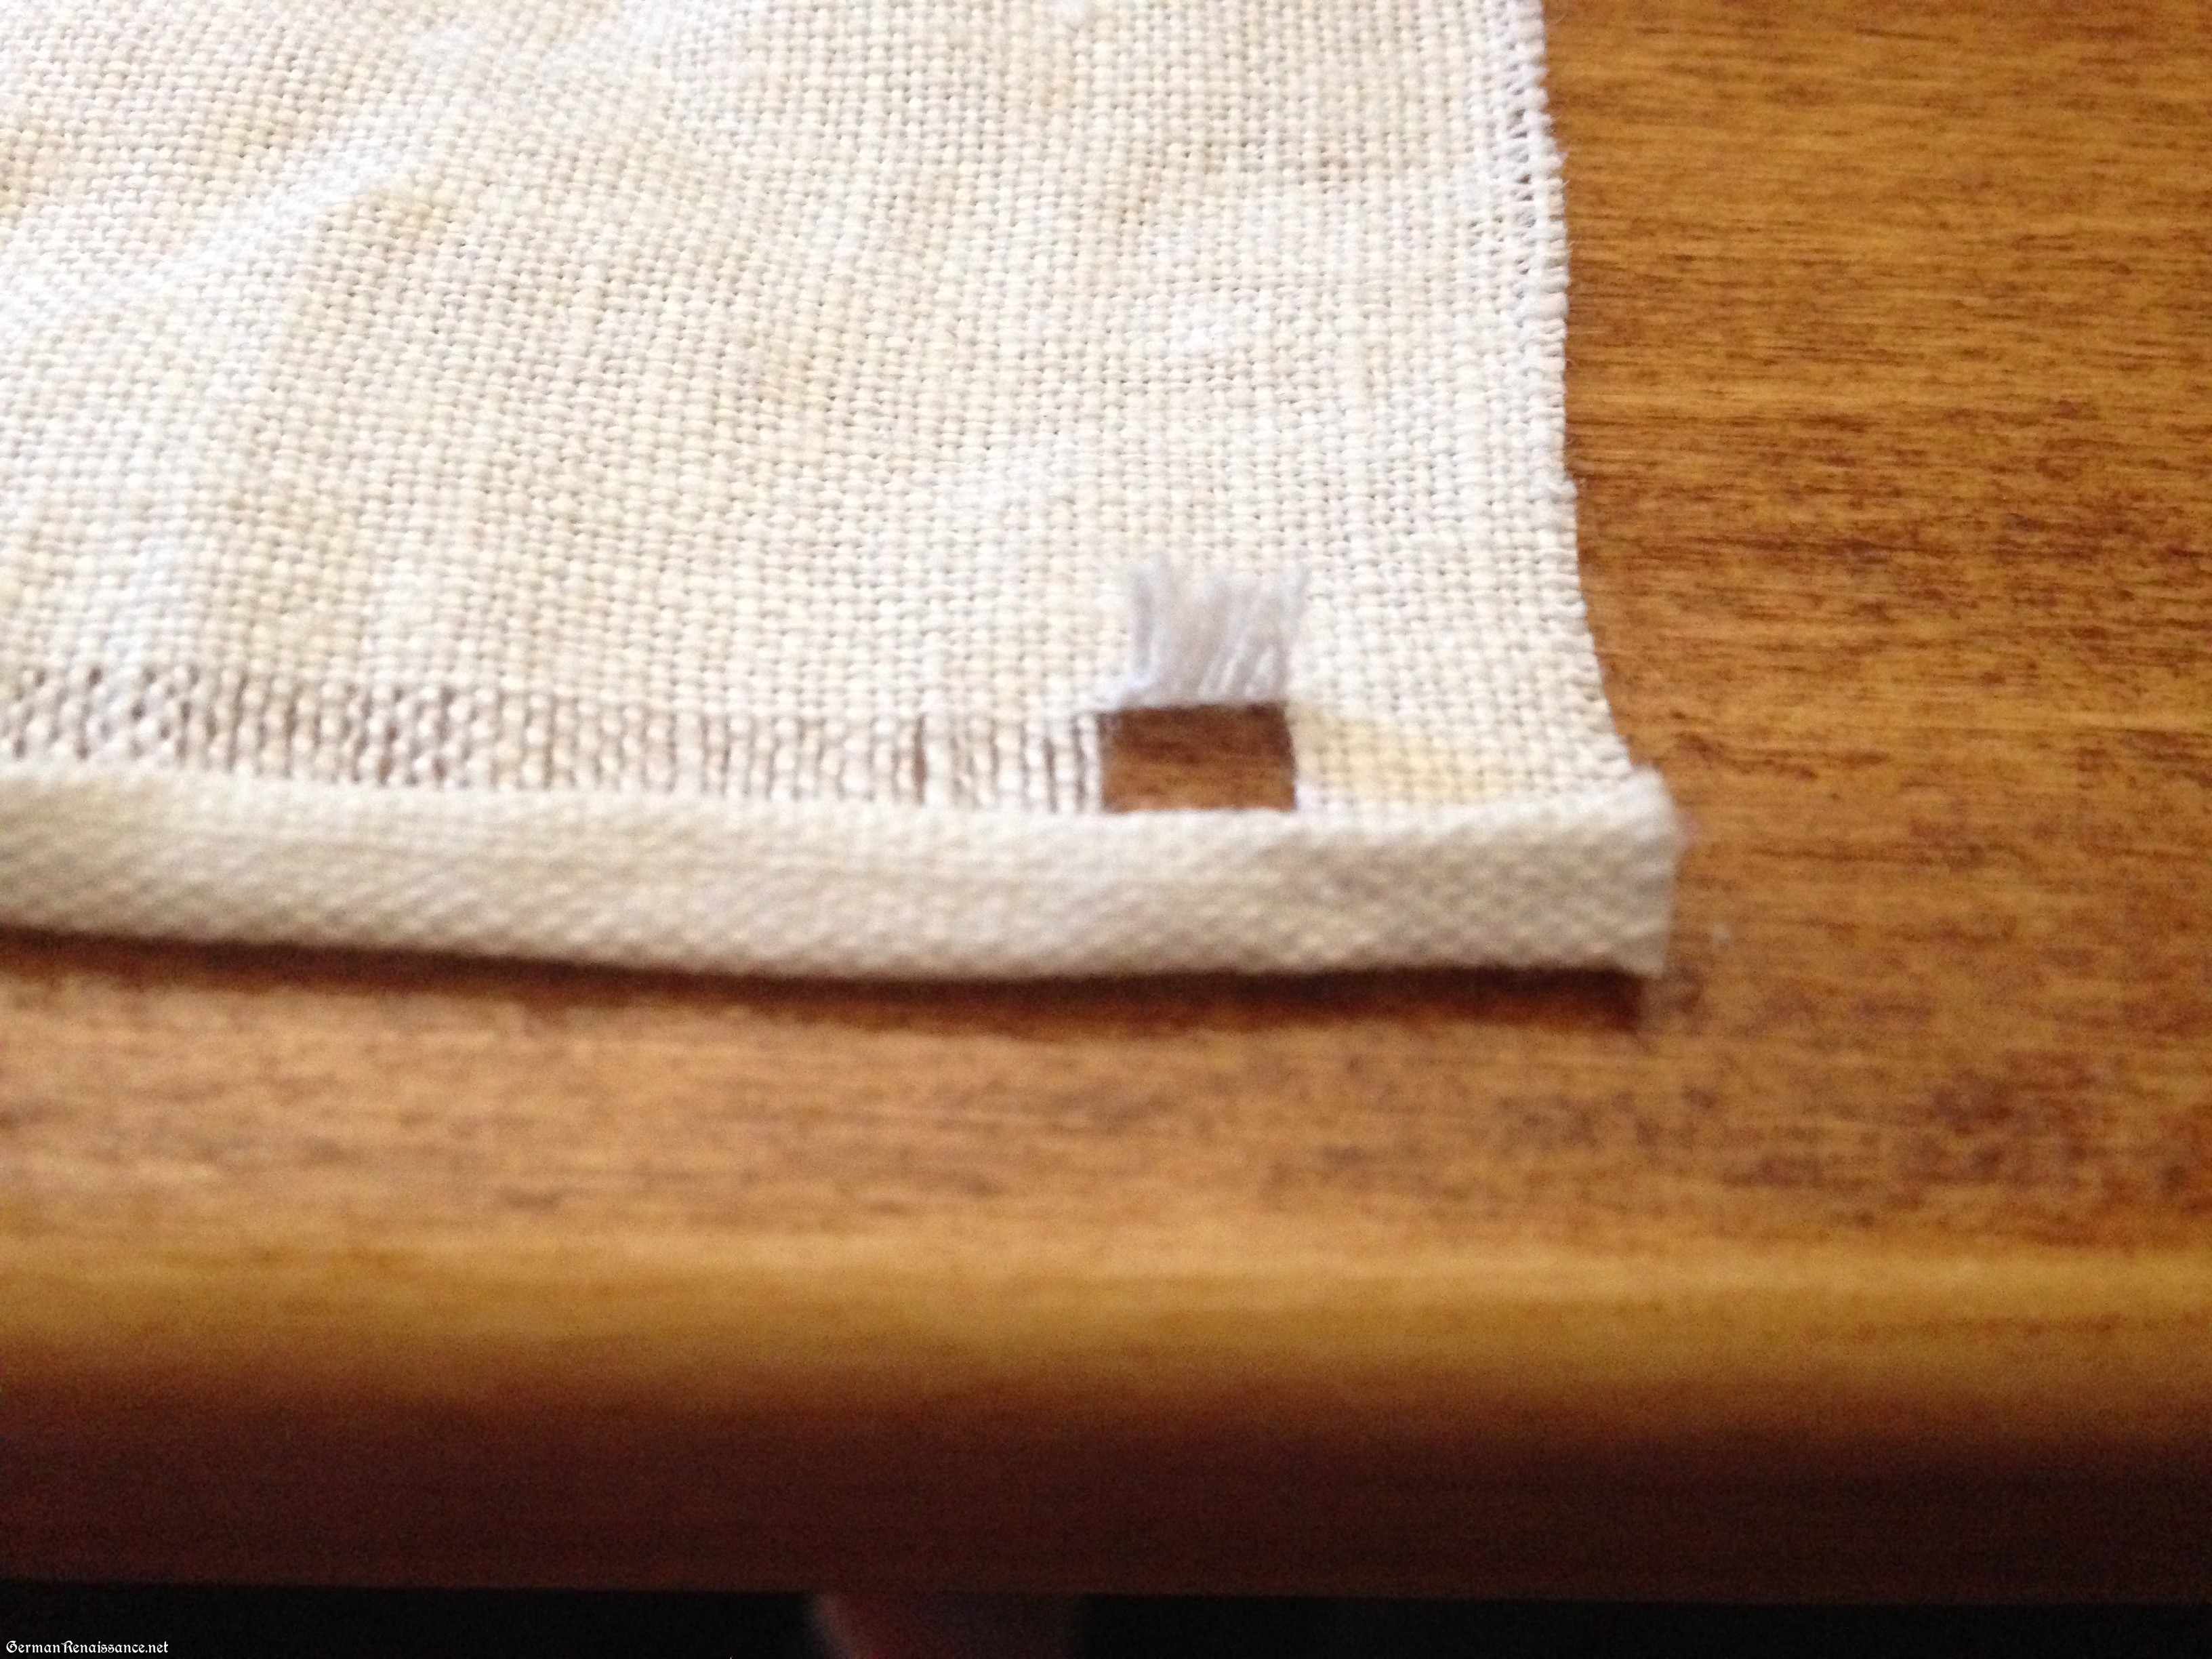
7. If you wish to remove more warp threads, which I recommend for this tutorial, snip the warp thread(s) at the two ends just above where you removed your first warp thread and pull out the thread(s). It’s much easier to remove threads once you’ve got the first one out. For this tutorial, I removed 8 threads.

8. If you plan to hem the other sides(s), you should also snip the same number of threads going in the other direction. For now, you can snip them at the bottom and allow them to stay to pull later.
9. Fold your hem twice so that the top edge of it is in line with the bottom edge of pulled threads, as shown in the photo above. Press the hem with your fingers and it’ll likely stay in place without pins.
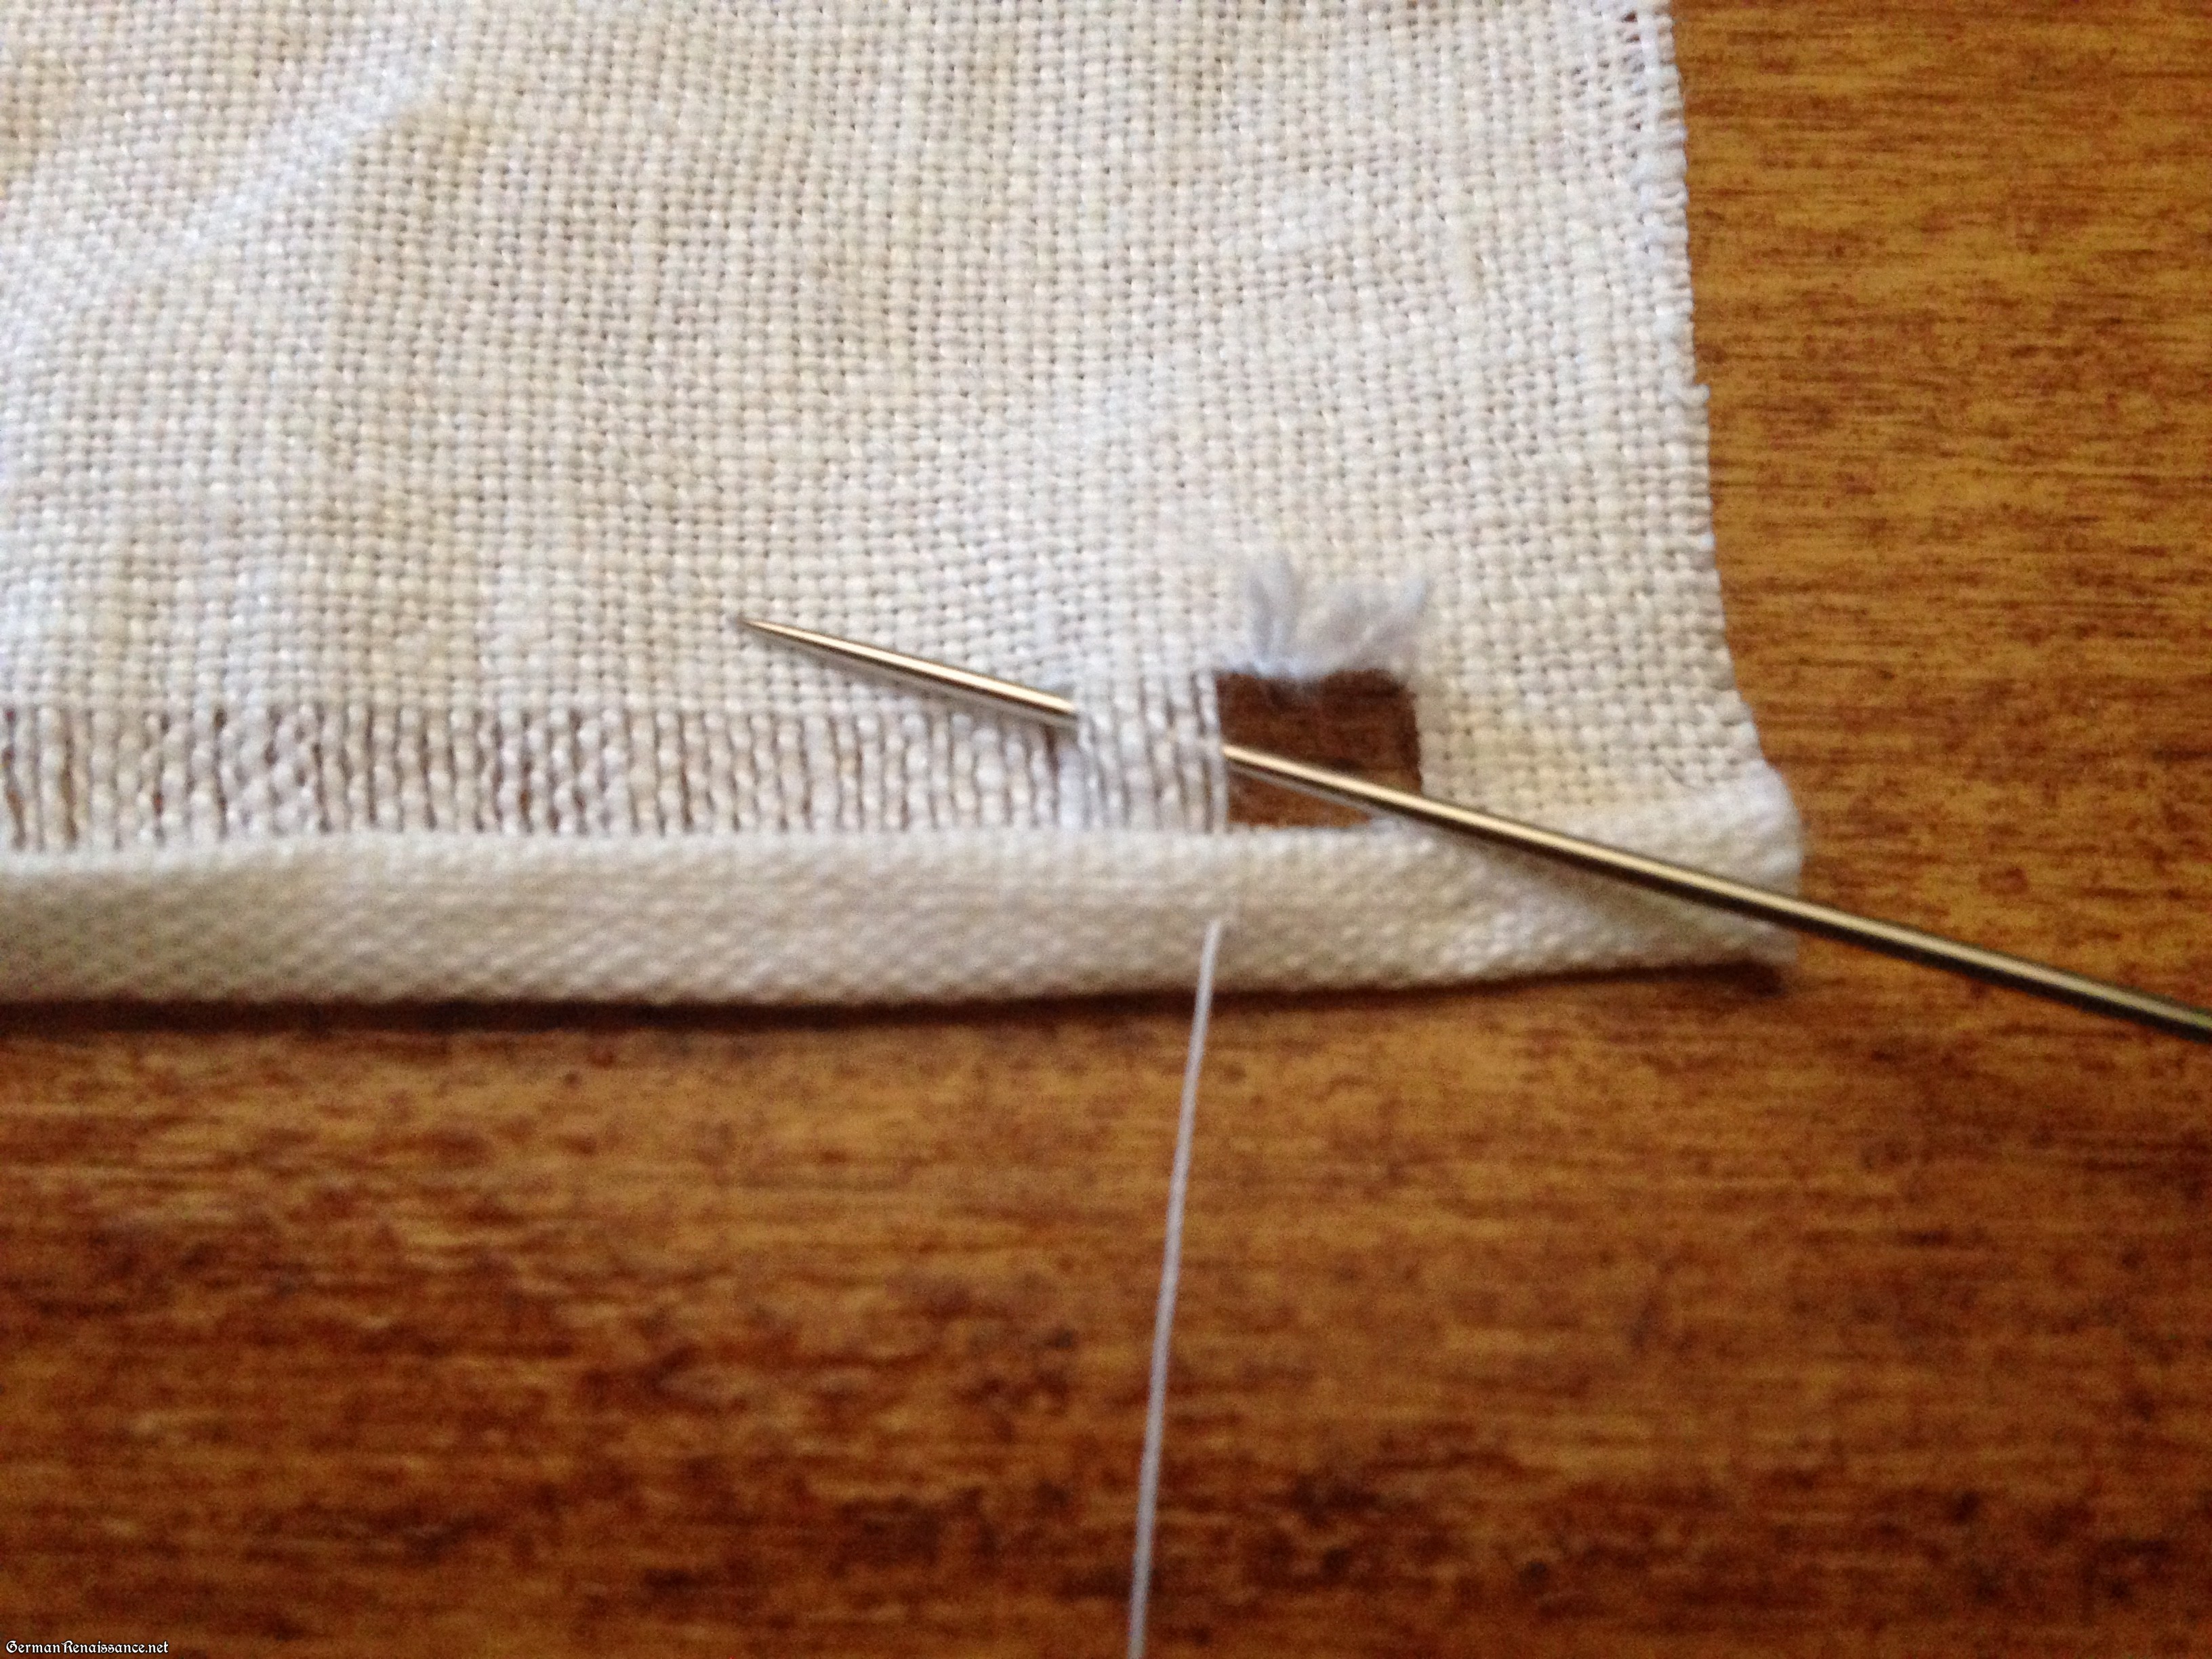
10. Prepare a needle with waxed thread and knot the end. Insert the needle in the hem, just to the left of the area without any warp threads. Pull the needle through the fabric, making sure the knot stays in the fold of the hem.
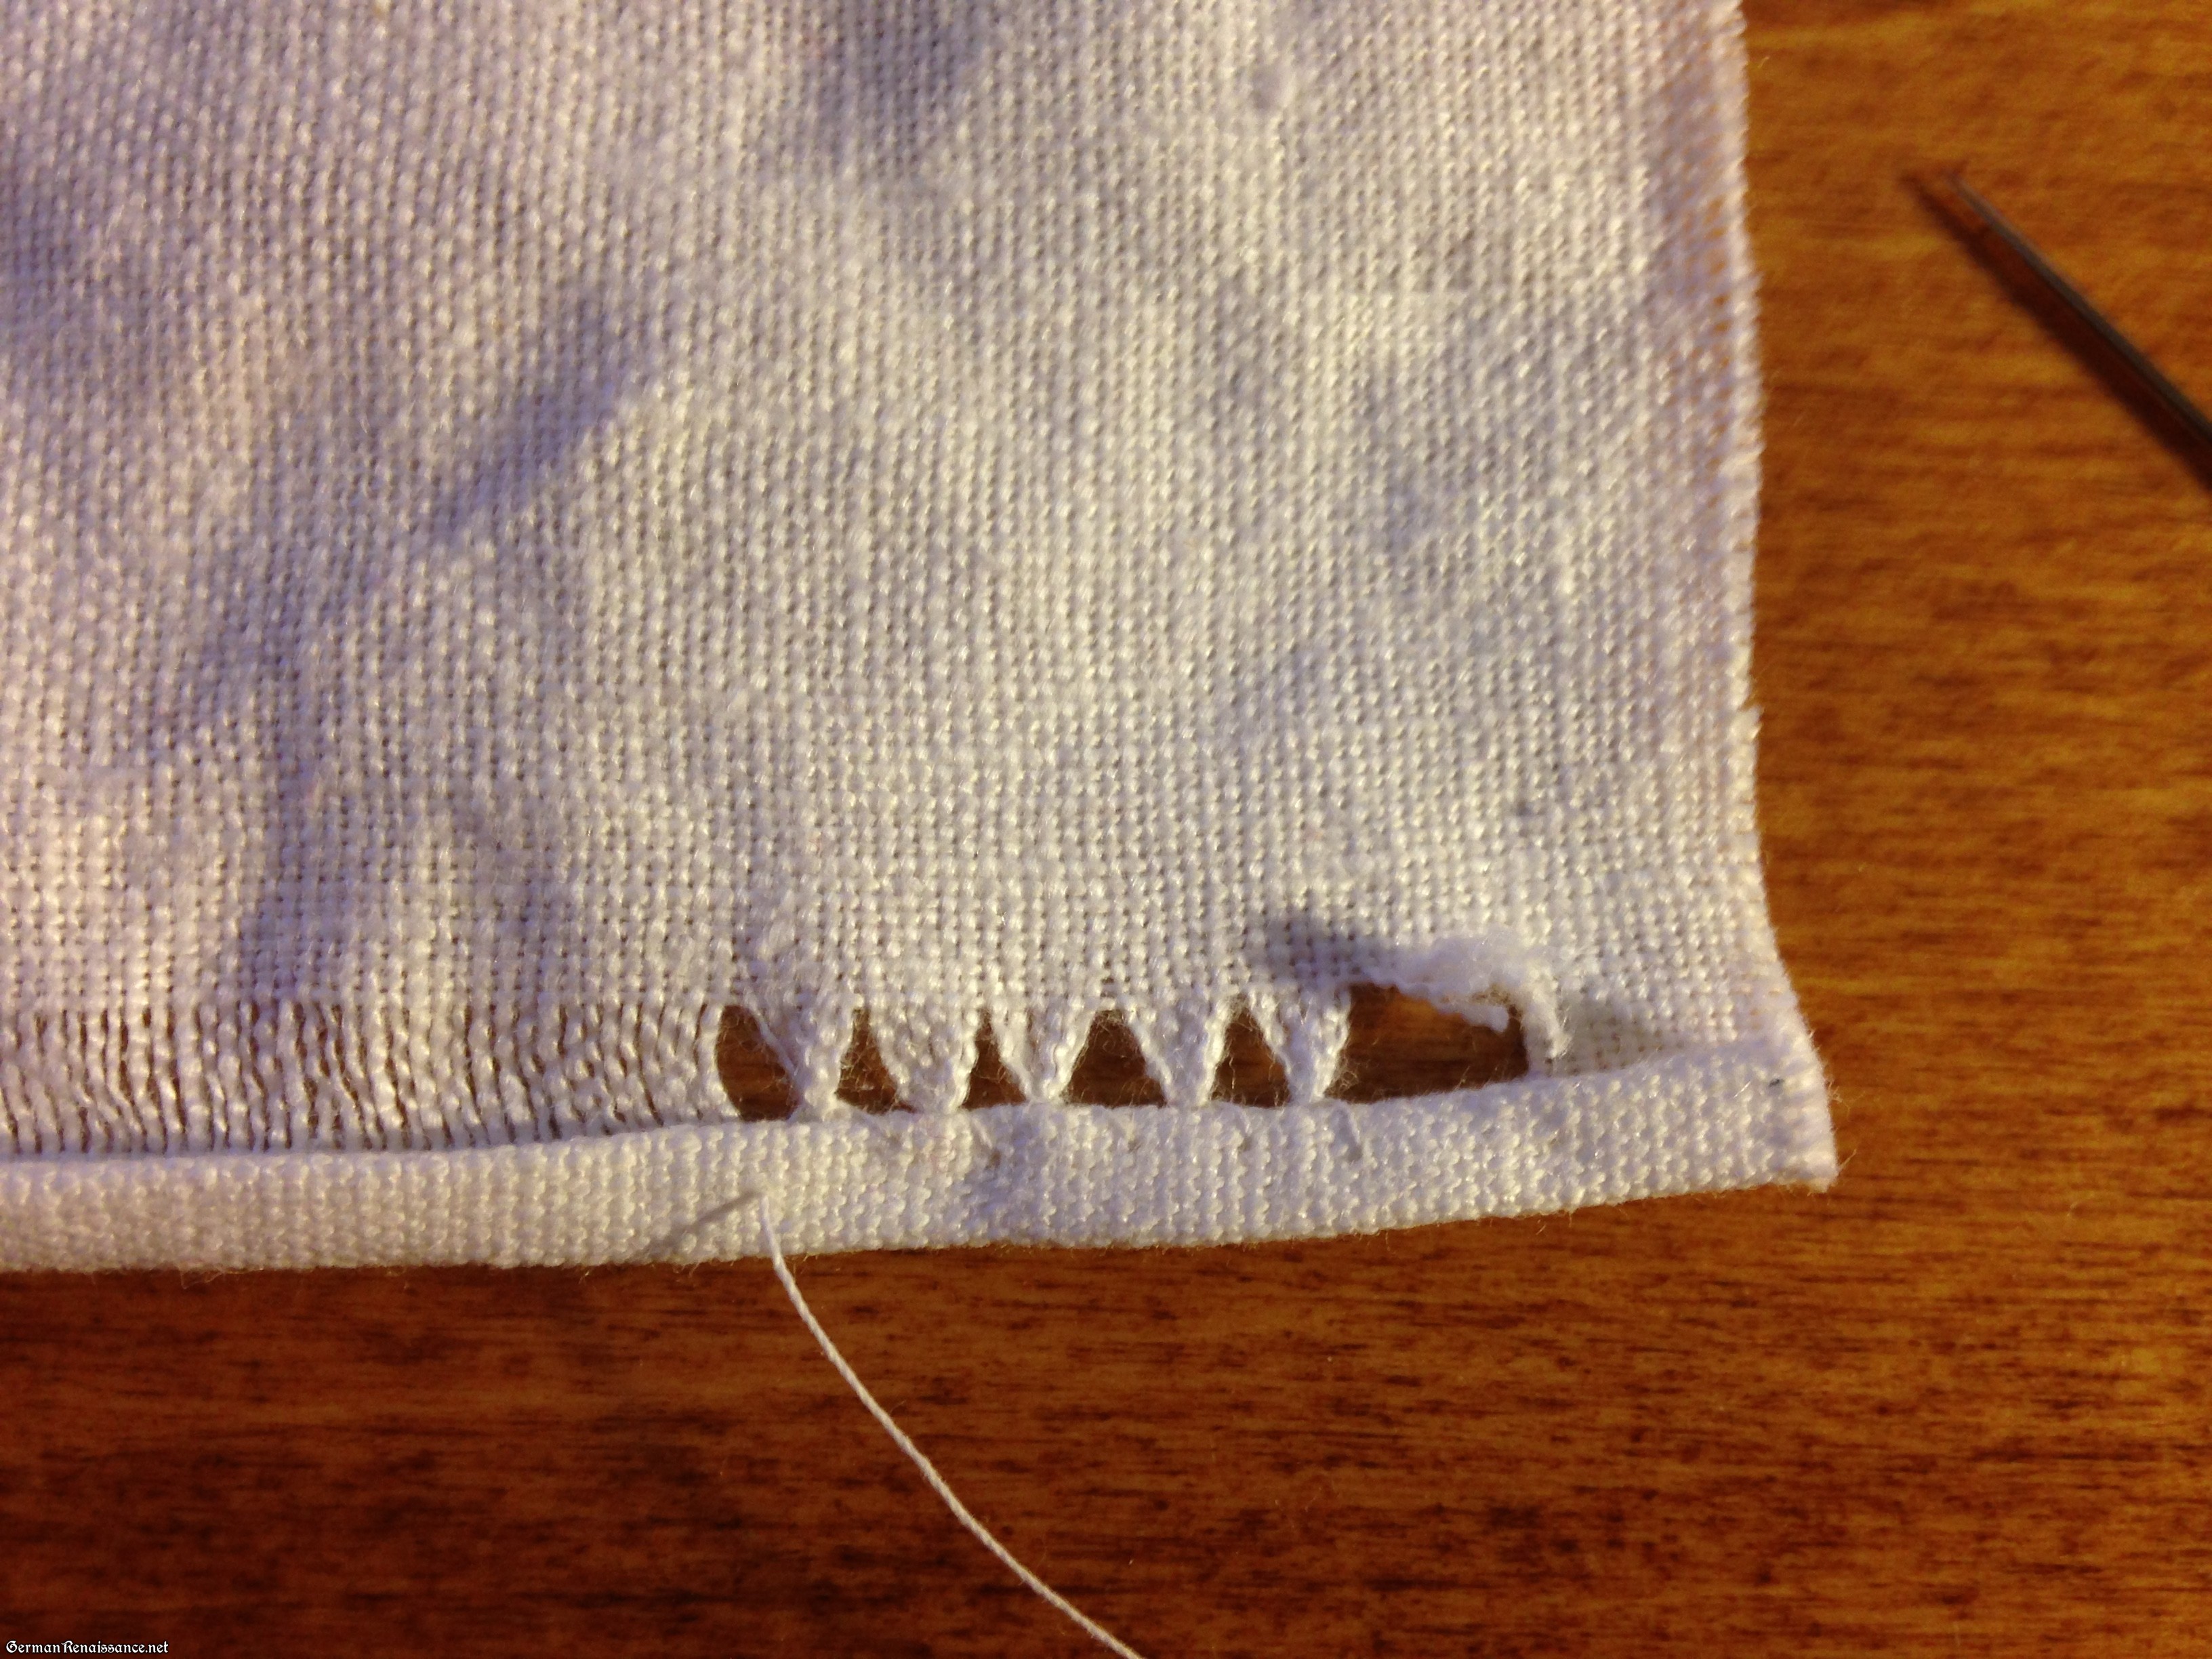
11. Place your needle behind several of the warp threads. For this tutorial, I recommend exactly six threads.
12. Pull the needle through to the front, making sure to keep the thread toward the bottom of the hem as shown below.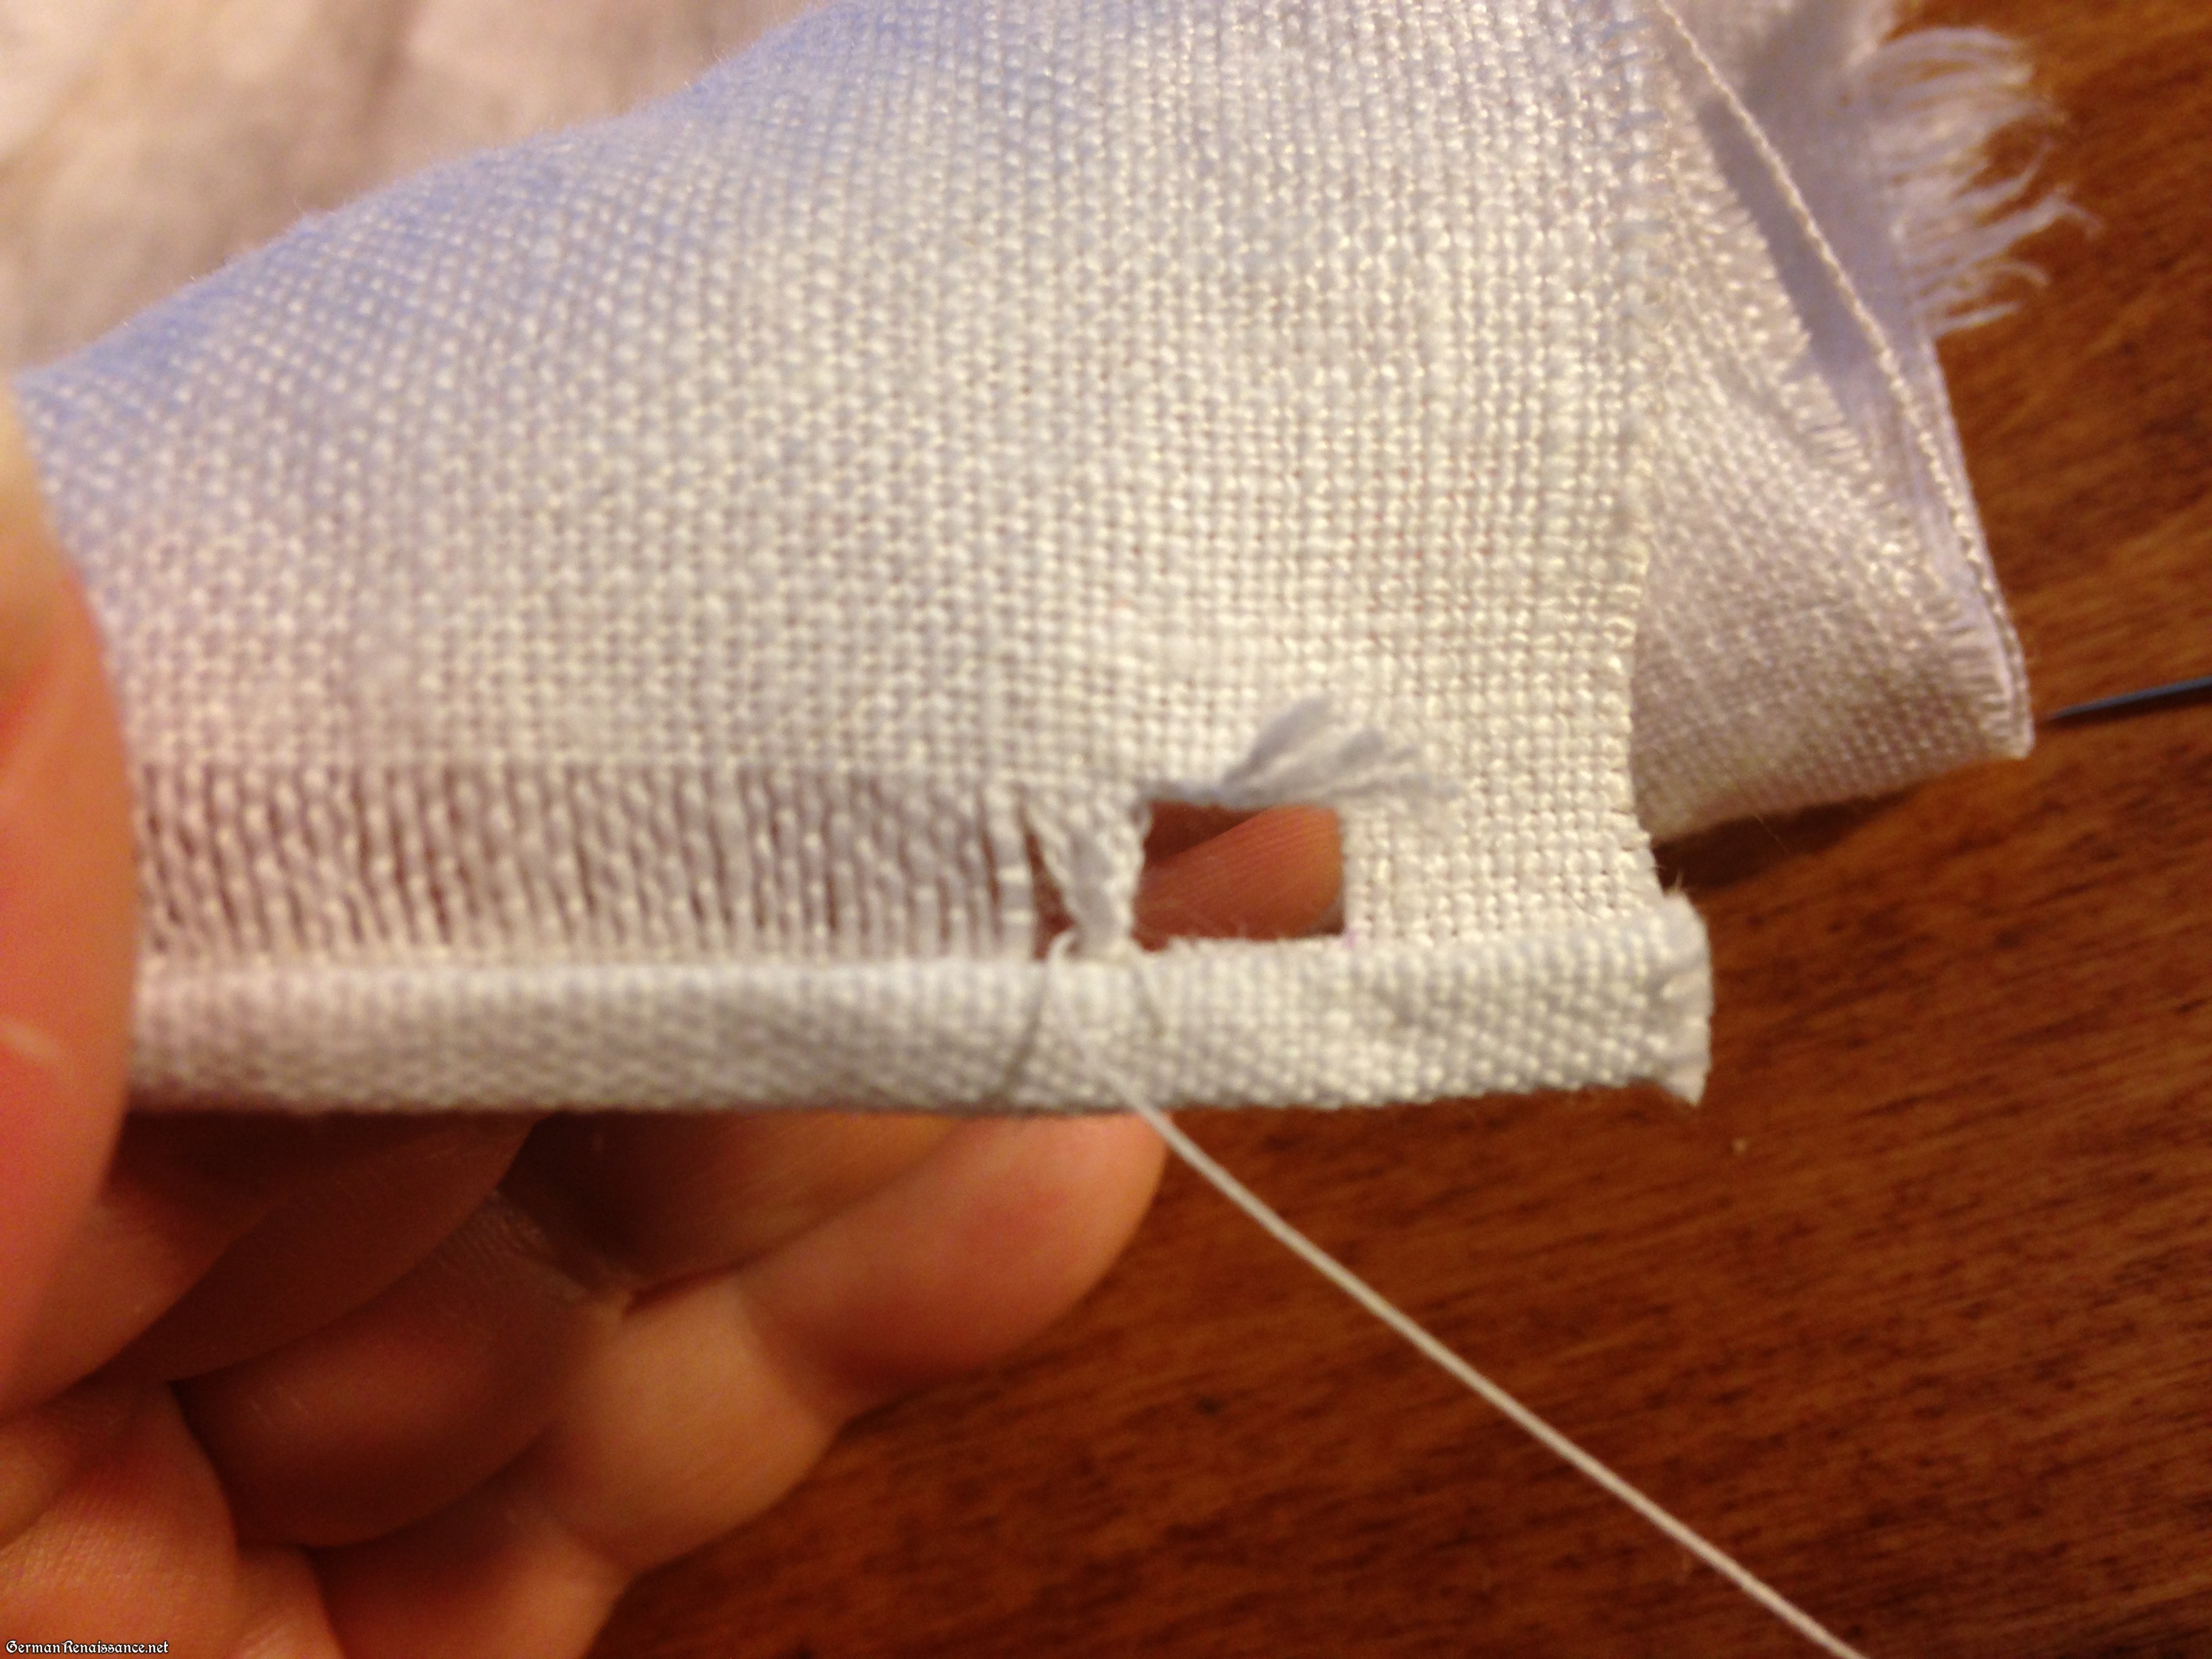
13. Insert the needle again as you did in step 11. Notice how I am holding thethread toward the bottom with my thumb.
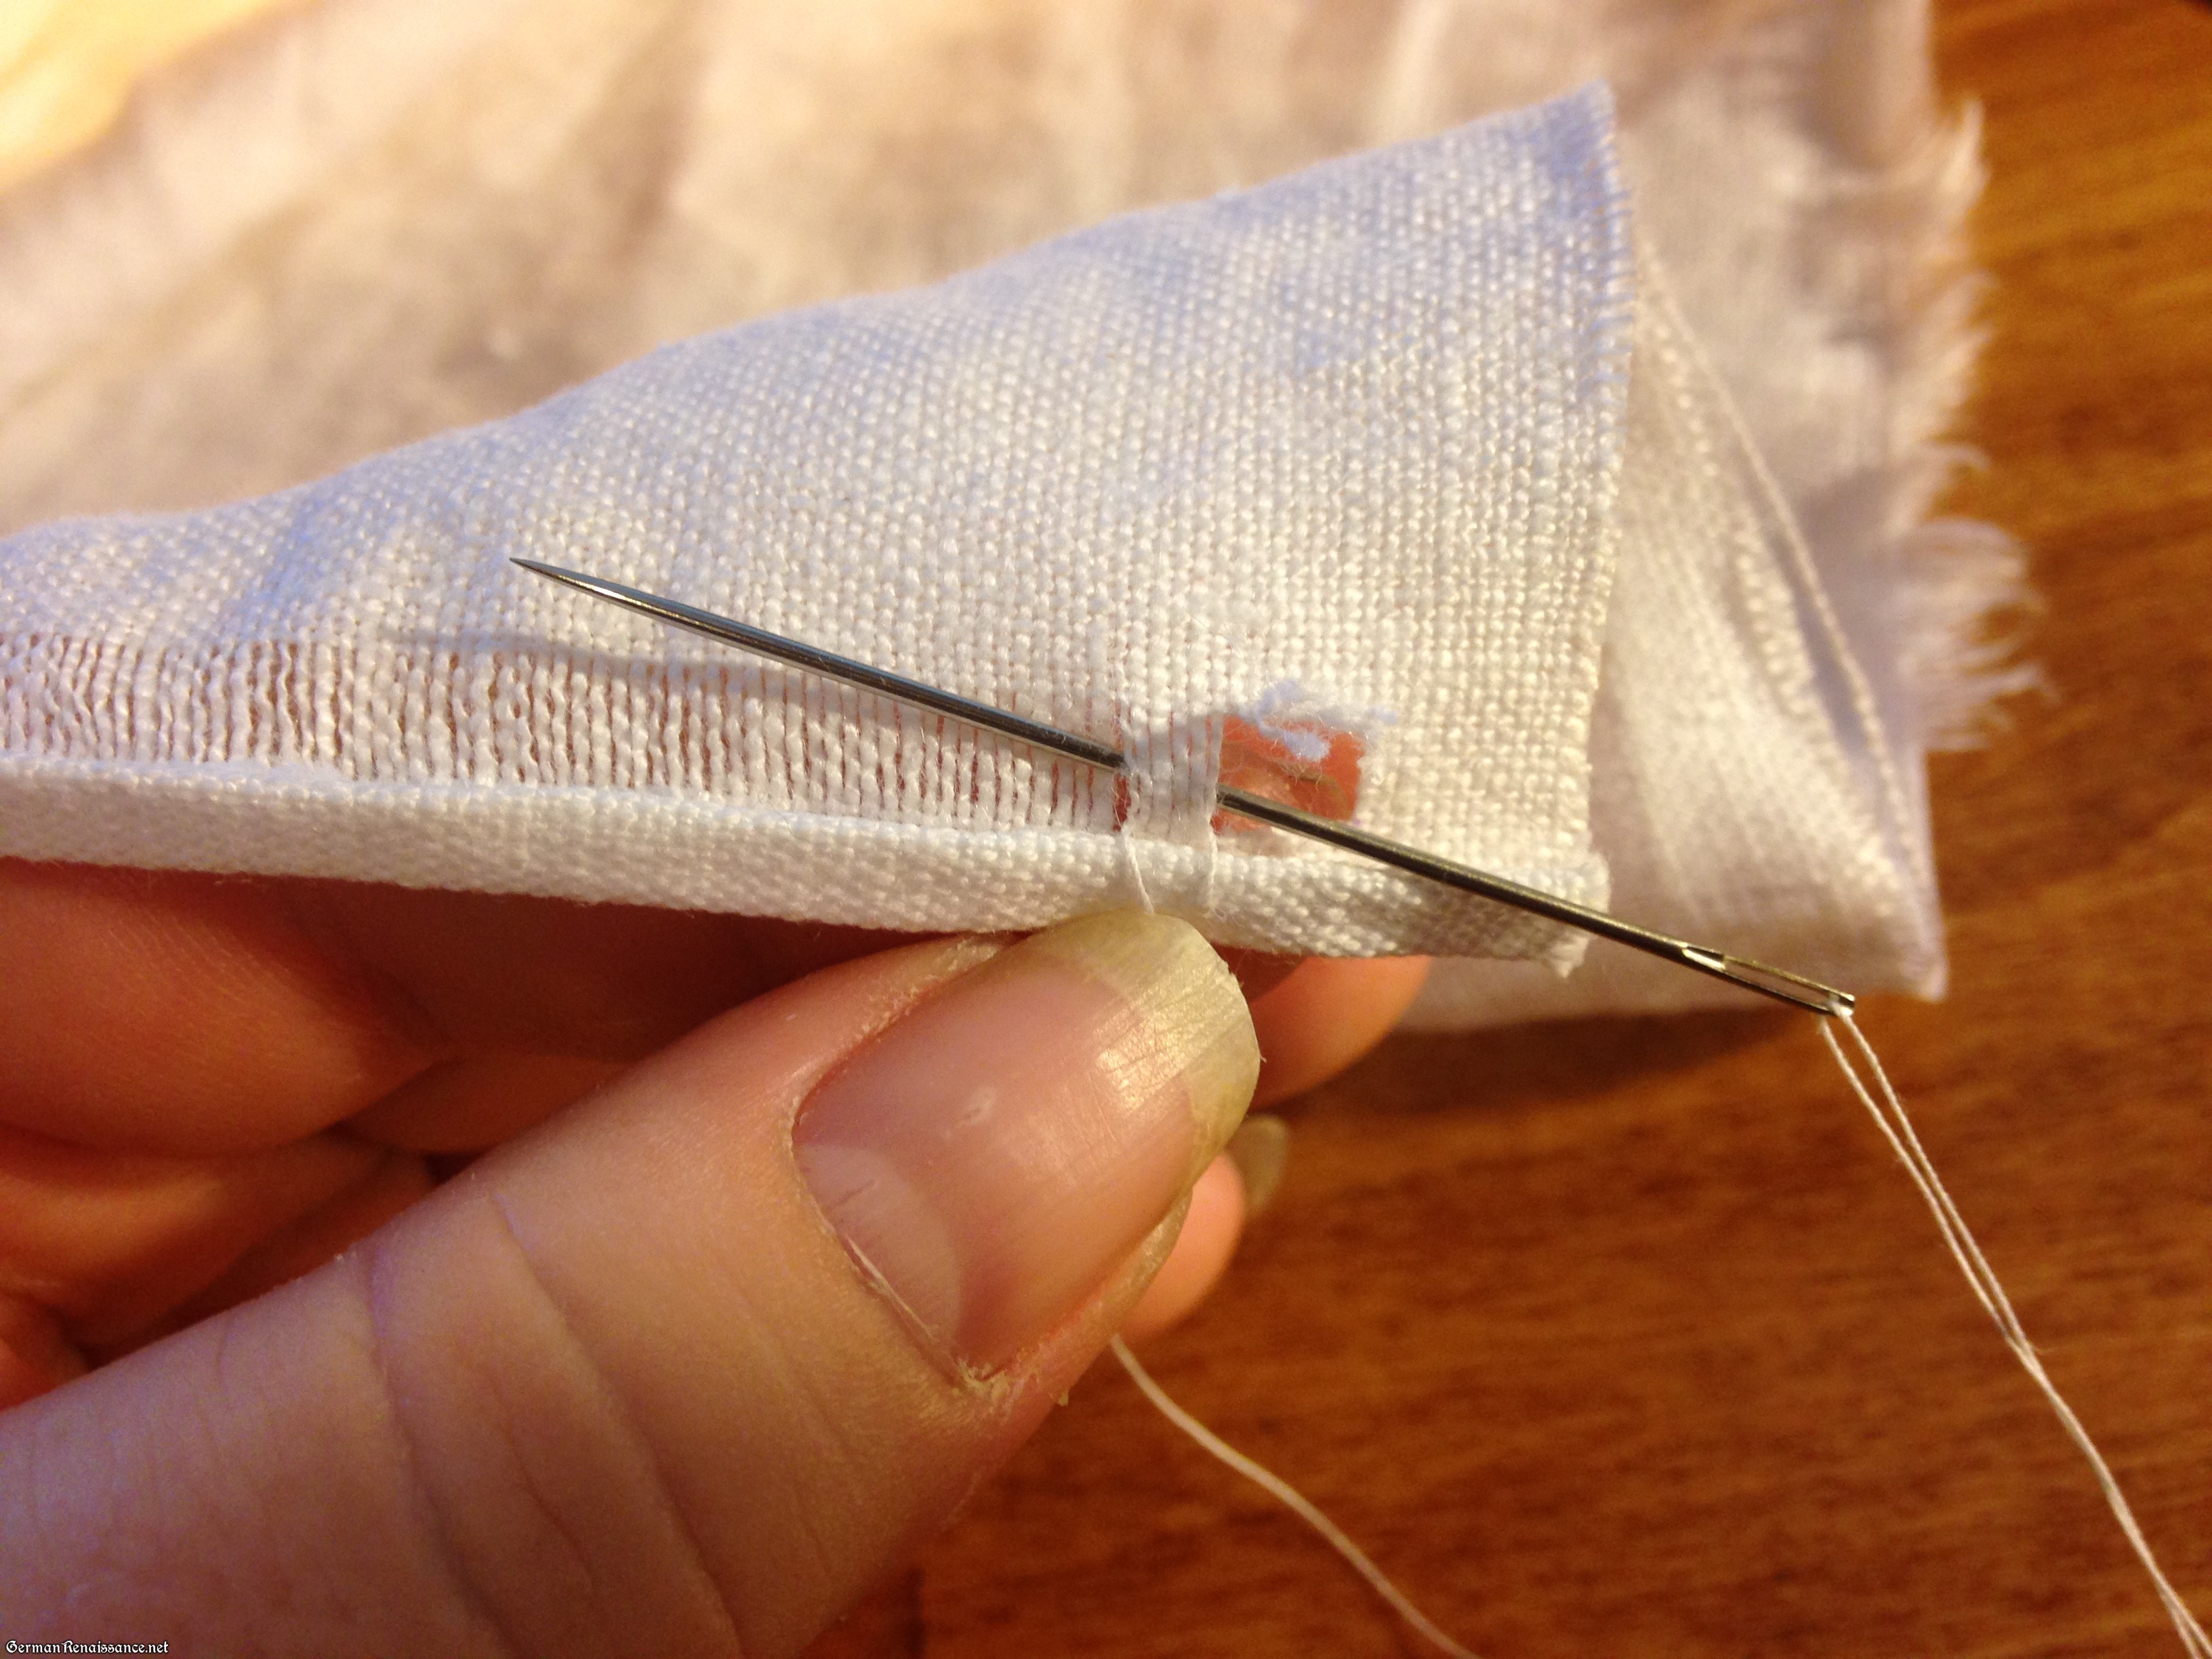
14. Pull the needle through and gently tighten the threads so that the weft threads are pulled tightly together at the base, but not so tight that the material bunches.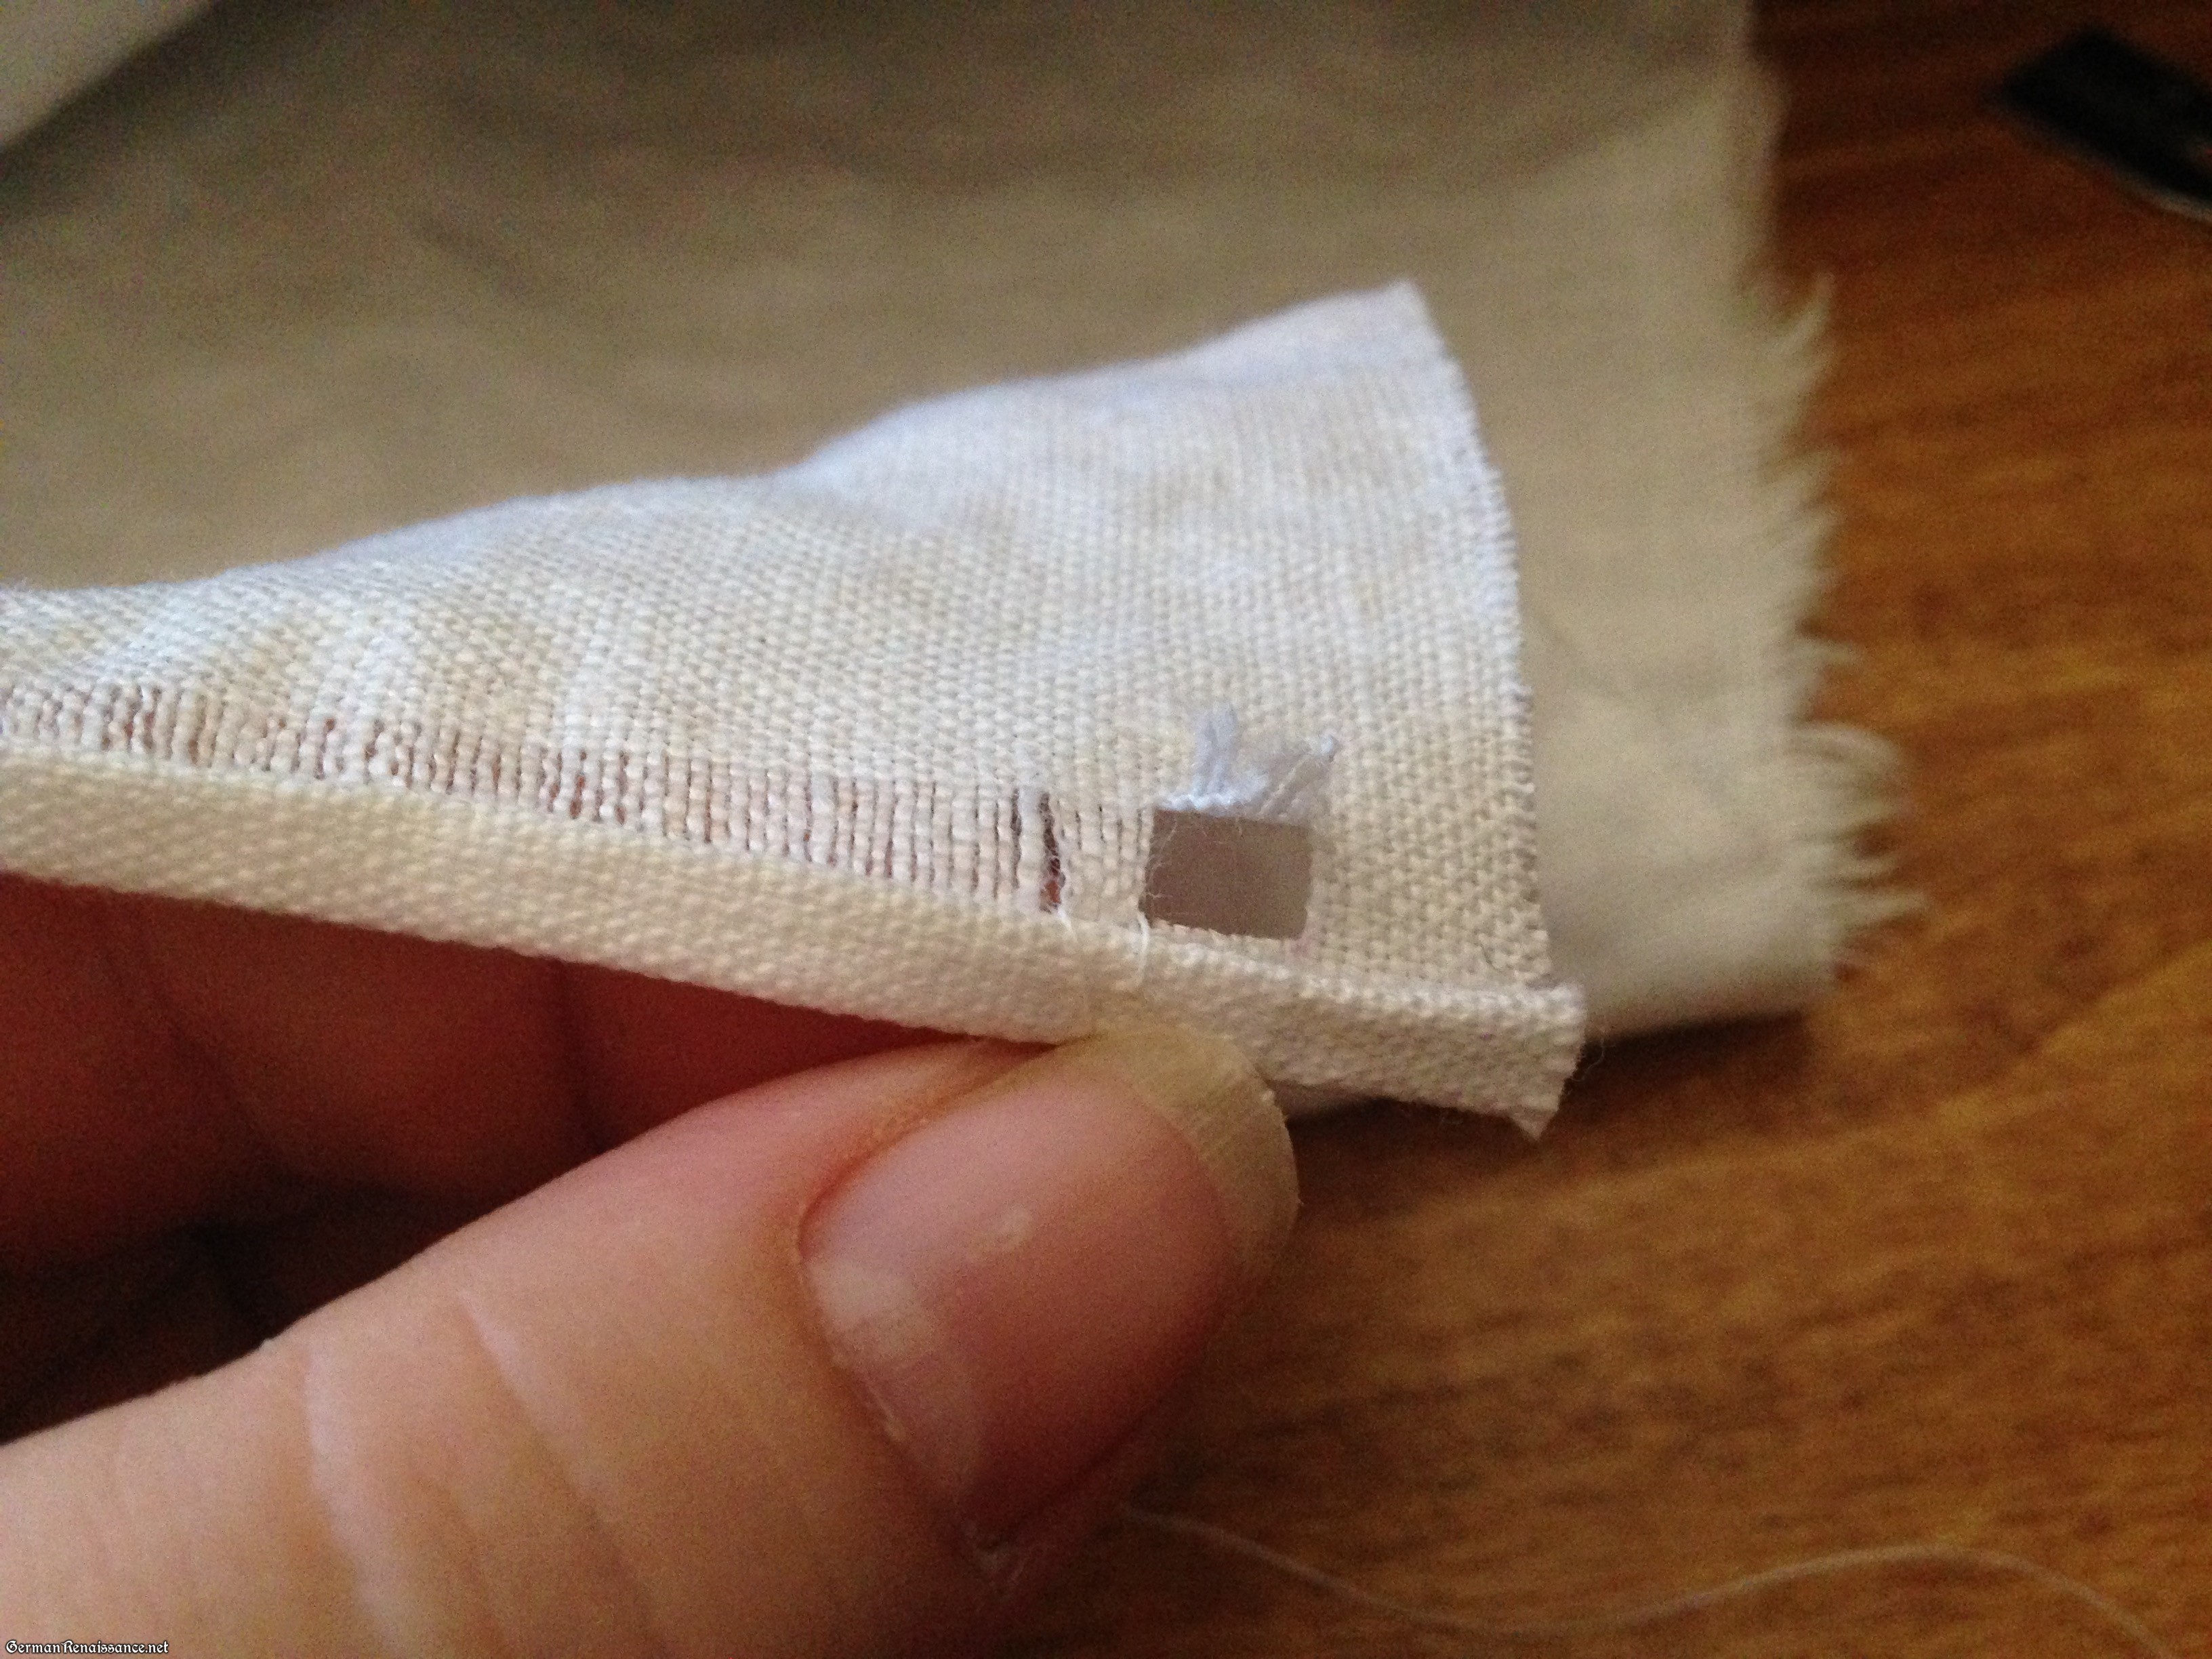
15. Insert your needle in behind the hem and out again to secure your hemstitch.
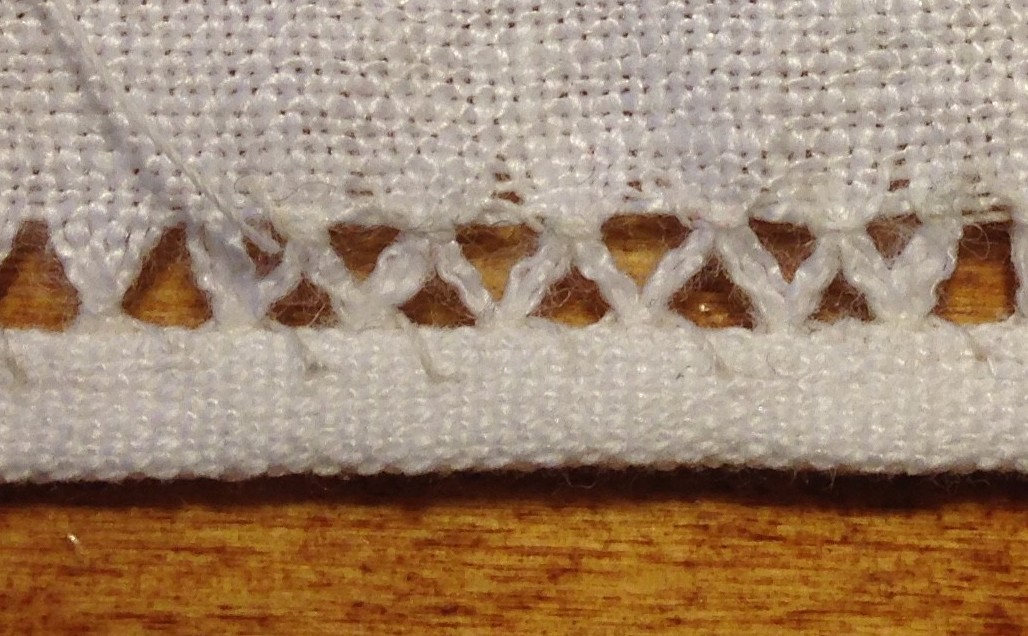
16. Now just repeat steps 11-15 across the full length of your fabric, like so:
Here is a diagram of this hemstitch:

Hemstitch (diagram copyright Genoveva von Lubeck)
This hemstitch is the most basic and I’ve heard it called the Mouse Teeth hemstitch. There are two other variations on this you can do. To make a ladder hemstitch, repeat the same stitching across the top of the pulled threads, like so:

Note: Rather than use a knot on the end of your thread when you begin this stitch, start by weaving your needle a bit through the threads above the area you’ll begin working with and then stitch over it as you go along. Later you can snip the end of the little tail and no one will be able to tell where you started. To end this stitch, weave your thread back through threads of the linen and completed stitches along the edge, then snip off.
To do the serpentine hemstitch, you repeat the same stitch across the top edge of the pulled threads but this time you stitch half of the threads from one bunch and half of the threads from the other bunch, like so:
To turn corners, snip the folds of the hem at the corner (to reduce bulk), then fold up the hem on the adjoining side, press with your fingers (or pin), and use a button hold or satin stitch around the corner square to secure it in place.
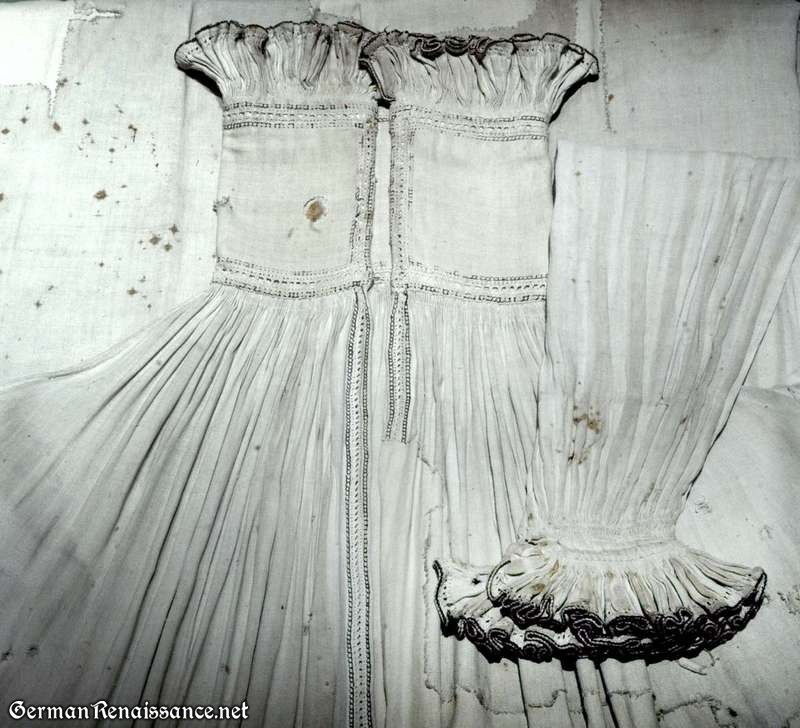
You can do hemstitch on as little as one pulled thread or as many as a dozen or more — it all depends on the look you want and the weight of your fabric. Hemstitching can be done without needing to be right on the hem, which means you can also stack lines of hemstitching for a more complex look. In the 1569 Nil Sture shirt shown below, you can see how there are three stacked lines of hemstitch, with the two outside lines being smaller (fewer threads removed) than the inside line.
Drawn thread work can get much more elaborate. If you’d like to learn more, I highly recommend the free book, Drawn Thread Work in the Antique Pattern Library. You can download the full book as a PDF.
I will be teaching this hemstitch technique at least twice this summer. Once on Wednesday, June 17 at 1 pm at Lilies War (Grand Pavilion A). And again on August 5th at 2:00 pm at Pennsic War (A&S 3). Here is the handkerchief students can make in my class:
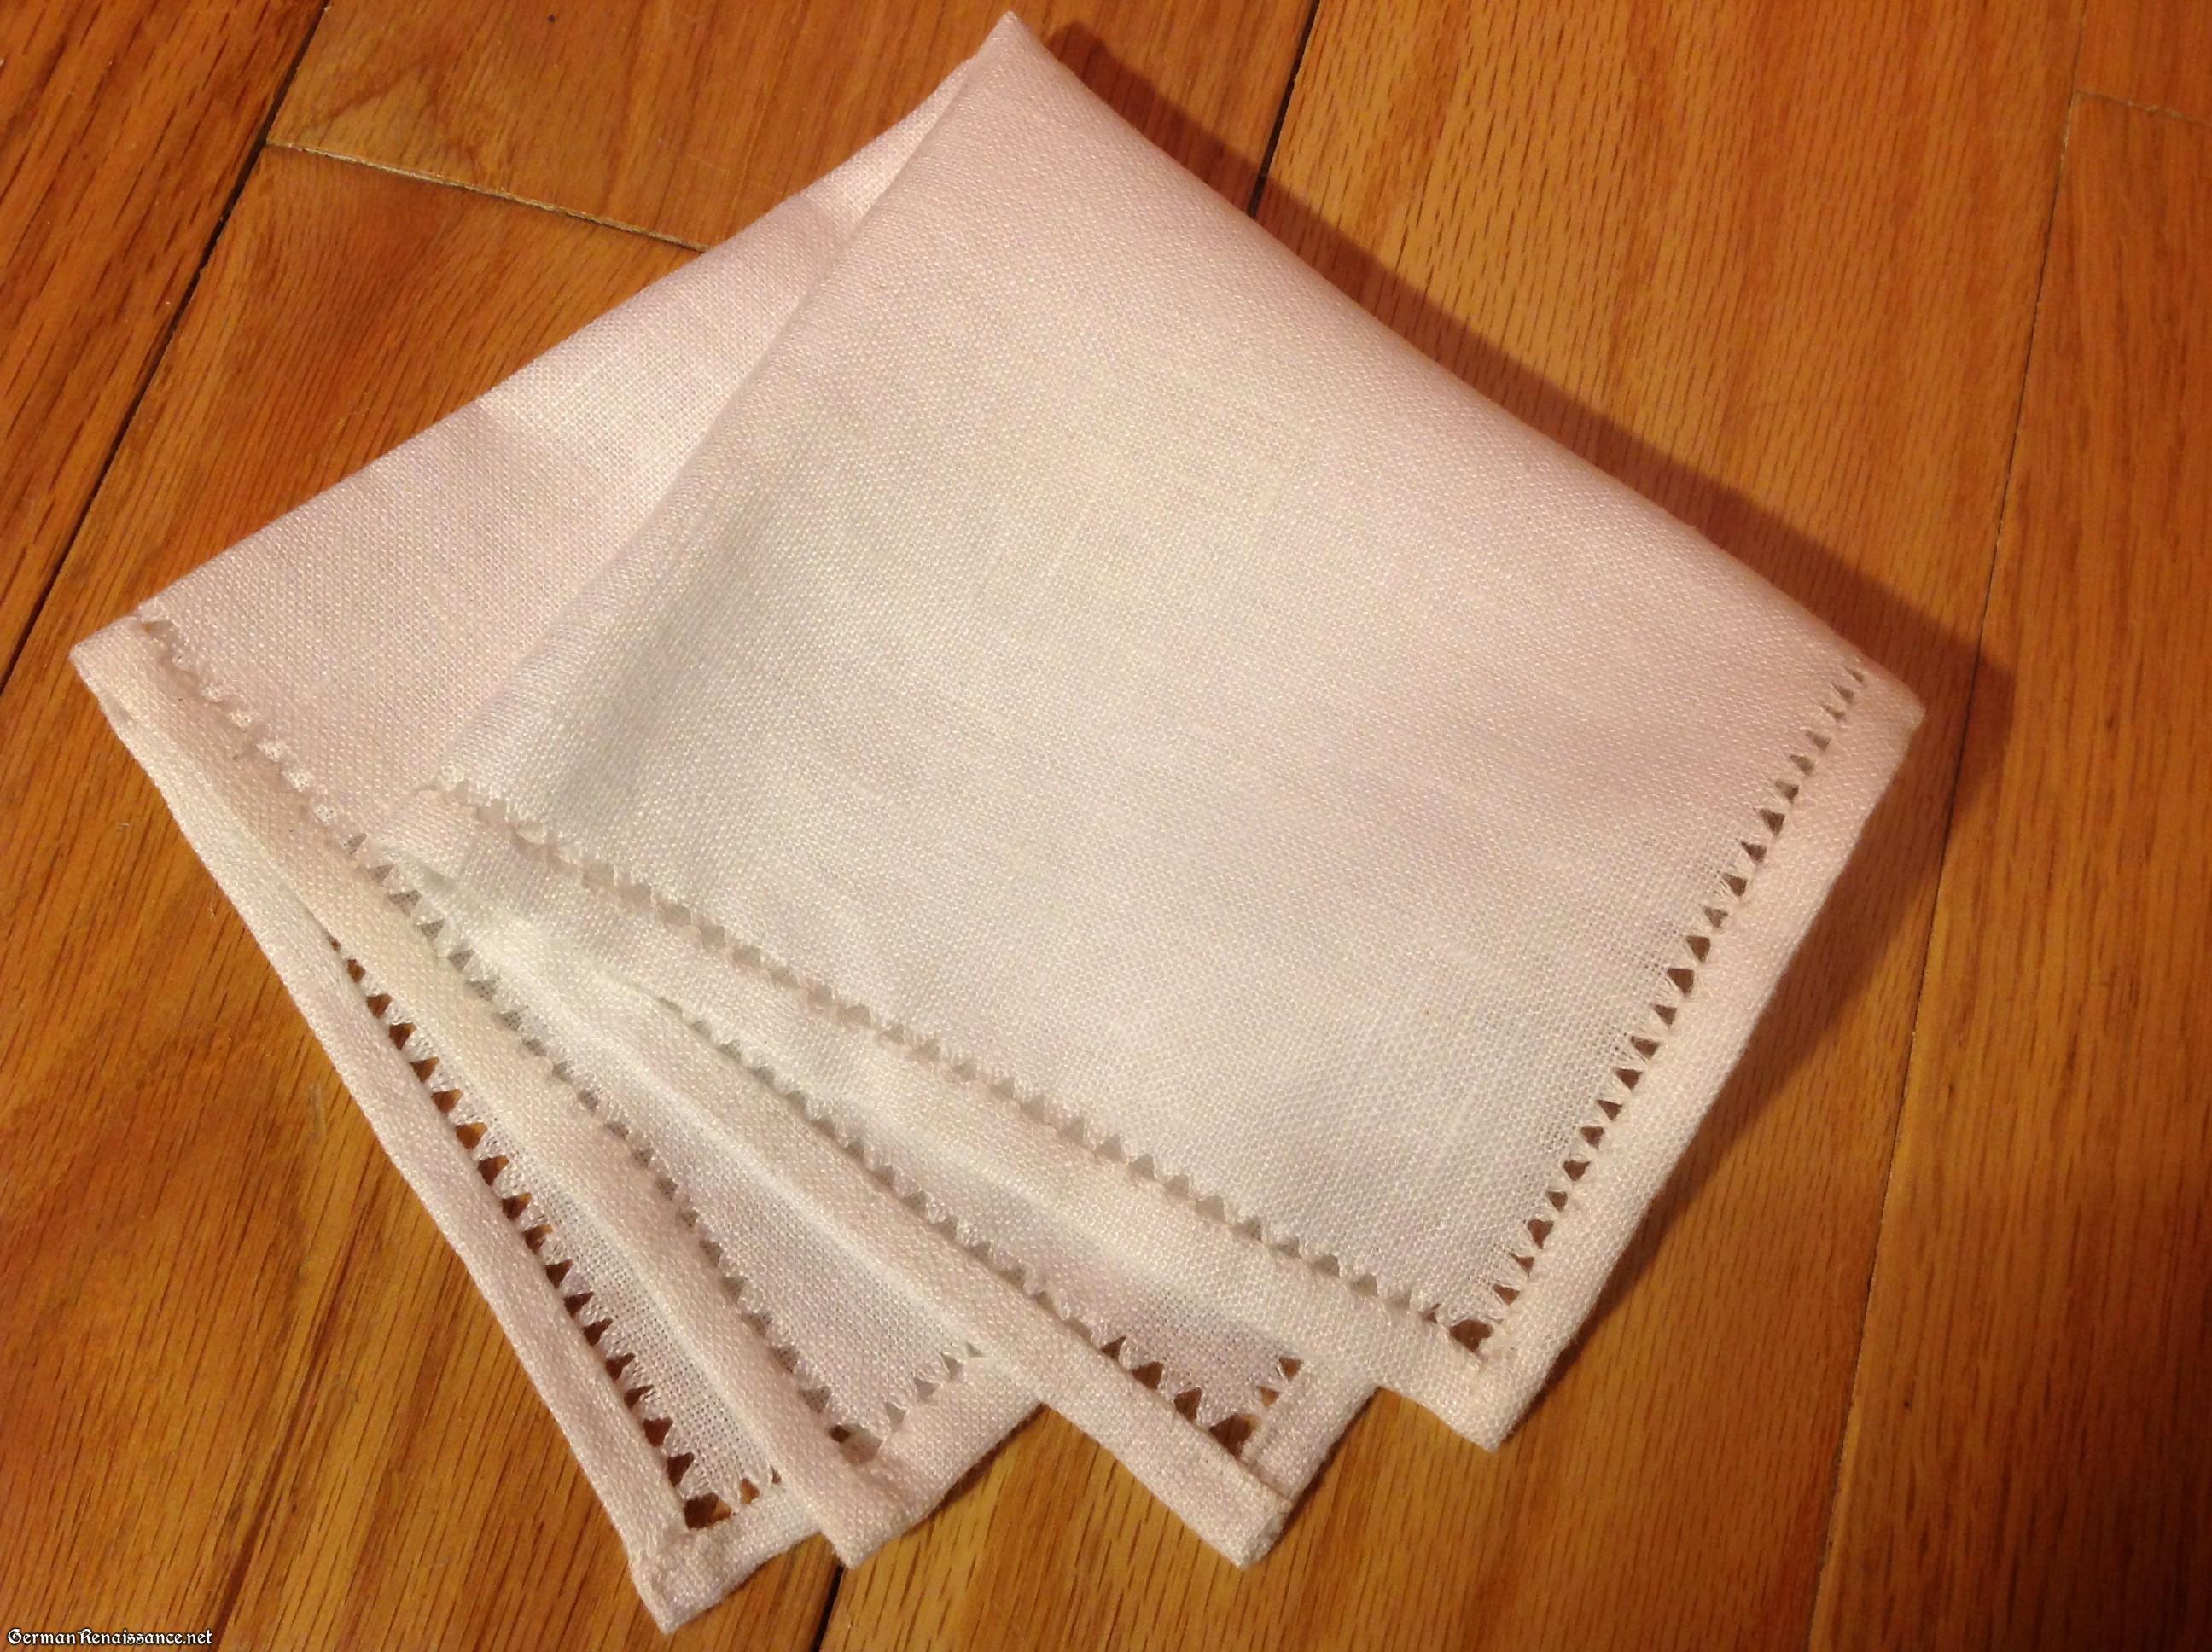
Here is a link to my class handout: Drawnwork-Hemstitch-Hankie-Handout

Thank you for a very clear, well illustrated and nicely documented article, Genoveva! I will be referring friends to this site in future!
Thank you your excellency. This is exactly the information I needed to finish a project that is currently underway. With your permission, I would like to share a link to this page with members of our embroiderers guild. Do I have your consent to do so? Thanks
Yes, you have my permission and encouragement to share. 🙂
Thank you very much. Your link has been shared with our group. Wishing you a very lovely evening.