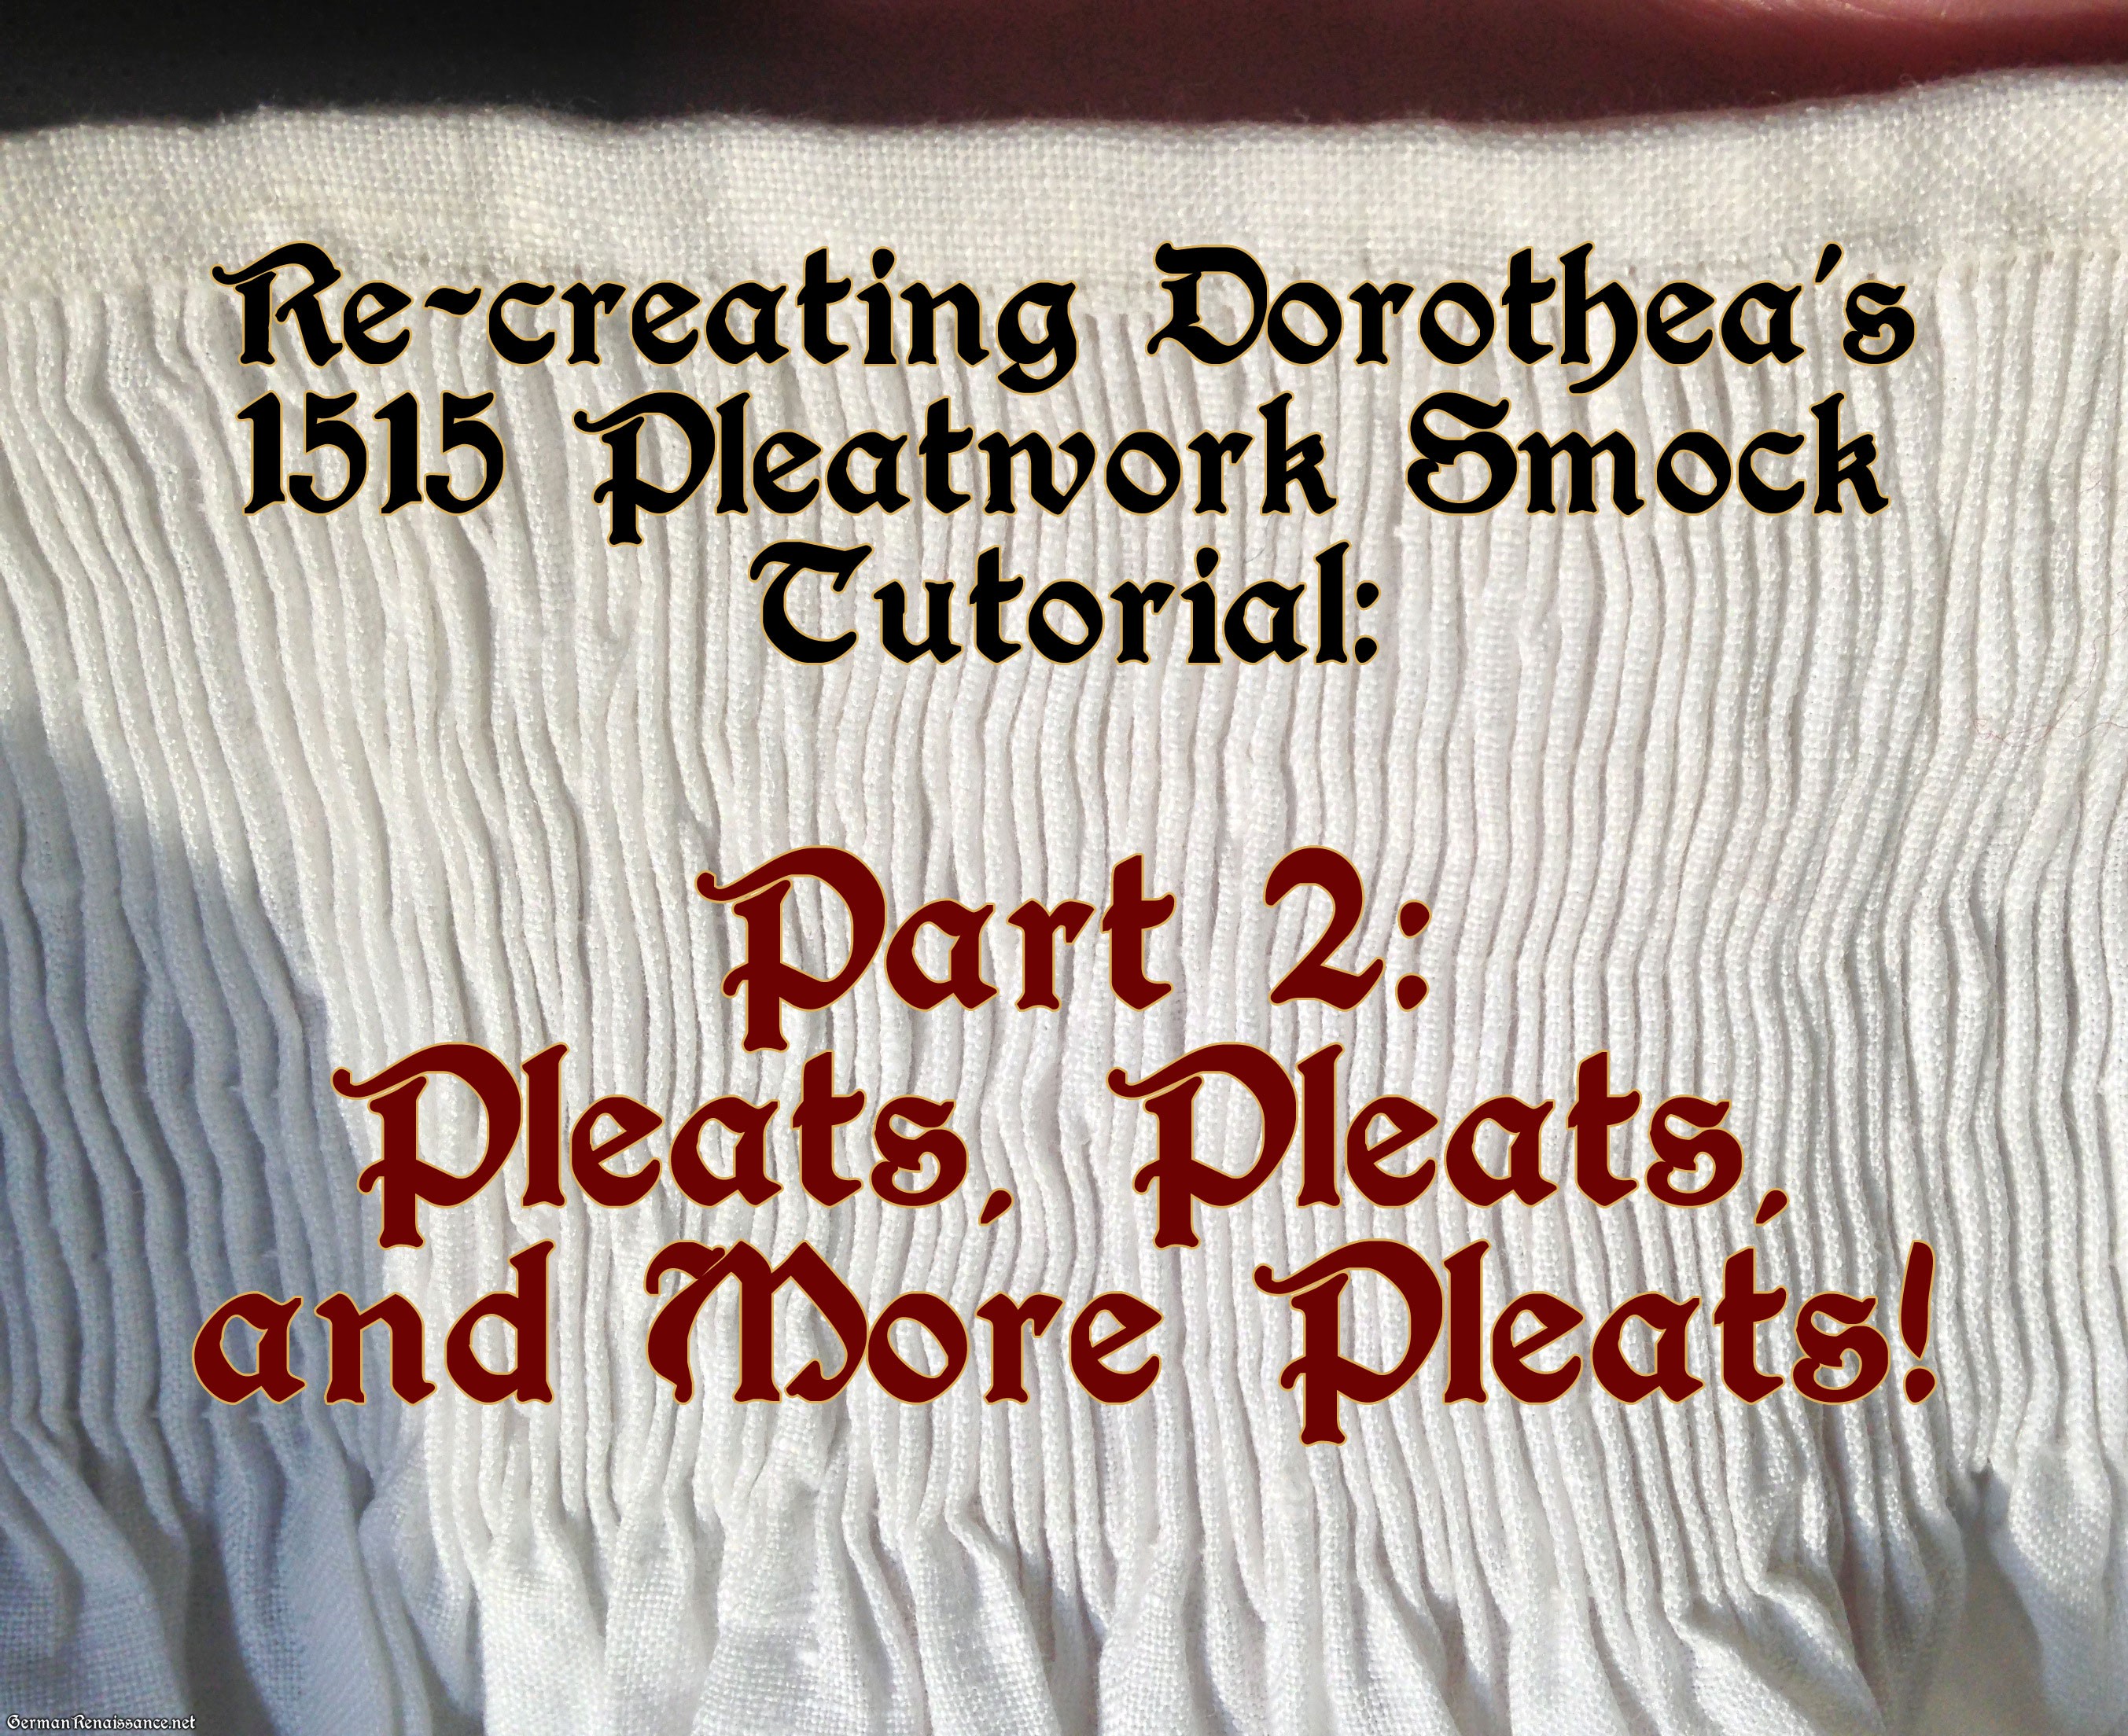
 Welcome to part 2 of the tutorial on re-creating Dorothea’s pleated hemd from her 1515 portrait by Hans Holbein. In part 1, you cut out your linen, attached the top several inches, made your gathering stitches, and pleated your fabric to the measurement of your neckline. What’s next? More pleats … and SECURING those pleats!
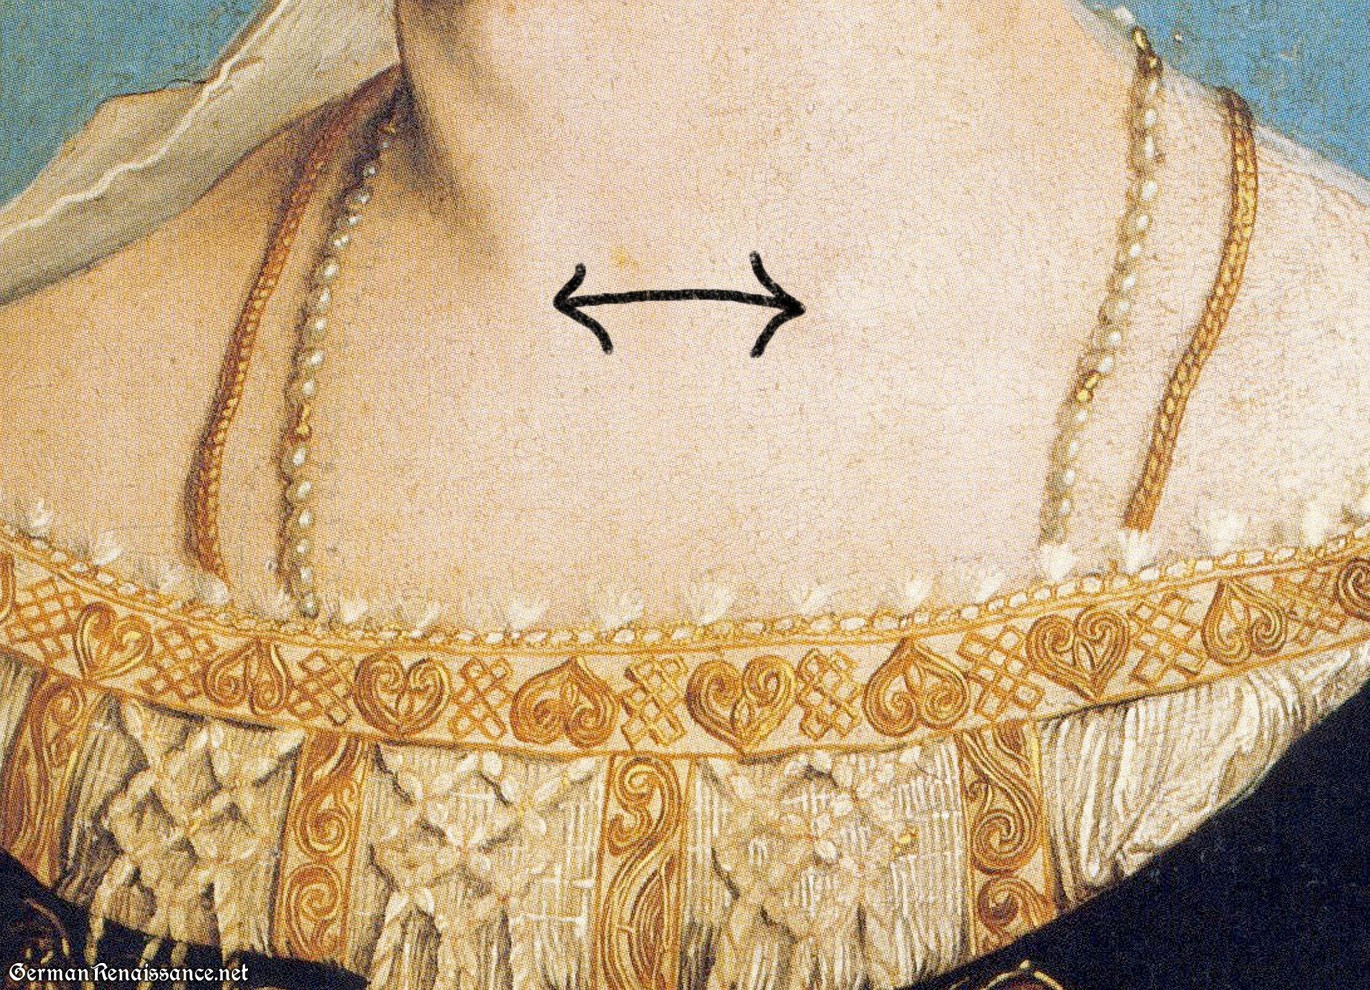
Taking a closer look at Dorothea’s hemd, you can see that the front section’s pleats extend further down. Based on my estimations (i.e., measuring her clavicle bones and determining average distance in females), I think the front pleated section is 27 cm. wide by 7.5 cm long. You’ve already done 2.5 cm, so we just need to pleat 5 more cm down and 27 cm across.
So let’s resume the tutorial at step 9 (steps 1-8 are in part 1):
9. Line the gathering grid up along the top edge of your fabric starting at one side of the front section. Make sure the first dots line up with the stitches already completed. I used pins, pushed through the holes in the grid and then pushed through the last stitches in the fabric, to line up my grid and keep it in place.
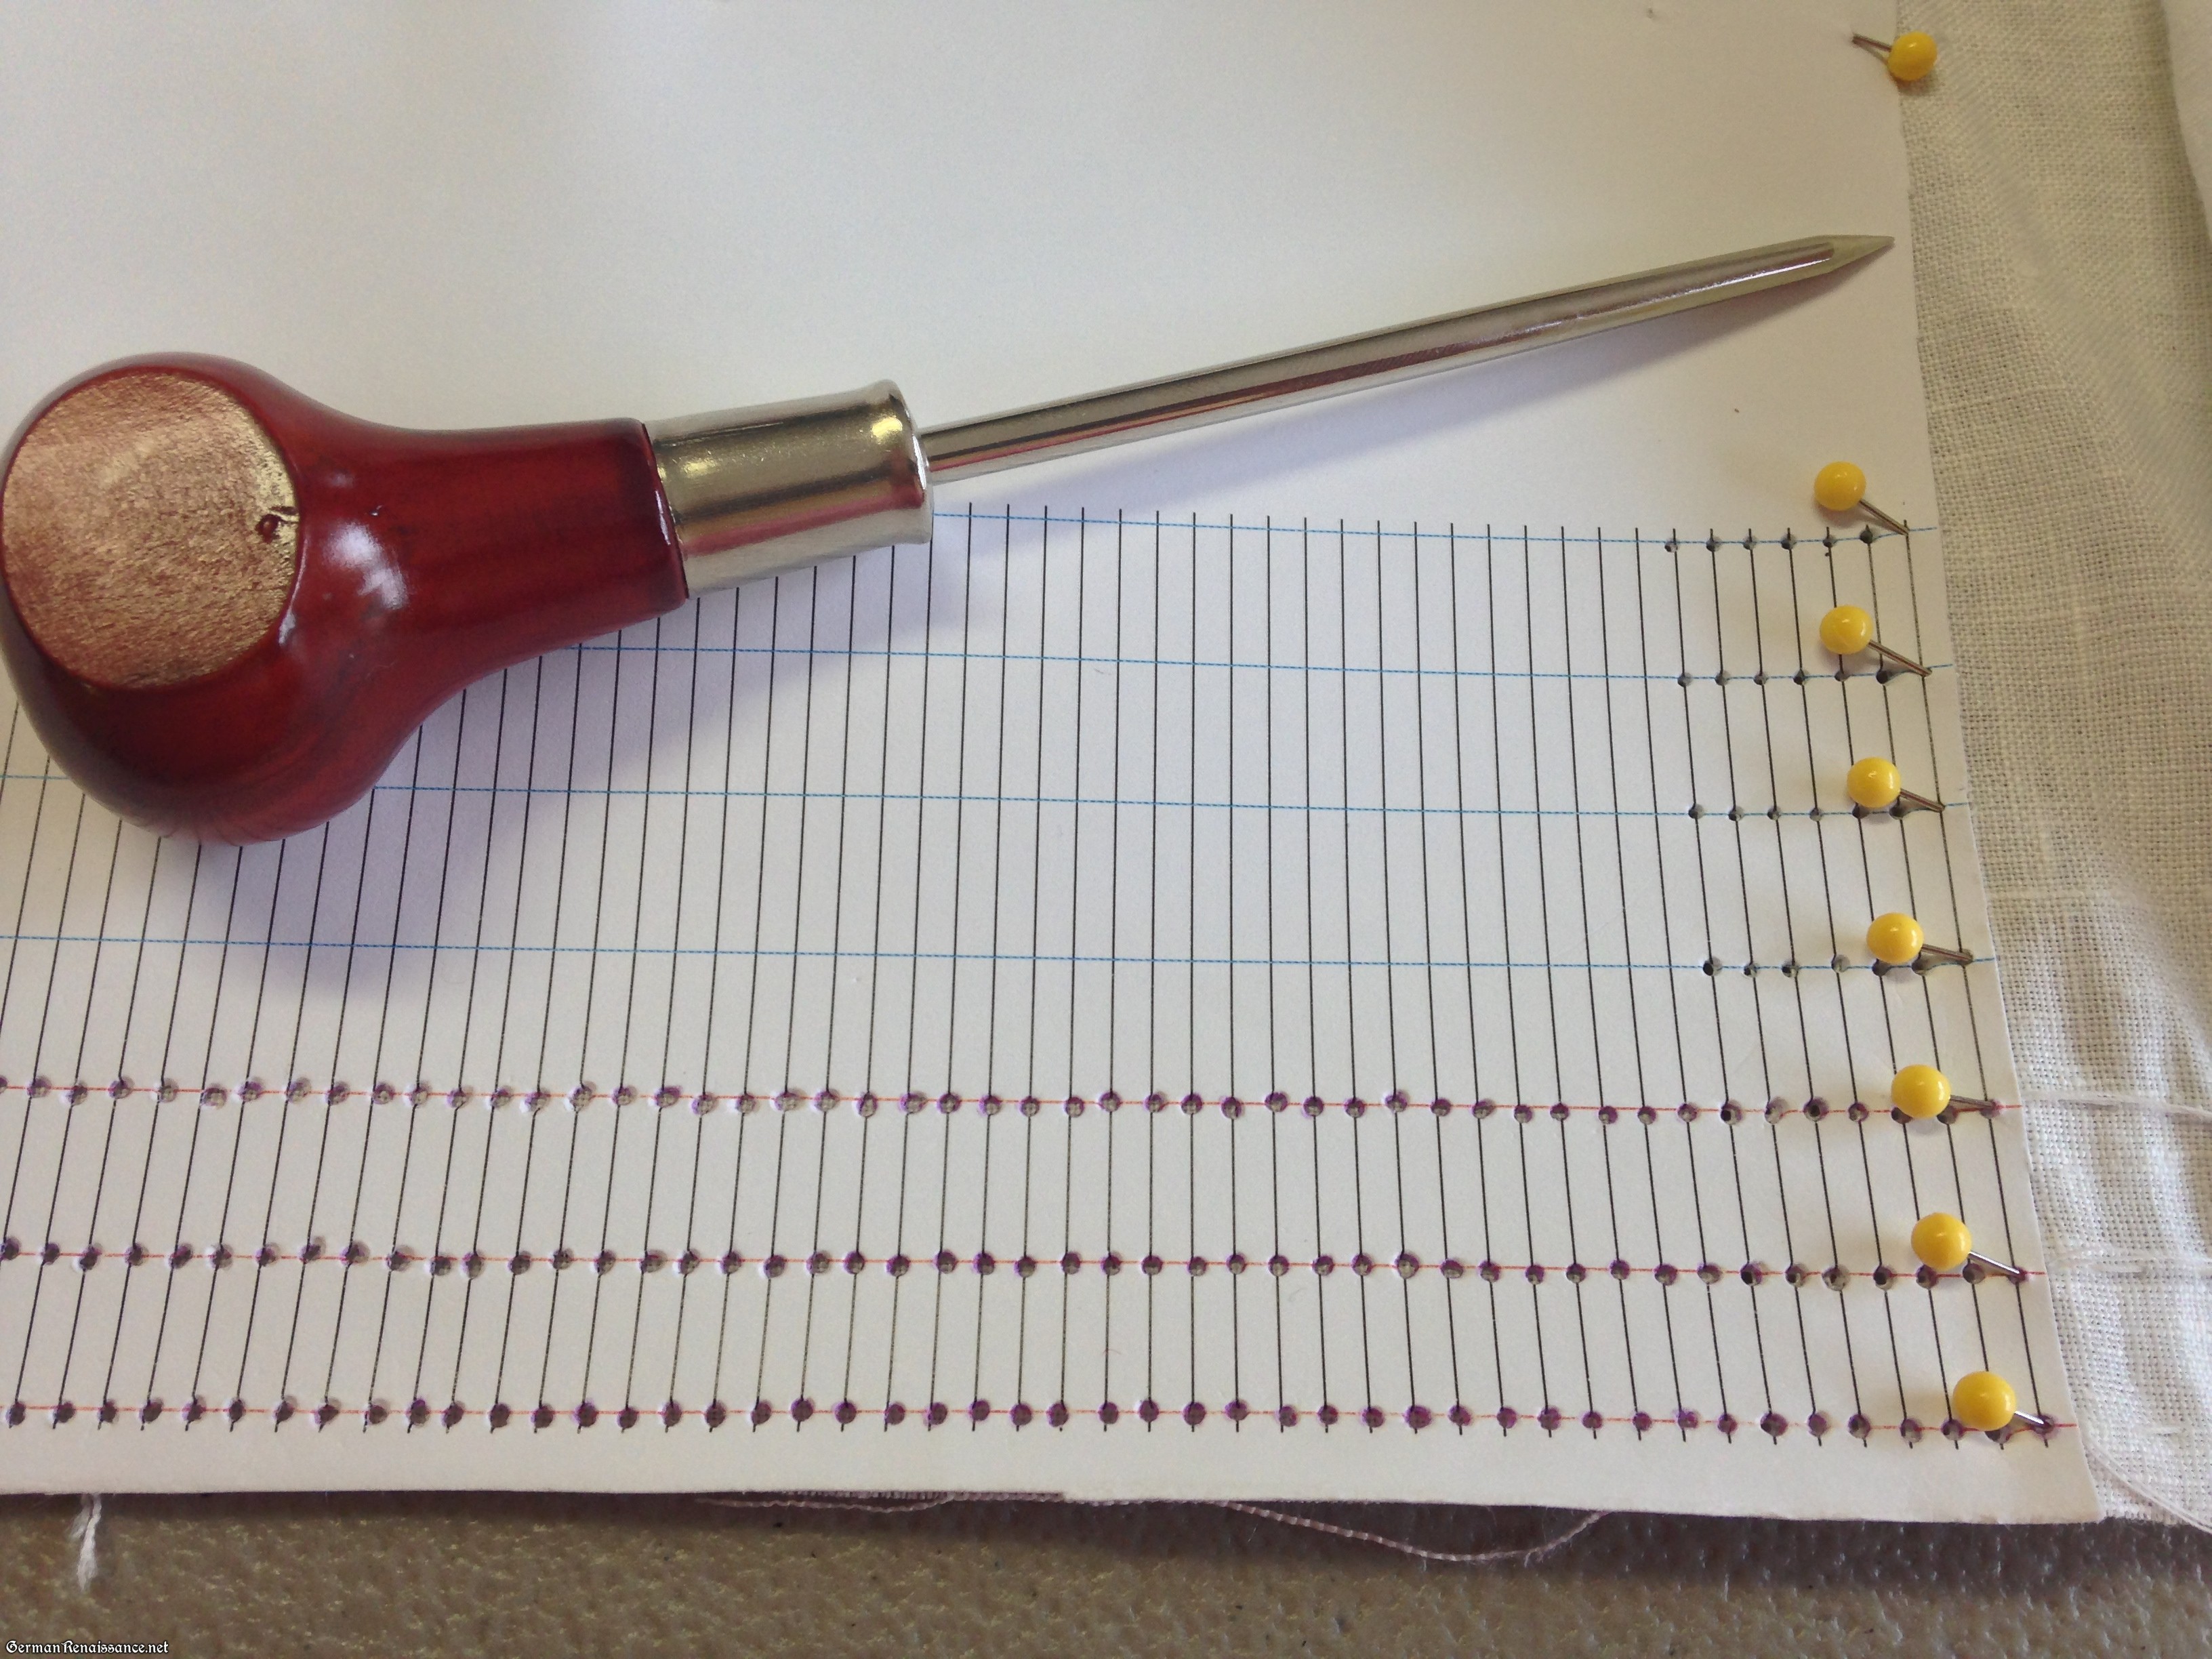
10. Now mark the three orange lines as well as the four blue lines (seven lines in total) along the full 108 cm of the front area.
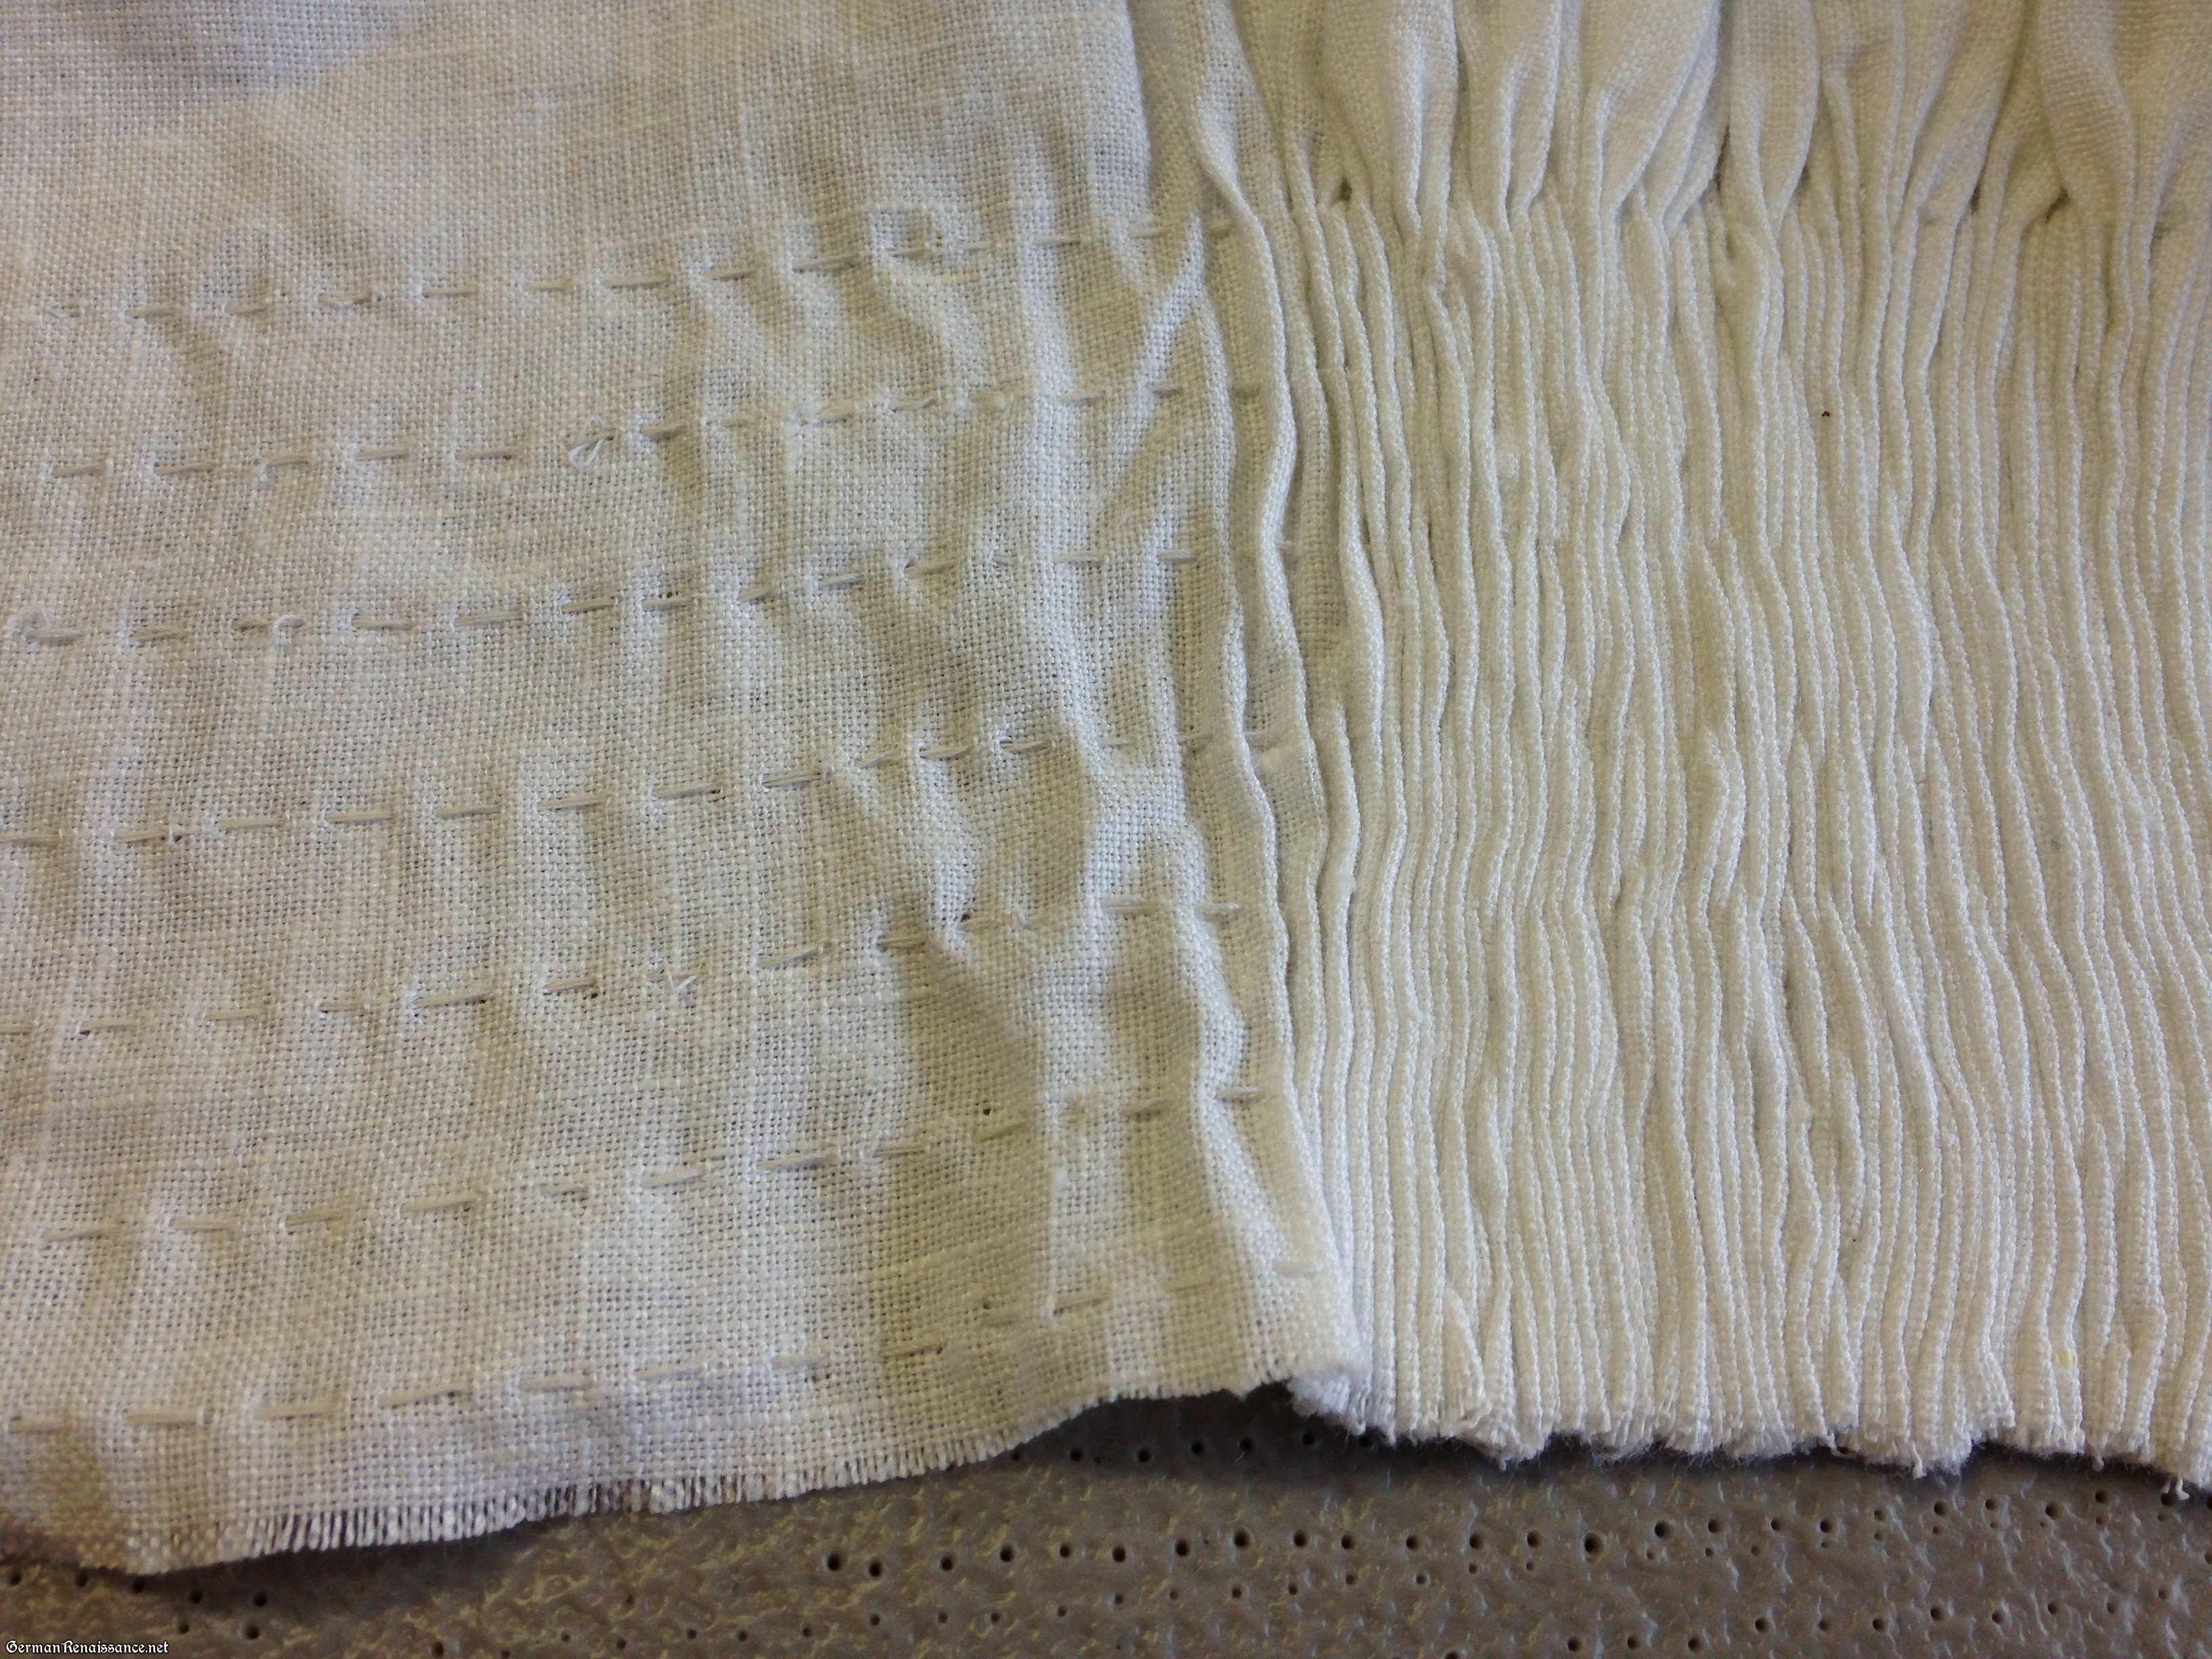
11. Sew the same gathering stitch (this time using seven threads for the seven lines) along the top section. When done, wet the linen and pull the stitches to pleat the fabric. Pay special attention that your pleats are nice and neat.
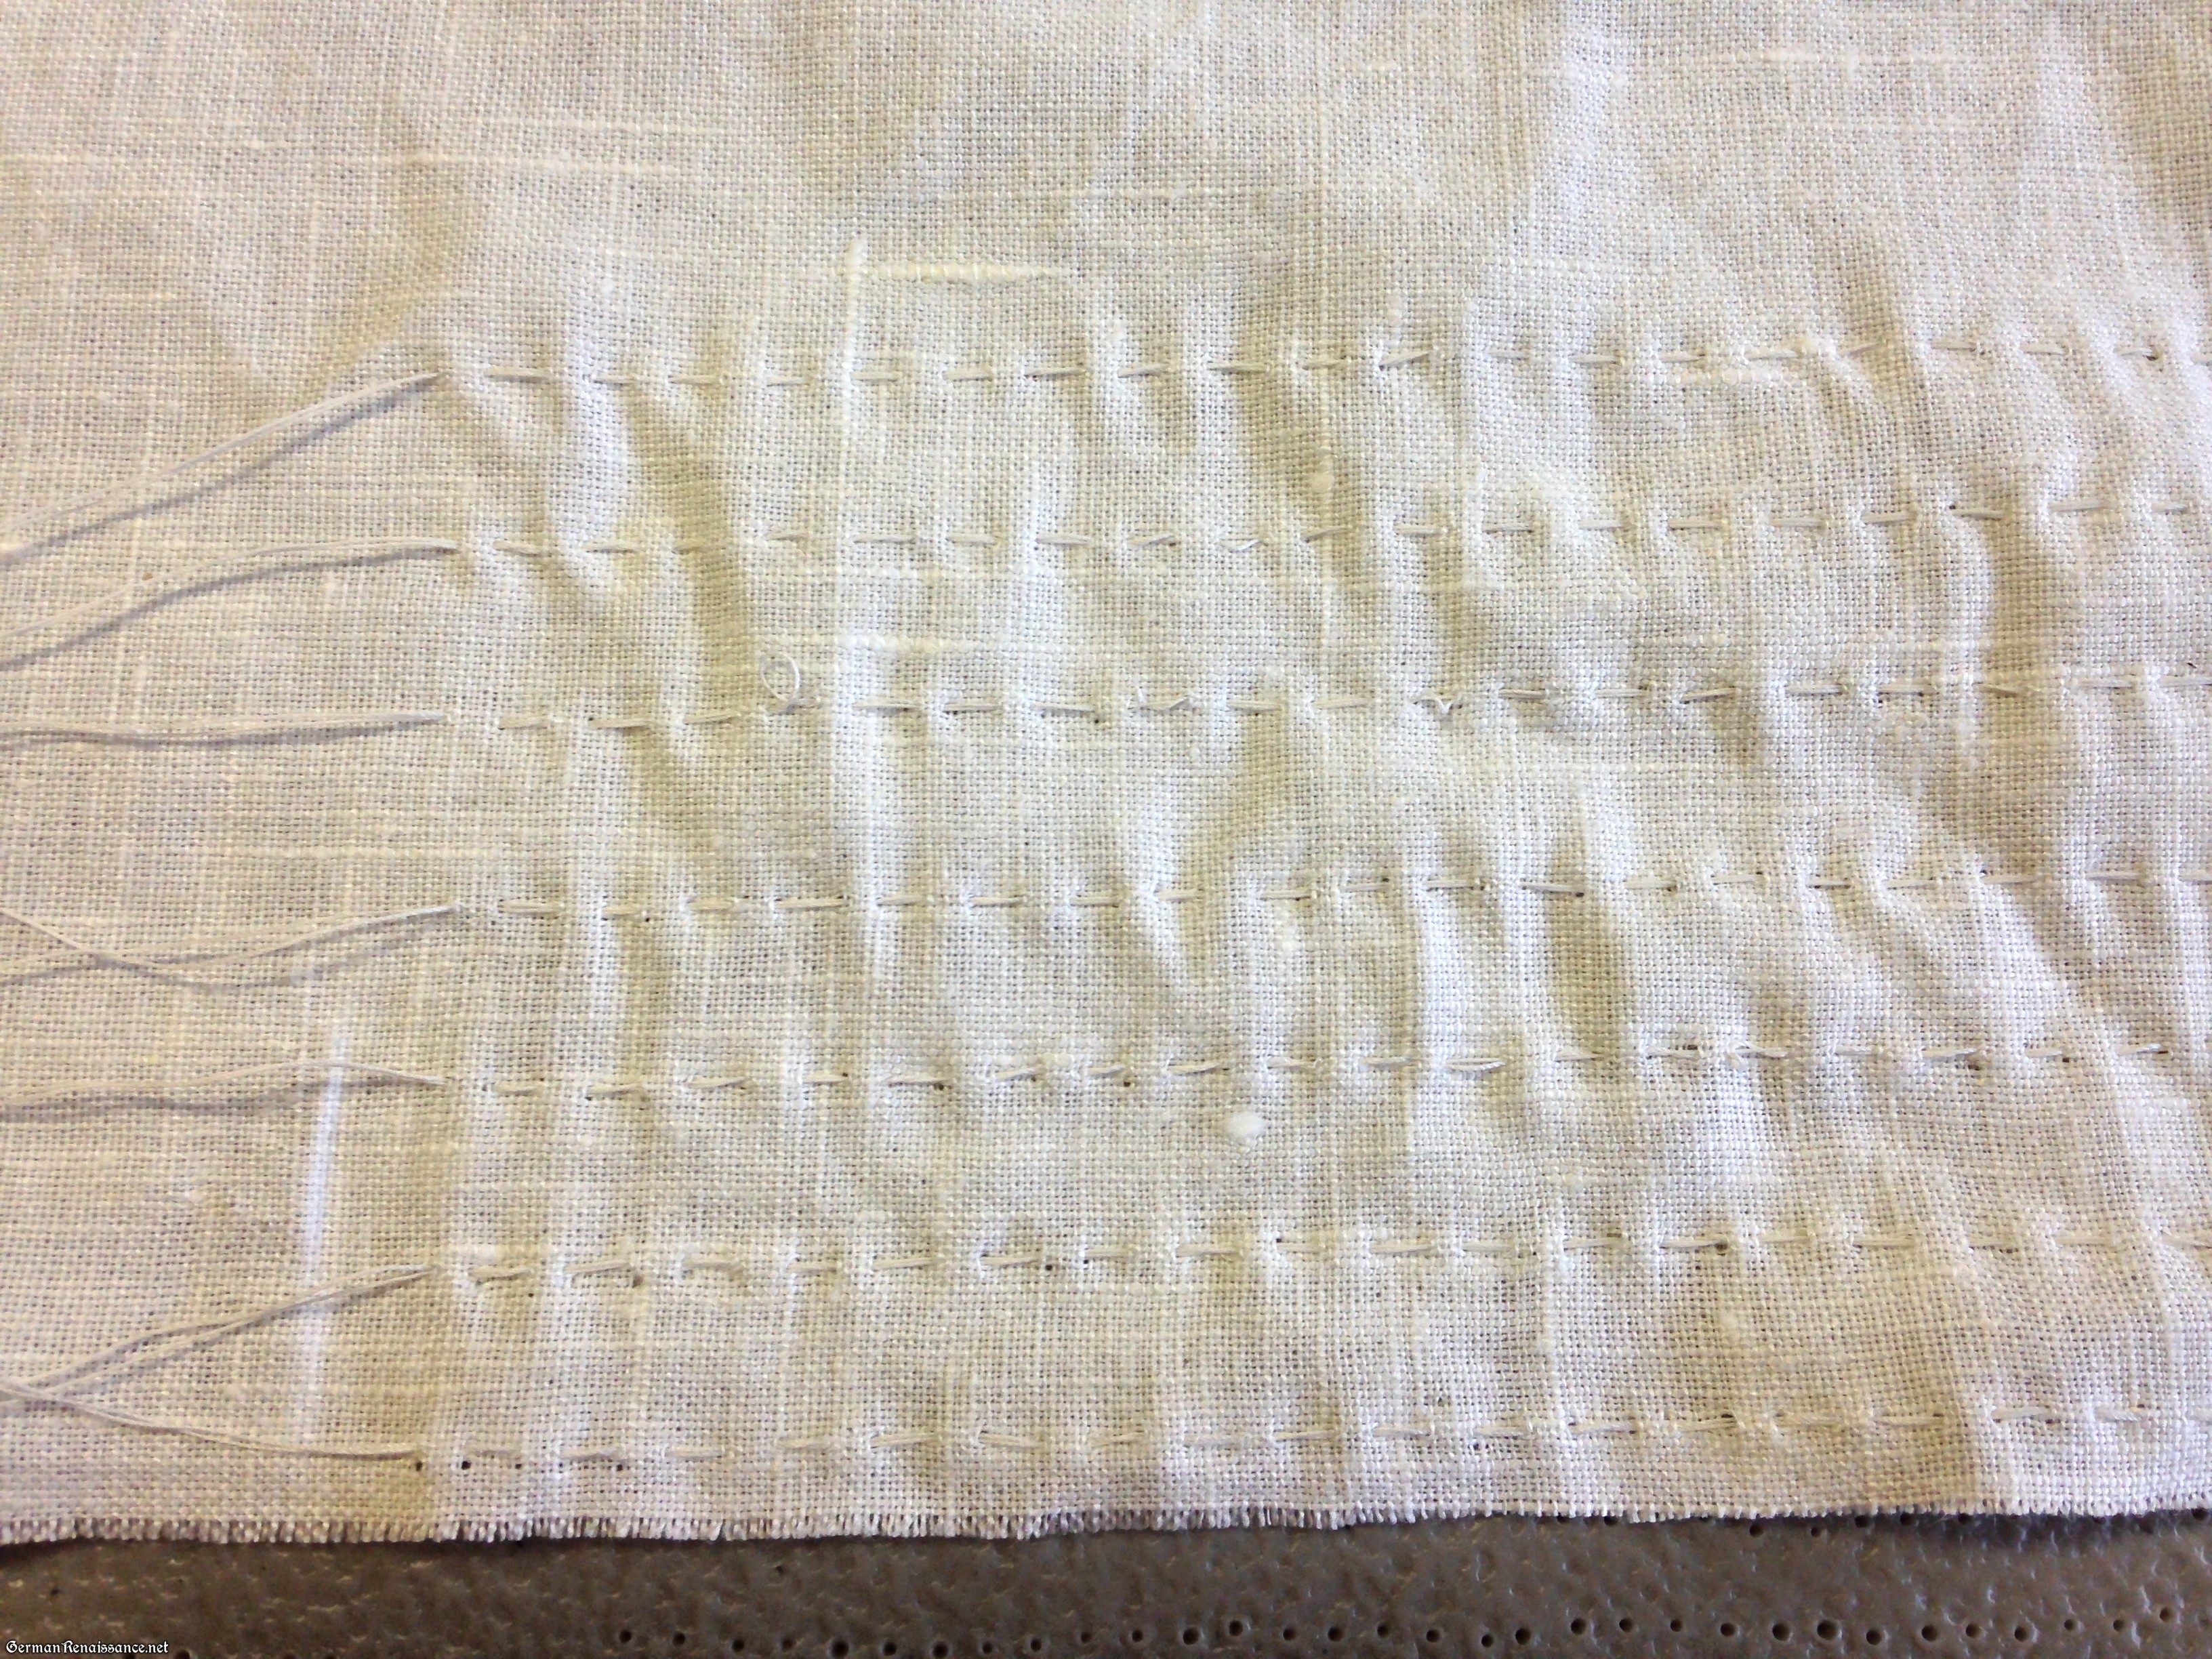
12. Measure the front pleated section to see if it is now 27 cm in width; if not, adjust your gathering threads and pleats until it is exactly 27 cm. When the front pleated section is 27 cm in width, knot the edges of your threads very well to keep it from changing size.
13. Now measure the entire pleated hemd neckline and compare it to your own neckline measurement. If it is smaller, evenly spread out the other pleats (not the front pleats) just enough so that the circumference of the pleated neckline equals your neckline measurement. If it is larger, pull the threads of the other pleats tighter to reduce the size. Pay attention to spacing of pleats and try to get them as even as possible. Now knot the ends of the threads so that the neckline does not widen as you work on it. Leave the threads in.
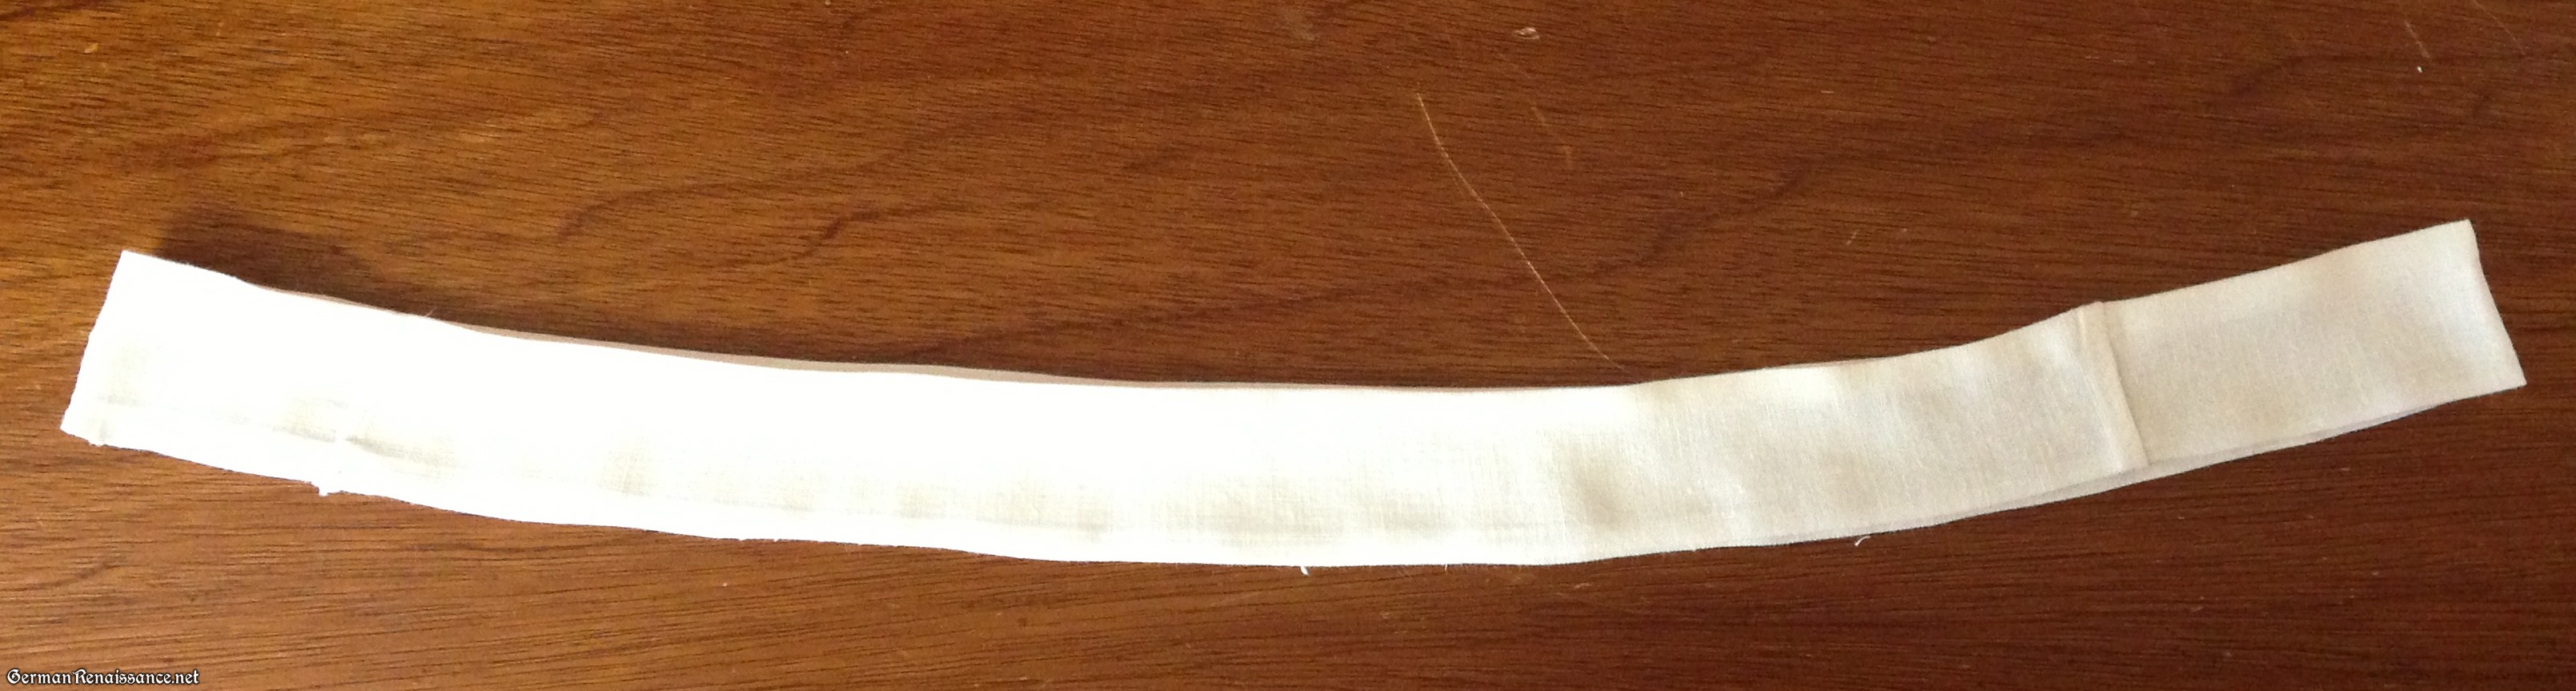
14. Now we need to secure the pleats, as the gathering threads are not strong enough to hold them forever. Take your casing strip and sew the two ends of it together so it matches your neckline measurement (I recommend another flat felled seam).
15. Fold over the top and bottom edge of the casing strip by 1/2″ then iron so it keeps the fold. Now fold the top edge down again by 1″ and iron. While ironing, add a gentle curve to the band by wetting one edge and pulling it while ironing it.
16. Place the folded casing strip over the top edge of your hemd so that the pleats are covered by the strip (you want to be able to feel the top of the pleats nestling in the crease of the casing strip fold). You want .5″ on the outside and about 1.5″ on the inside. Position the casing strip so the seam is in an inconspicuous position, either centered along the back edge or (my preference) matching one of the back sleeve seams. Pin in place.
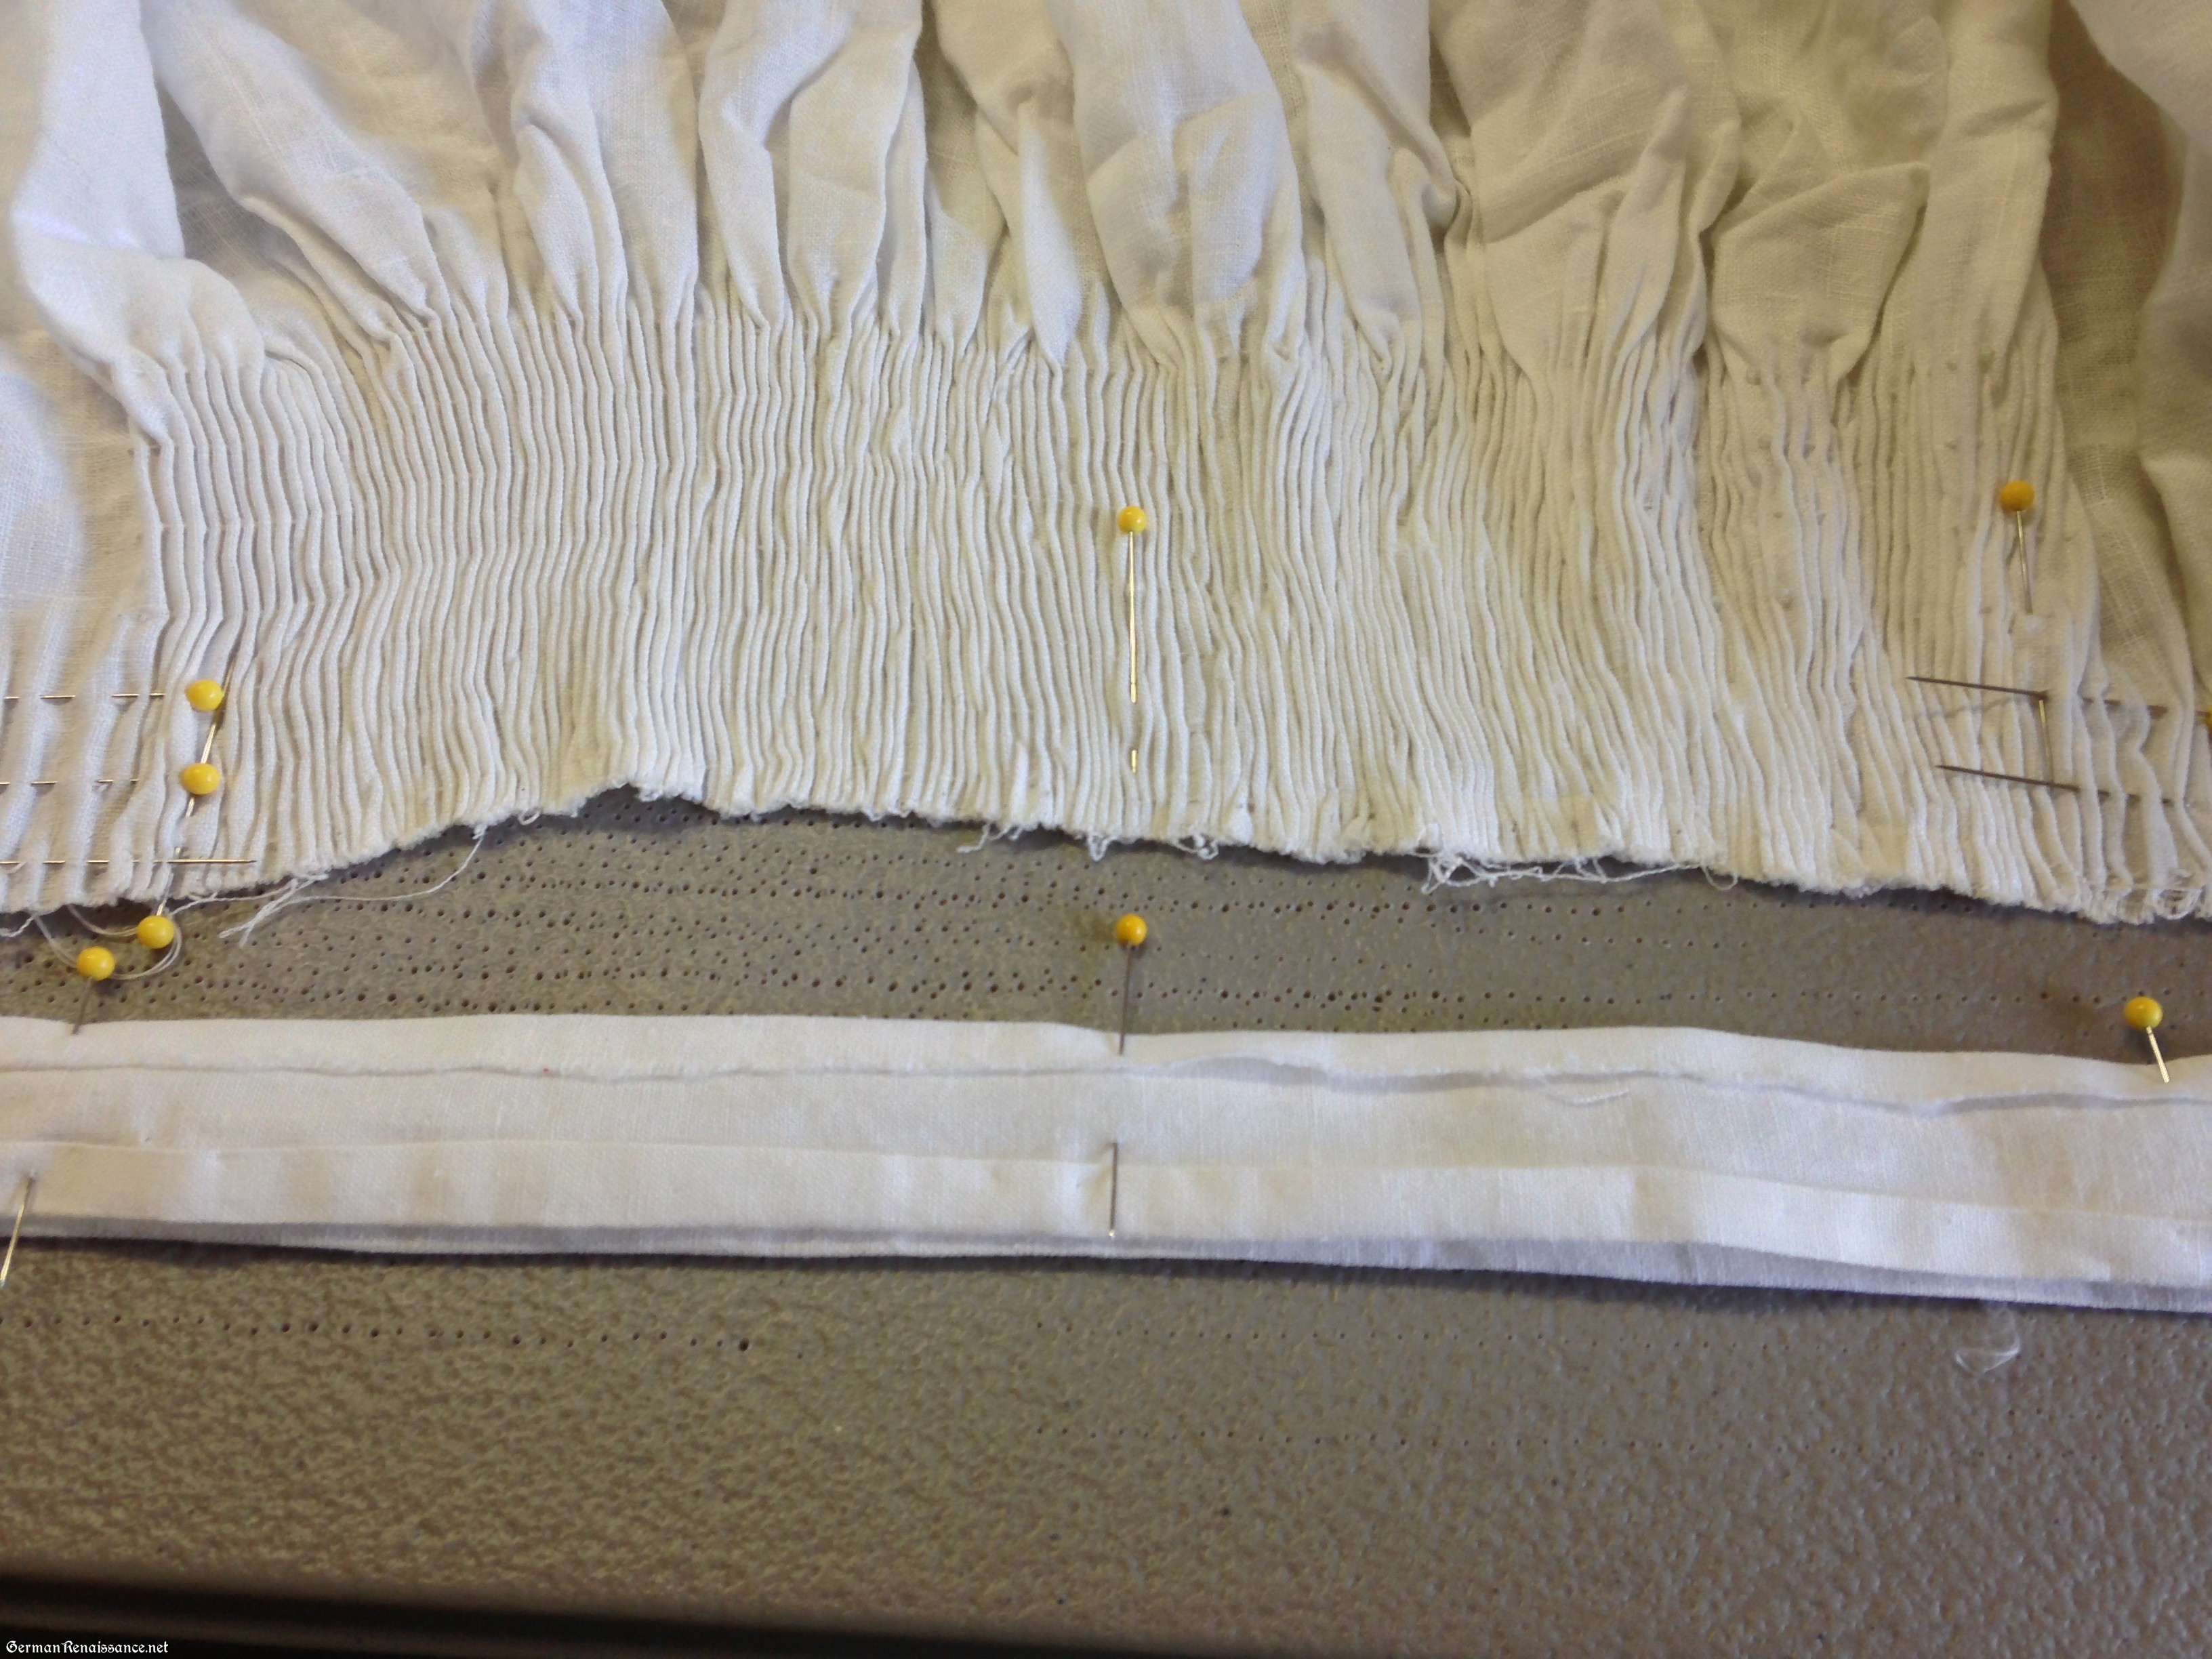
17. Stitch the front edge of the casing strip to each pleat using a whip stitch. Yes, that’s a lot of tiny stitches. Do your best to stitch the casing strip straight along the pleats — use the gathering stitches as a guide for keeping your casing strip in the right position.

18. Sew a stem stitch along the bottom of the pleated area (so where the third orange line appears on the grid). If you don’t plan to attach trim, using gold metallic thread; but if this will later be covered, white thread is fine. I put the stem stitch on the outside of my hemd, because I wanted the gold metallic thread to show. You could put it on the inside if you were using white thread, but honestly, I think all those stitches are nice to look at it and I’d still the stem stitches on the outside. Either is period appropriate, however. This stem stitch should go around the entire circumference of the hemd, even along the front pleated area.

19. Now sew the back edge of the casing strip to the underside of the hemd — again use a whip stitch and sew through each pleat.
20. Sew two more rows of stem stitches in the front pleated area — one at the second blue line and one at the fourth blue line from the top of your grid. You could, of course, sew stem stitches at every blue line, which is what I think I see on Dorothea’s hemd. I chose to only sew the two because I was using metallic thread and I liked how it looked better like this. It’s also fine to just use white thread here as well.
I will stop again at this point. Right now the top of your hemd is more or less complete — the silk cords are purely decorative (don’t worry — I’ll get to those). But the body and sleeves are undone. Let’s make your hemd wearable in part 3!

Wonderful tutorial! I have almost finished the pleating – doing the seven rows at the front – and it looks really good so far. The steps are easy to follow, though, being a bit of an experimenter by nature, I fiddled with it a bit and this third try is finally looking more like yours. The first two were not good enough because I had trouble with dots until I figured out a way to put in the pierced holes. When will the final finishing bits be ready? I think I can figure out the construction from the pattern but look forward to your new section so I can see what to do about the sleeve smocking. Thank you! This is so fun!
Any chance of finishing the series? I enjoyed reading the tutorial, but I like to read all the directions before I begin a project. could probably figure out the final finishing, but it would be nice to see a post, if possible.
Thanks!
I will work on it!
Just love your work. I have been drooling over this particular hemd for years. I am coming back to the SCA after a long absence and this is my first project. THANK YOU for the amazing tutorial…. <3 it! It seems like your world is crazy busy but was wondering if you had something that could explain the silk cording??? Google has not been cooperating 🙂
It’s very interesting to see a German example of smocking. Just as an FYI, you *didn’t* have to mark all those dots by hand. 🙂 You can purchase iron on dots for smocking from a number of online retailers – you simply choose the number of rows you want, cut that number and iron away. Even easier – there are mechanical pleaters (Read and Amanda Jane are two brands that are readily available) that will do it quickly and easily. They’re not inexpensive, but smocking guilds often have them and some smocking supply places will do the pleating for you. Hope that helps!