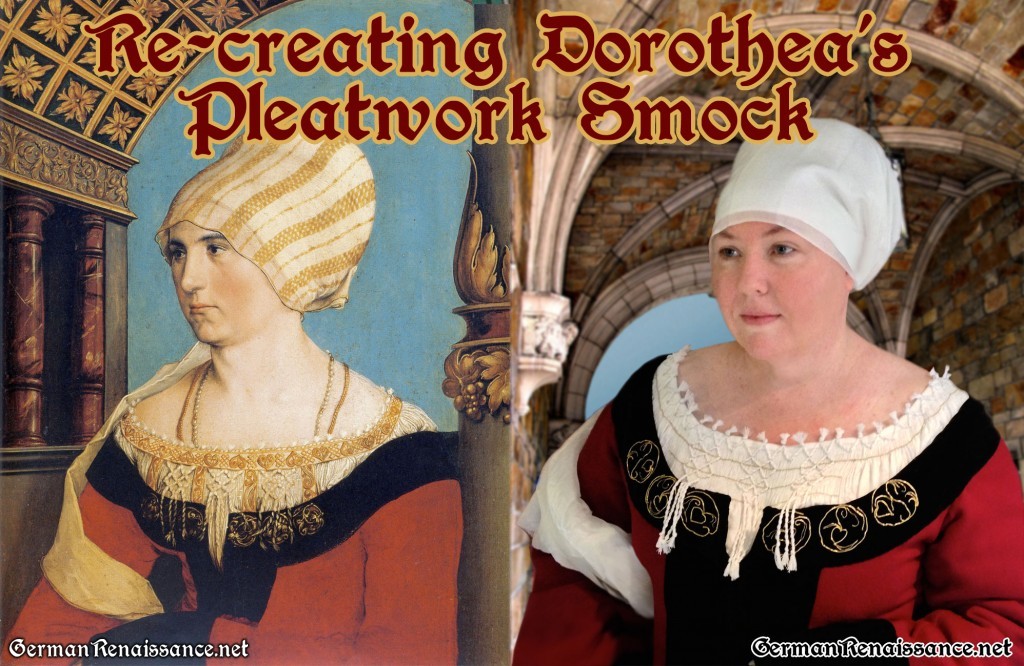
When I began my adventure down the rabbit hole to 16th century Germany, the first image that really captured my interest was Dorothea Meyer in her 1515 painting by Hans Holbein. Her intricately pleated hemd (smock/shirt) with the little tufts and tassels was just fascinating to me. I set out then to learn how to pleat linen (what we mundanely call smocking), but it was a long journey. Along the way, I made four pleated hemds and three pleated aprons — plus wrote a research paper, “Techniques of 15th and 16th Century Pleated Undergarments” (to be published online soon) — all in my effort to understand what Dorothea was wearing and how to make it properly. I finally found the tenacity to try my hand at the hemd, and I’m delighted to say it is now finished! I entered the hemd into our regional arts & sciences faire this past weekend and it received a first place award and my highest score to date (28.86/30). Much more importantly, I’m very pleased with how it turned out!
Would you like to make Dorothea’s hemd, too? Of course you would! First, you need some material, tools, and a pattern:
 Materials:
- Three yards of medium-weight linen (go for a high thread count, if you can afford it)
- 10 spools of white silk thread (I used Guttermann’s from Joanns)
- 1 spool of gold silk thread (also Guttermann’s)
- 1 spool of DMC metallic thread
Tools:
- Scissors,
- Tape measure
- Awl, large needle, or fabric marking pen
- Needle (long milliners and tapestry)
- Water
- Gathering Grid printed on card stock without any resizing
- Time (I estimate it took me 85 hours from start to finish — your mileage may vary)
Pattern:
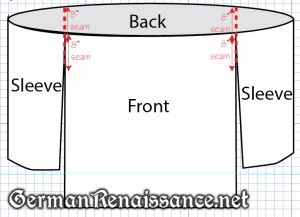
Below is my pattern for a low-neck smock, which is my best guess on the construction of Dorothea’s hemd (without the actual hemd, I cannot be 100% sure). This is a deceptively simple shirt construction, created based on my experience with period cutting methods, extant garments, and study of the Holbein painting. The shirt is constructed of four rectangular panels (front, back, and two sleeves), plus a gusset under each arm (as shown to the right). The four panels join one another in a circle, creating a large neckline to pleat down to the required size. And like several extant garments (including a 1575 garment in the Boston Museum of Fine Arts), the shirt has neither shoulder straps nor armscye; the sleeve tops become part of the neckline. There are gussets under the arm, adding extra room where it is most needed. The shaping of the shirt is the result of the pleating.
Size: This pattern should fit most adults, as the smock is not form-fitting. It will produce a neckline that is 43.5″/110cm when finished. The sleeves are 28” (71cm) wide, which is the period loom width. The front and back are twice this amount (56”/142 cm) wide (but as you have access to modern 55” fabric, you can simply use the full width of it rather than piecing it). It’s important to use all this material, even if you are a slender person, so that you can get enough pleats into your neckline. If you are very small or really abhor all the material, do this: measure your neckline where you want your finished smock to lie (use Dorothea’s portrait as a reference as to position). Divide your measurement by 43.5″/110cm — the result is the percentage at you can cut out your fabric.
Sleeves: You’ll also want to pay attention to your arm length and be sure it is long enough for you. You want longer sleeves than you might expect so that your material can puff out in any slashed/paned garments you wear (your pleated wristband will keep the sleeve from falling down your arm). My shoulder-to-wrist measurement (point of your shoulder and along the slightly bent arm to the wrist) is 23″ — if your measurement is longer, cut longer sleeves.
Rise: You could also make the hemd longer, if you wished — I chose to keep this knee-length so that it would not show when I kirtled (hiked up) my skirts.
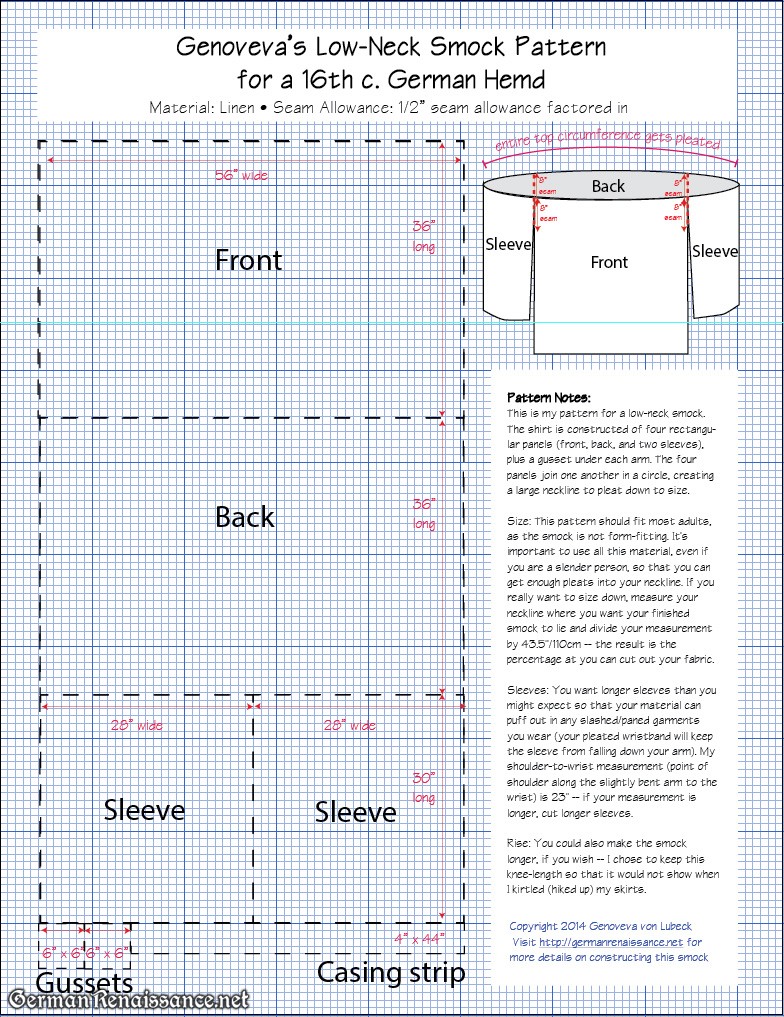
PDF pattern file: low-neck-hemd-pattern.pdf
Tutorial:
1. Cut out your linen according to the pattern. Pay particular attention to cutting your linen straight on the weft — I used this technique for squaring up my linen.
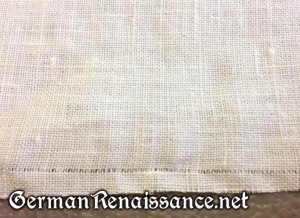 Drawing a thread so I can accurately cut my linen straight on the weft
2. Sew the top 3-8″ inches of the hemd together, as shown below. I used a flat felled seam, but a French seam would also be fine here. (I did the top 8″, but you could do a bit less if you are a very small person. Do at least 3″ — you can always go back later, try it on, and sew longer seams.)
3. Identify the center front point at the top of your hemd and place a pin in it to mark it. From the centerpoint you marked, measure out 54 cm. along the fabric to either side and place a pin to mark. This gives you a 108 cm. marked area on the front. This will eventually become the front pleated area.
4. Print the Gathering Grid PDF — be sure to print it on card stock and do NOT resize it when printing.
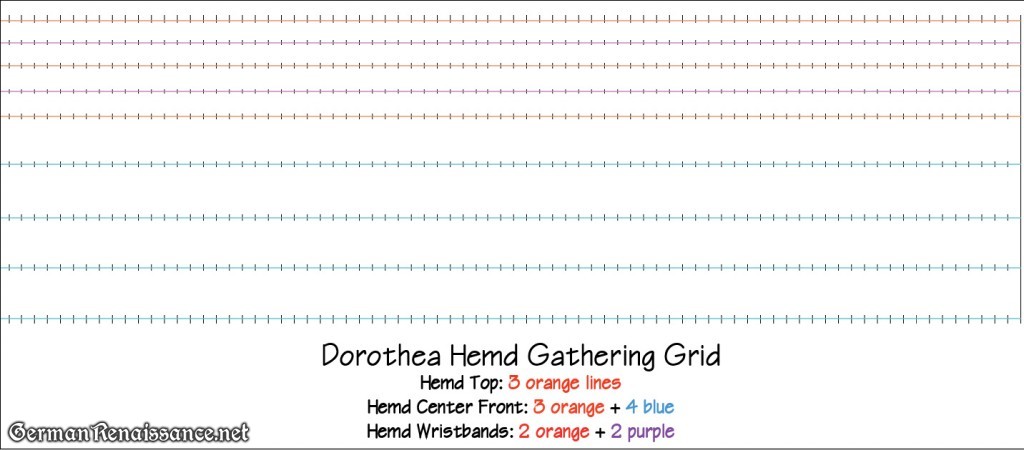 This is what the grid looks like — be sure to print from the PDF version, not this JPG version.
5. Using the Gathering Grid, mark three lines of dots at each orange crosshatch point at the top edge of your smock. I recommend starting this at the left edge of the front area (so just where the front area ends). You can mark these lines using a large needle or awl (place the fabric in front of you, line the top edge of the grid up along the top edge of fabric, and use a needle or awl to prick the fabric through the grid), or you can use a fabric marking pen (pre-punch the grid with an awl, place the fabric in front of you, line the top edge of the grid up along the top edge of fabric, and poke the tip of your fabric marking pen through the grid). For now, marked just one grid’s length of fabric.
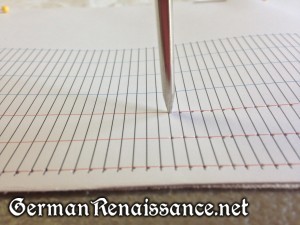 I used an awl to mark my fabric — it worked very well and did not tear or harm my linen fibers (you should test your fabric first, however).
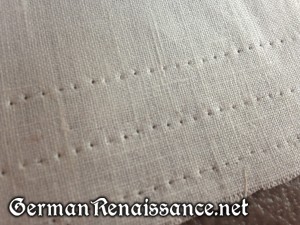 Here’s what my fabric looked like after marking.
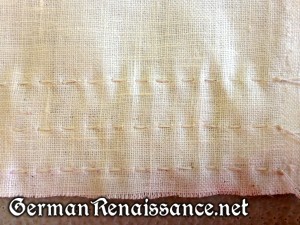
6. Take your white silk thread and cut off a long length (about two yards — yes, it’s very long), thread a milliner’s needle, double the thread, and knot it at the end very well. Now begin stitching with a running stitch, using each mark or dot as your guide. In and out, in and out. When you get to the end of the marked section, leave your thread in your needle (do not cut it), tuck it somewhere out of your way, and repeat with a new needle & thread for the next row, and then again for the third row. When your running stitches are completed for this section, it will look something like this:
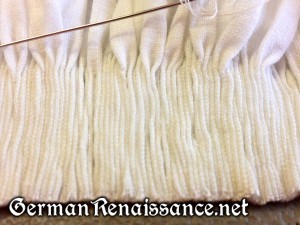
7. Now wet the fabric slightly (a mist from a spray bottle works great) and pull on the three silk threads to gather and fold the fabric evenly. You may need to tug slightly on the fabric to get the folds neat. Allow the fabric to remain in this position until it dries.
Note: Not all linen is the same, and your ability to fold your linen may differ from my experiences. If you find your linen does not fold neatly, even when wet, ungather the fabric carefully (keep your threads in place), and stitch two new lines in between the existing three lines, following the same stitches in the same places. This gives your fabric two additional points at which to pull and gather, resulting in cleaner folds.
8. Repeat steps 4-6 going around the top of your hemd, stitching, gathering, and folding. Stop when you get to the starting edge of your front area. It’s very important to watch your stitching as you go to make sure it lines up with each other — if it does not, you must unstitch and fix it. So check frequently to avoid time-intensive fixes.
This is the end of part 1 — these first steps will keep you busy for a while. Watch for part two next, which will cover the pleats in the front, the attachment of the casing strip, and the stem stitches to secure your pleats. Questions? Comments? Please post them here and I’ll respond back!

I’m working on a 16th c. smocked shirt also, it’s my first costume piece and all hand sewn. One question, did you put a hem on the top prior to marking and gathering? Thank you and looking forward to Part 2, great work.
No, I did not hem the top of this smock before I pleated it. That’s because I will be attaching a casing strip to the top (to encase the top edge of the fabric) after the pleats are finished. I do have some smocks that are hemmed before I pleat them, and when I do that, the top edge ruffles — which can look very pretty if that is what you are looking for. In this case, I felt Dorothea did not have a ruffled top hem because of the way the tufts of silk cord stick up and the fact that there is trim attached along the top, which would make a case for a nice, flat, unruffled top edge. I hope to get part 2 up today. 🙂