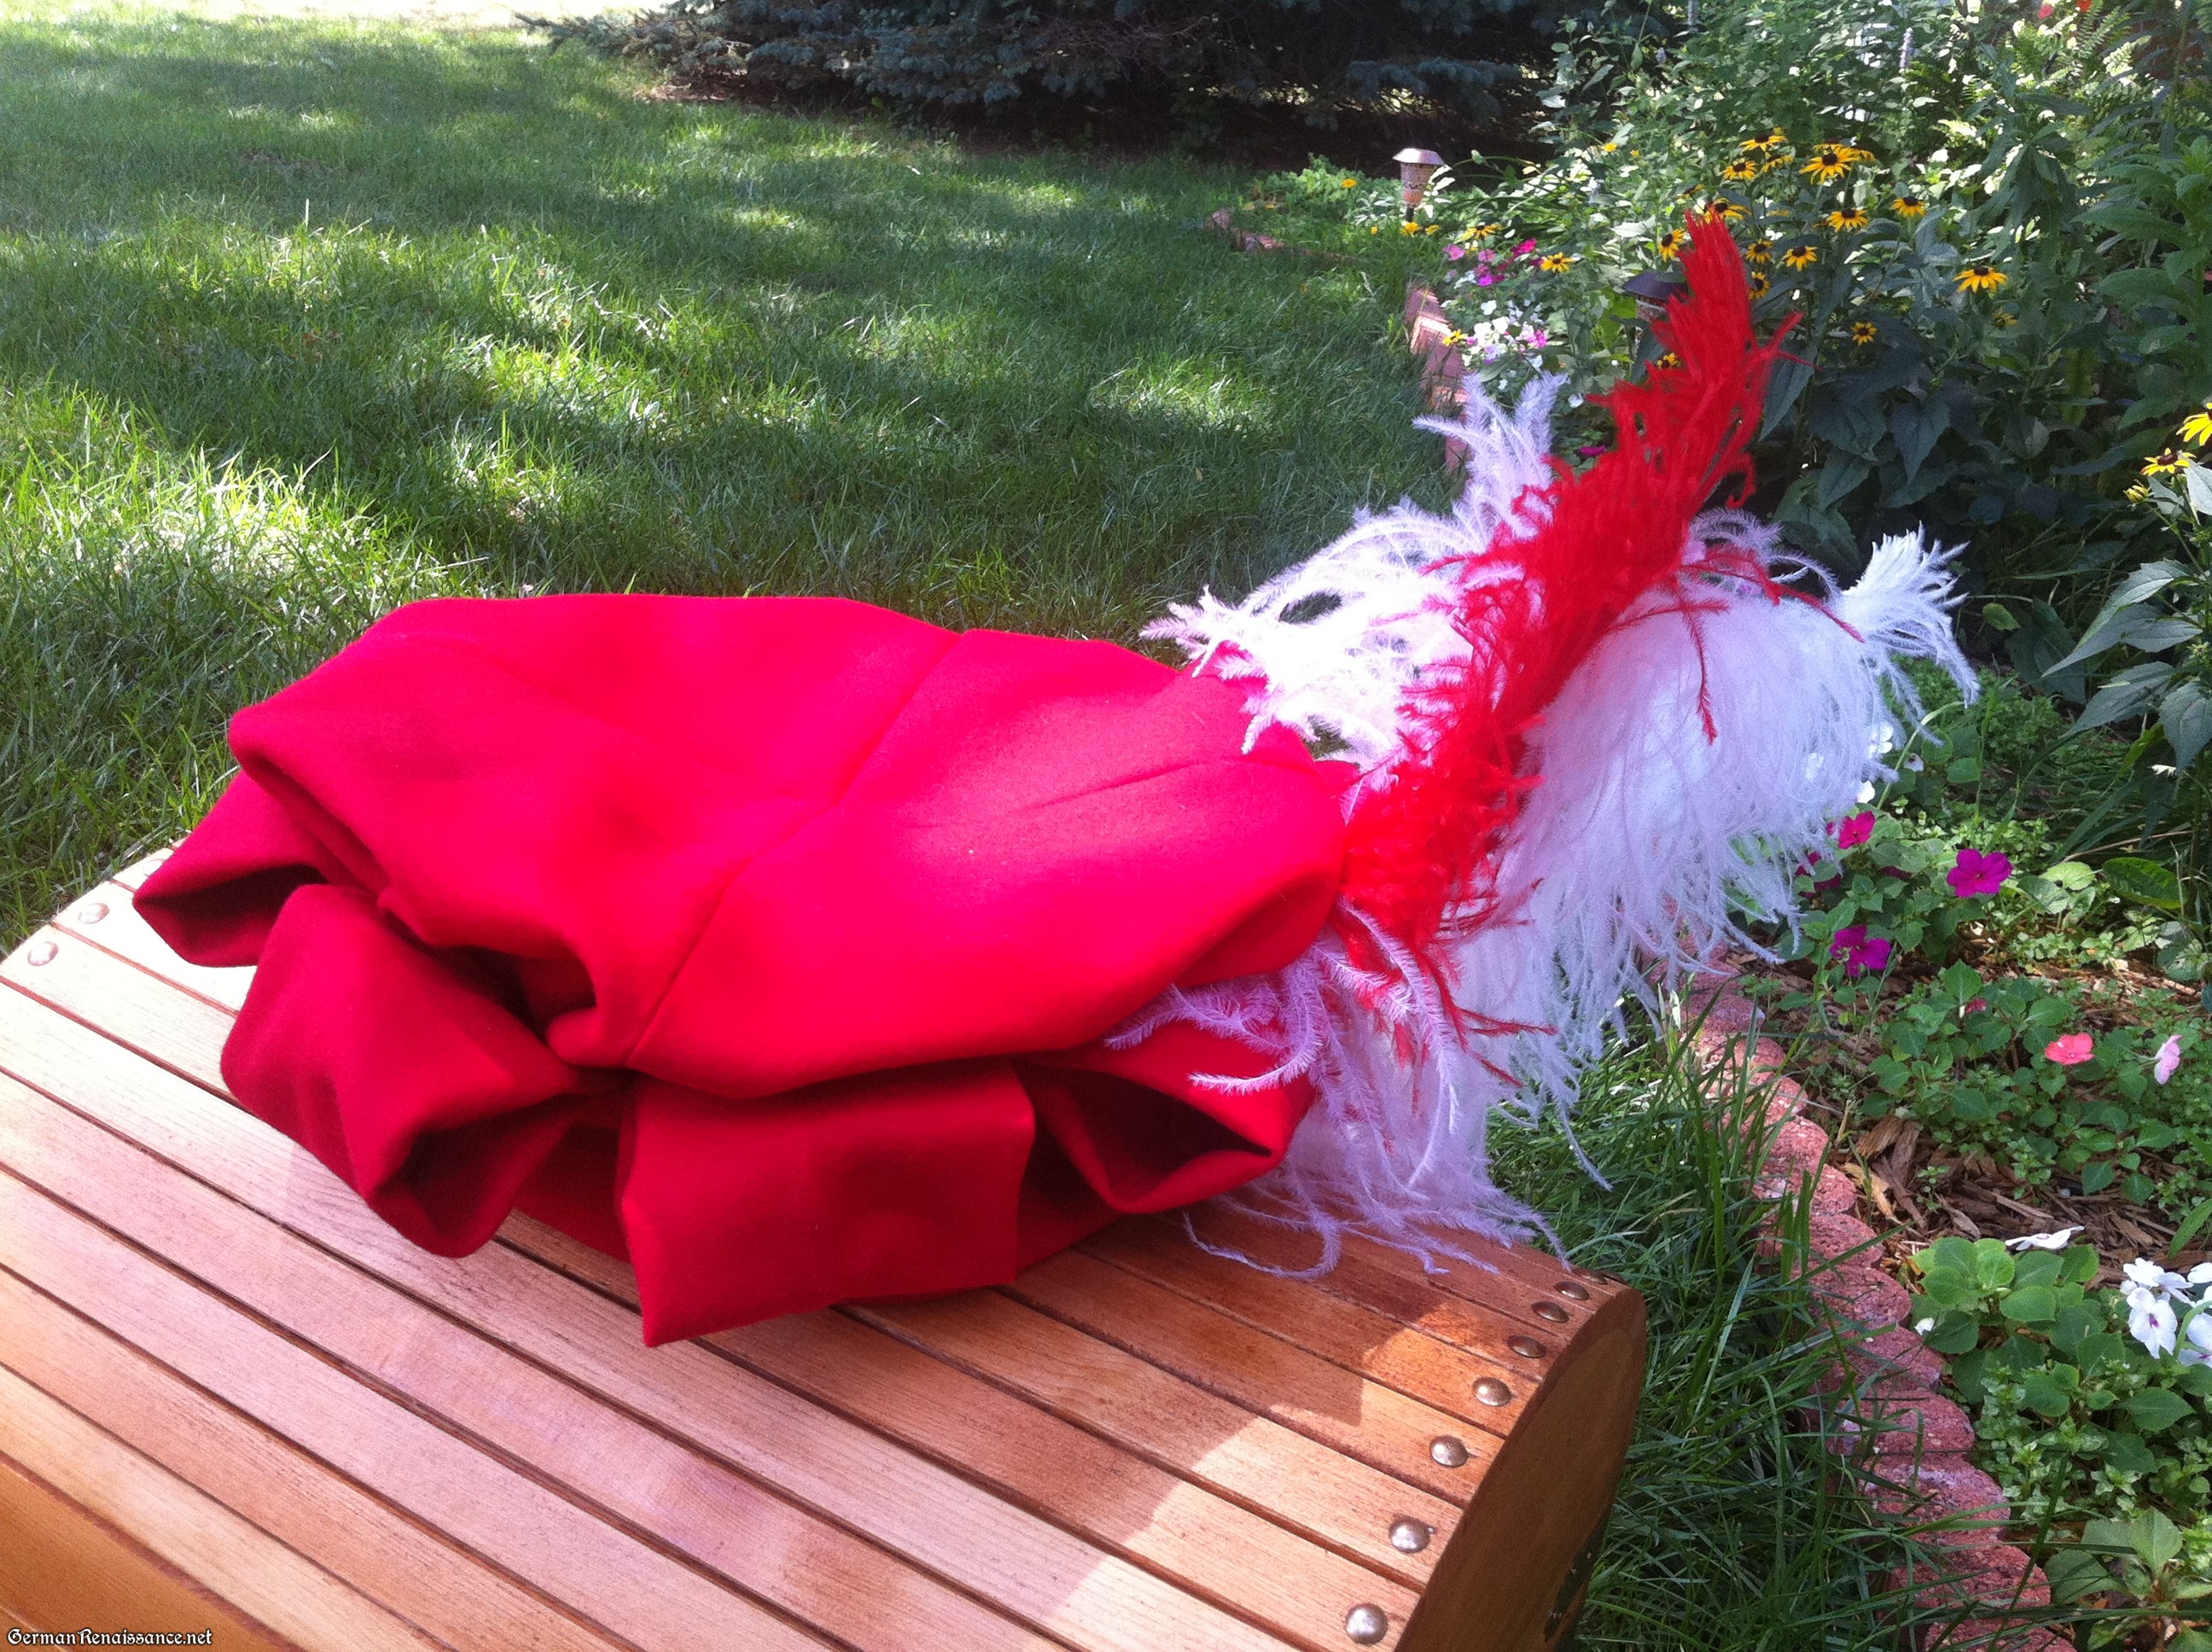
 Of the many hats worn by Germans in the 16th century, the beret — often called the Starfish hat by enthusiasts — is one of the more iconic. It’s nickname comes from the broad loops that are arrayed around the hat like, well, a starfish I suppose. Another version of the beret, known as the schlappe, has ear flaps as well. Some have a folded square upon the top; others are simply bag-like. Looking at the woodcuts, you’ll see a wide variety of styles, some of cloth, some of what may be thick felt or leather, and some that could be knitted. There were a lot of variations. I made a simple cloth version, which has no ear flaps and no square on top.
This beret was actually the very first specific German Landksnecht item I ever made, just one month after joining the SCA. Thankfully, it still passes my “reasonably authentic” test. It’s made of natural materials, hand-sewn, functions, fits, and is based on a woodcut from the correct era and place. Here’s my original reference image from Reislaufer Musicians by Urs Graf (1523).

Detail from Reislaufer Musicians by Urs Graf, 1523
So here’s how to make a simple German Ren beret in the “starfish style:”
Materials:
- 1 yard Medium to heavy-weight wool, fulled a bit in your washer/dryer/whatever
- (optional) 1/2 yard of linen as a lining
- Scissors, thread, needle, measuring tape
Directions:
1. Measure the crown of your head (where you want your hat to lie), add one inch, and cut out a 3″ wide strip of wool in that length. Fold the top down and the bottom up, then fold in half lengthwise (like bias tape) and iron flat. This will become your headband.
2. Test the fit on your head, making a note of where the headband should be closed, then turn inside out and sew the two ends of the headband together at the appropriate place. Turn right side out again.
3. Cut 8 strips of 6″ x 8″ wool. Fold in half lengthwise (to become 3″ x 8″), stitch closed into a tube, then turn inside out. This will give you 8 tubes. Iron flat with the seam centered on one side of the tube, then fold in half width-wise.
4. Cut out a 16-18″ diameter circle (bigger = floppier), one each from wool and (optionally) linen. (Note: The hat top in my photo is composed of four sewn sections only because I didn’t have a large enough piece of wool to cut one large circle.)
5. Fit the circle(s) inside the fold of the headband, pin, and sew to the underside of the fold. I simply pinned small pleats in place to make it fit, but you could gather the wool before sewing to the headband if you preferred.
6. Pin the folded strips from step 2 around the circumference of your headband and circle, equally spaced and sandwiched between the headband and circle.
7. Now sew the headband closed, effectively sealing in the raw edges of the circle and strips. Voila!
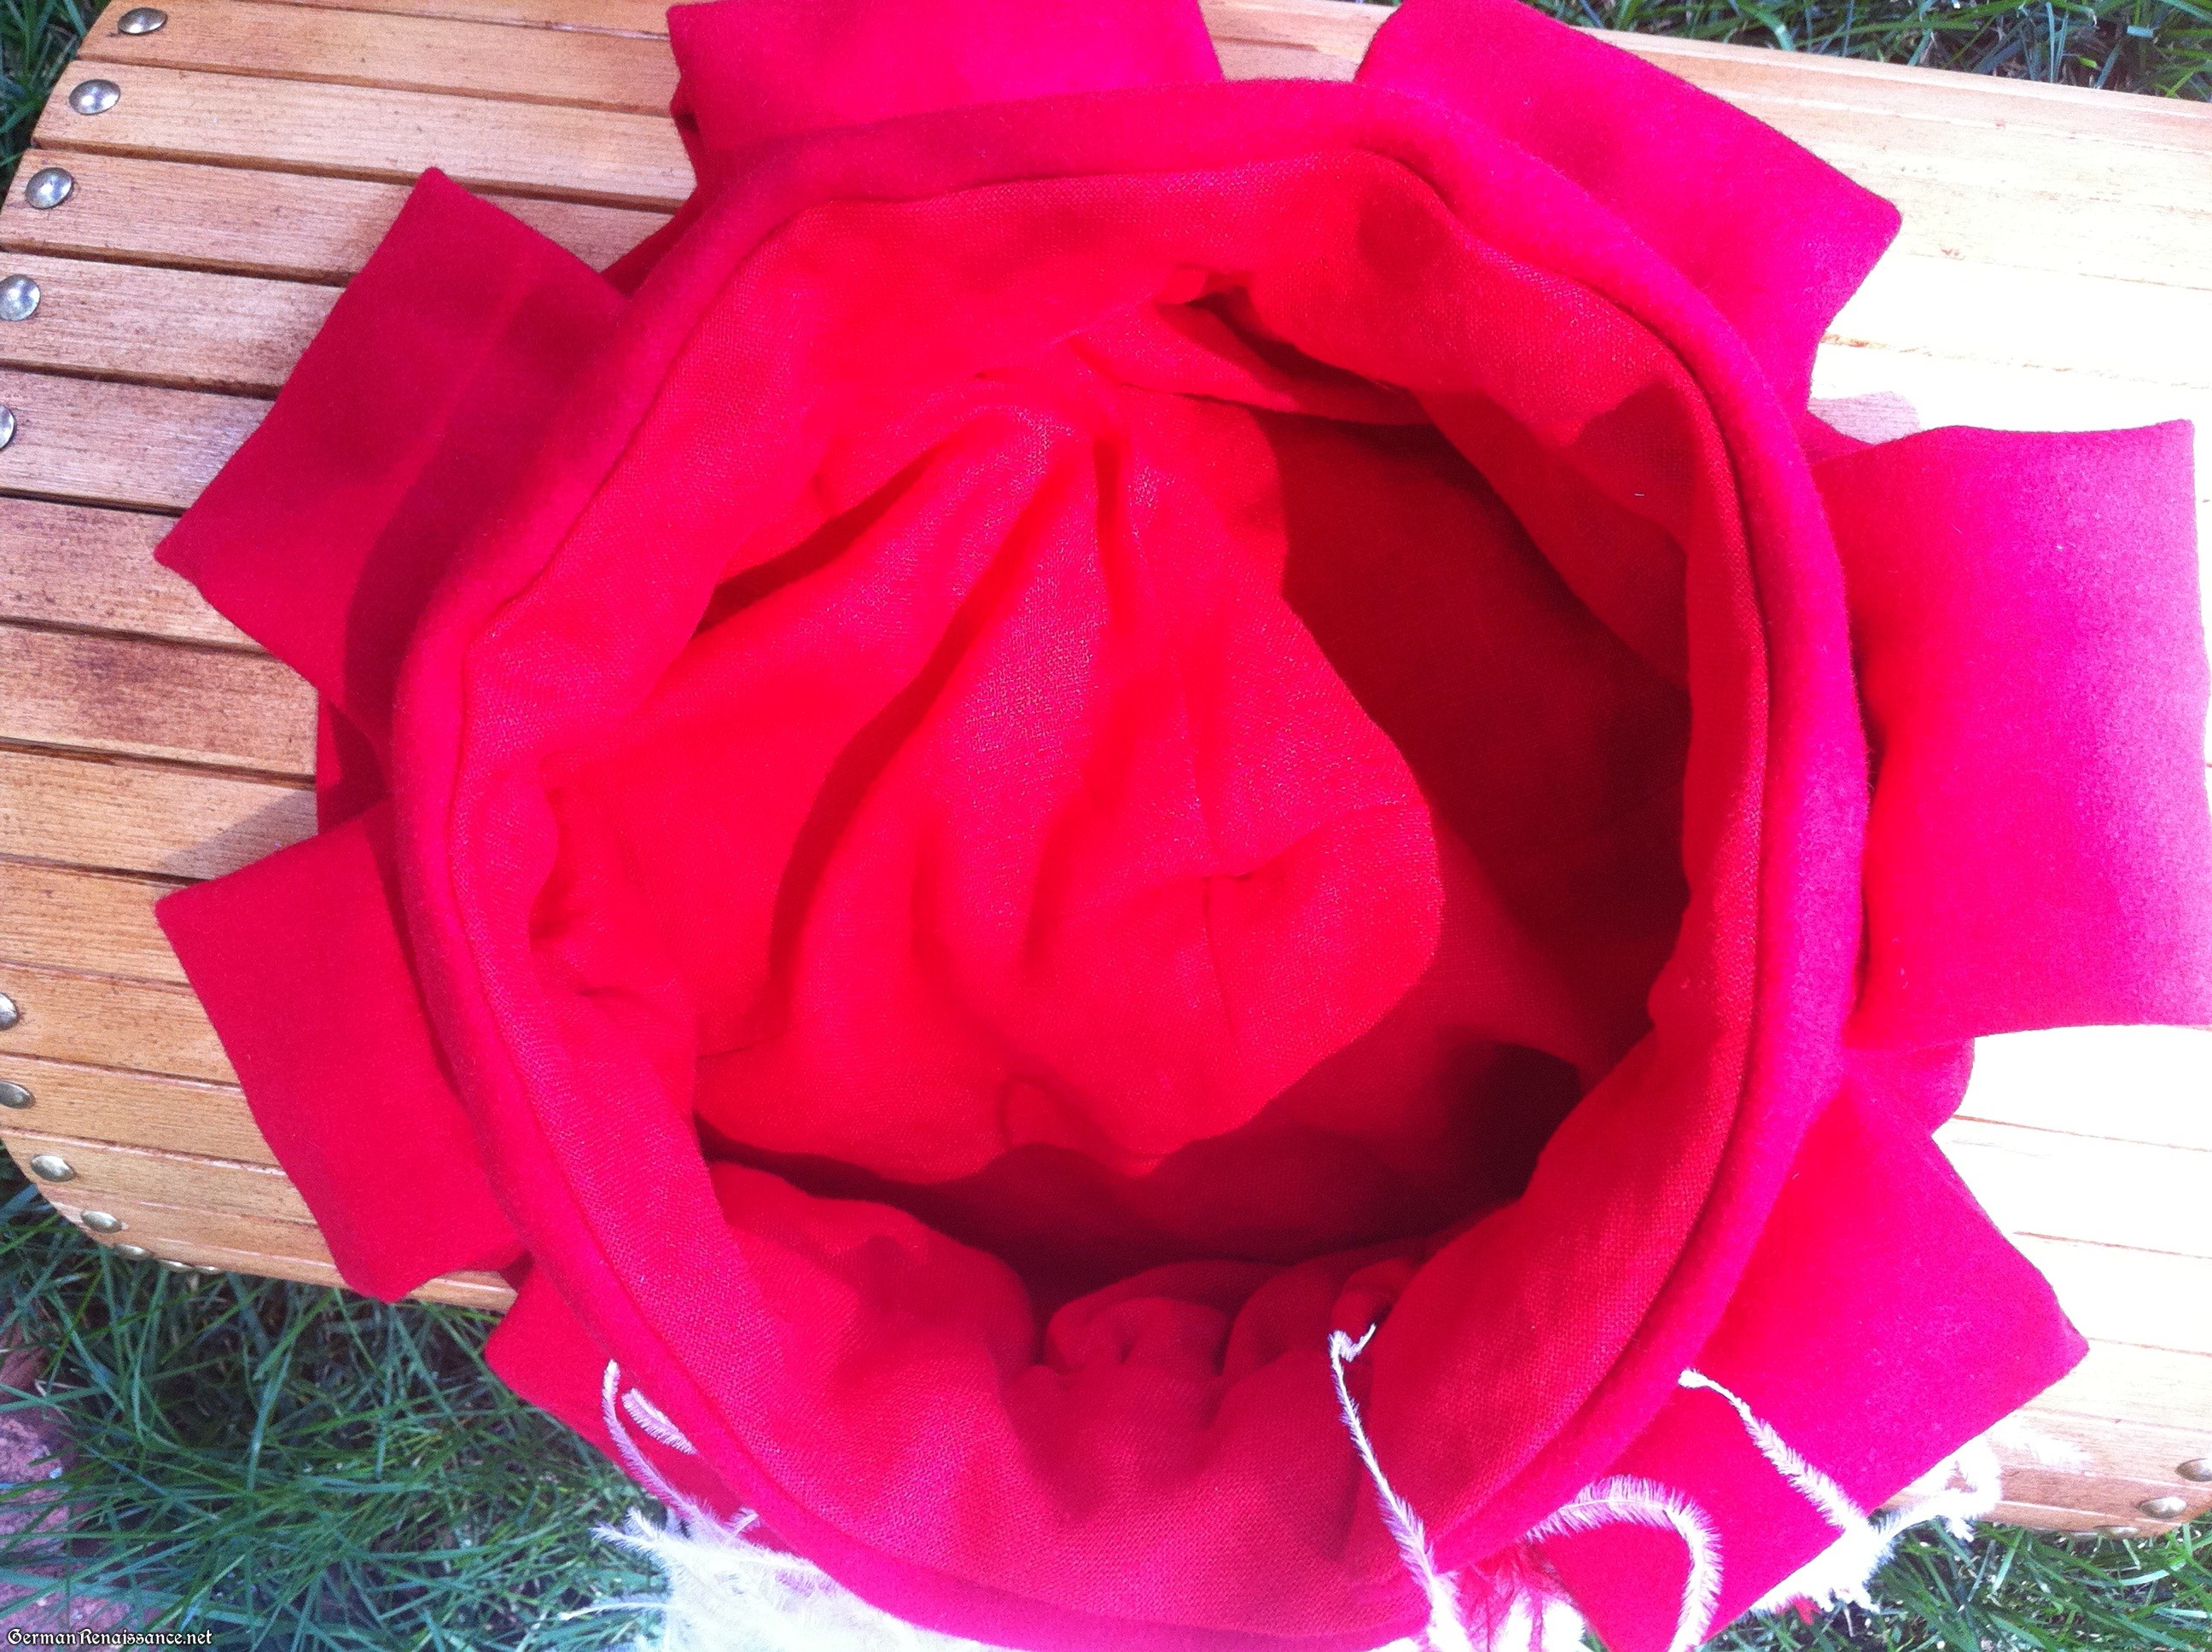
Inside of the hat
It doesn’t take long to make one, so I recommend you use some scrap fabric and do a mock-up first. That way you can play with circle and strip sizes to achieve the look you want. Here’s my first version:
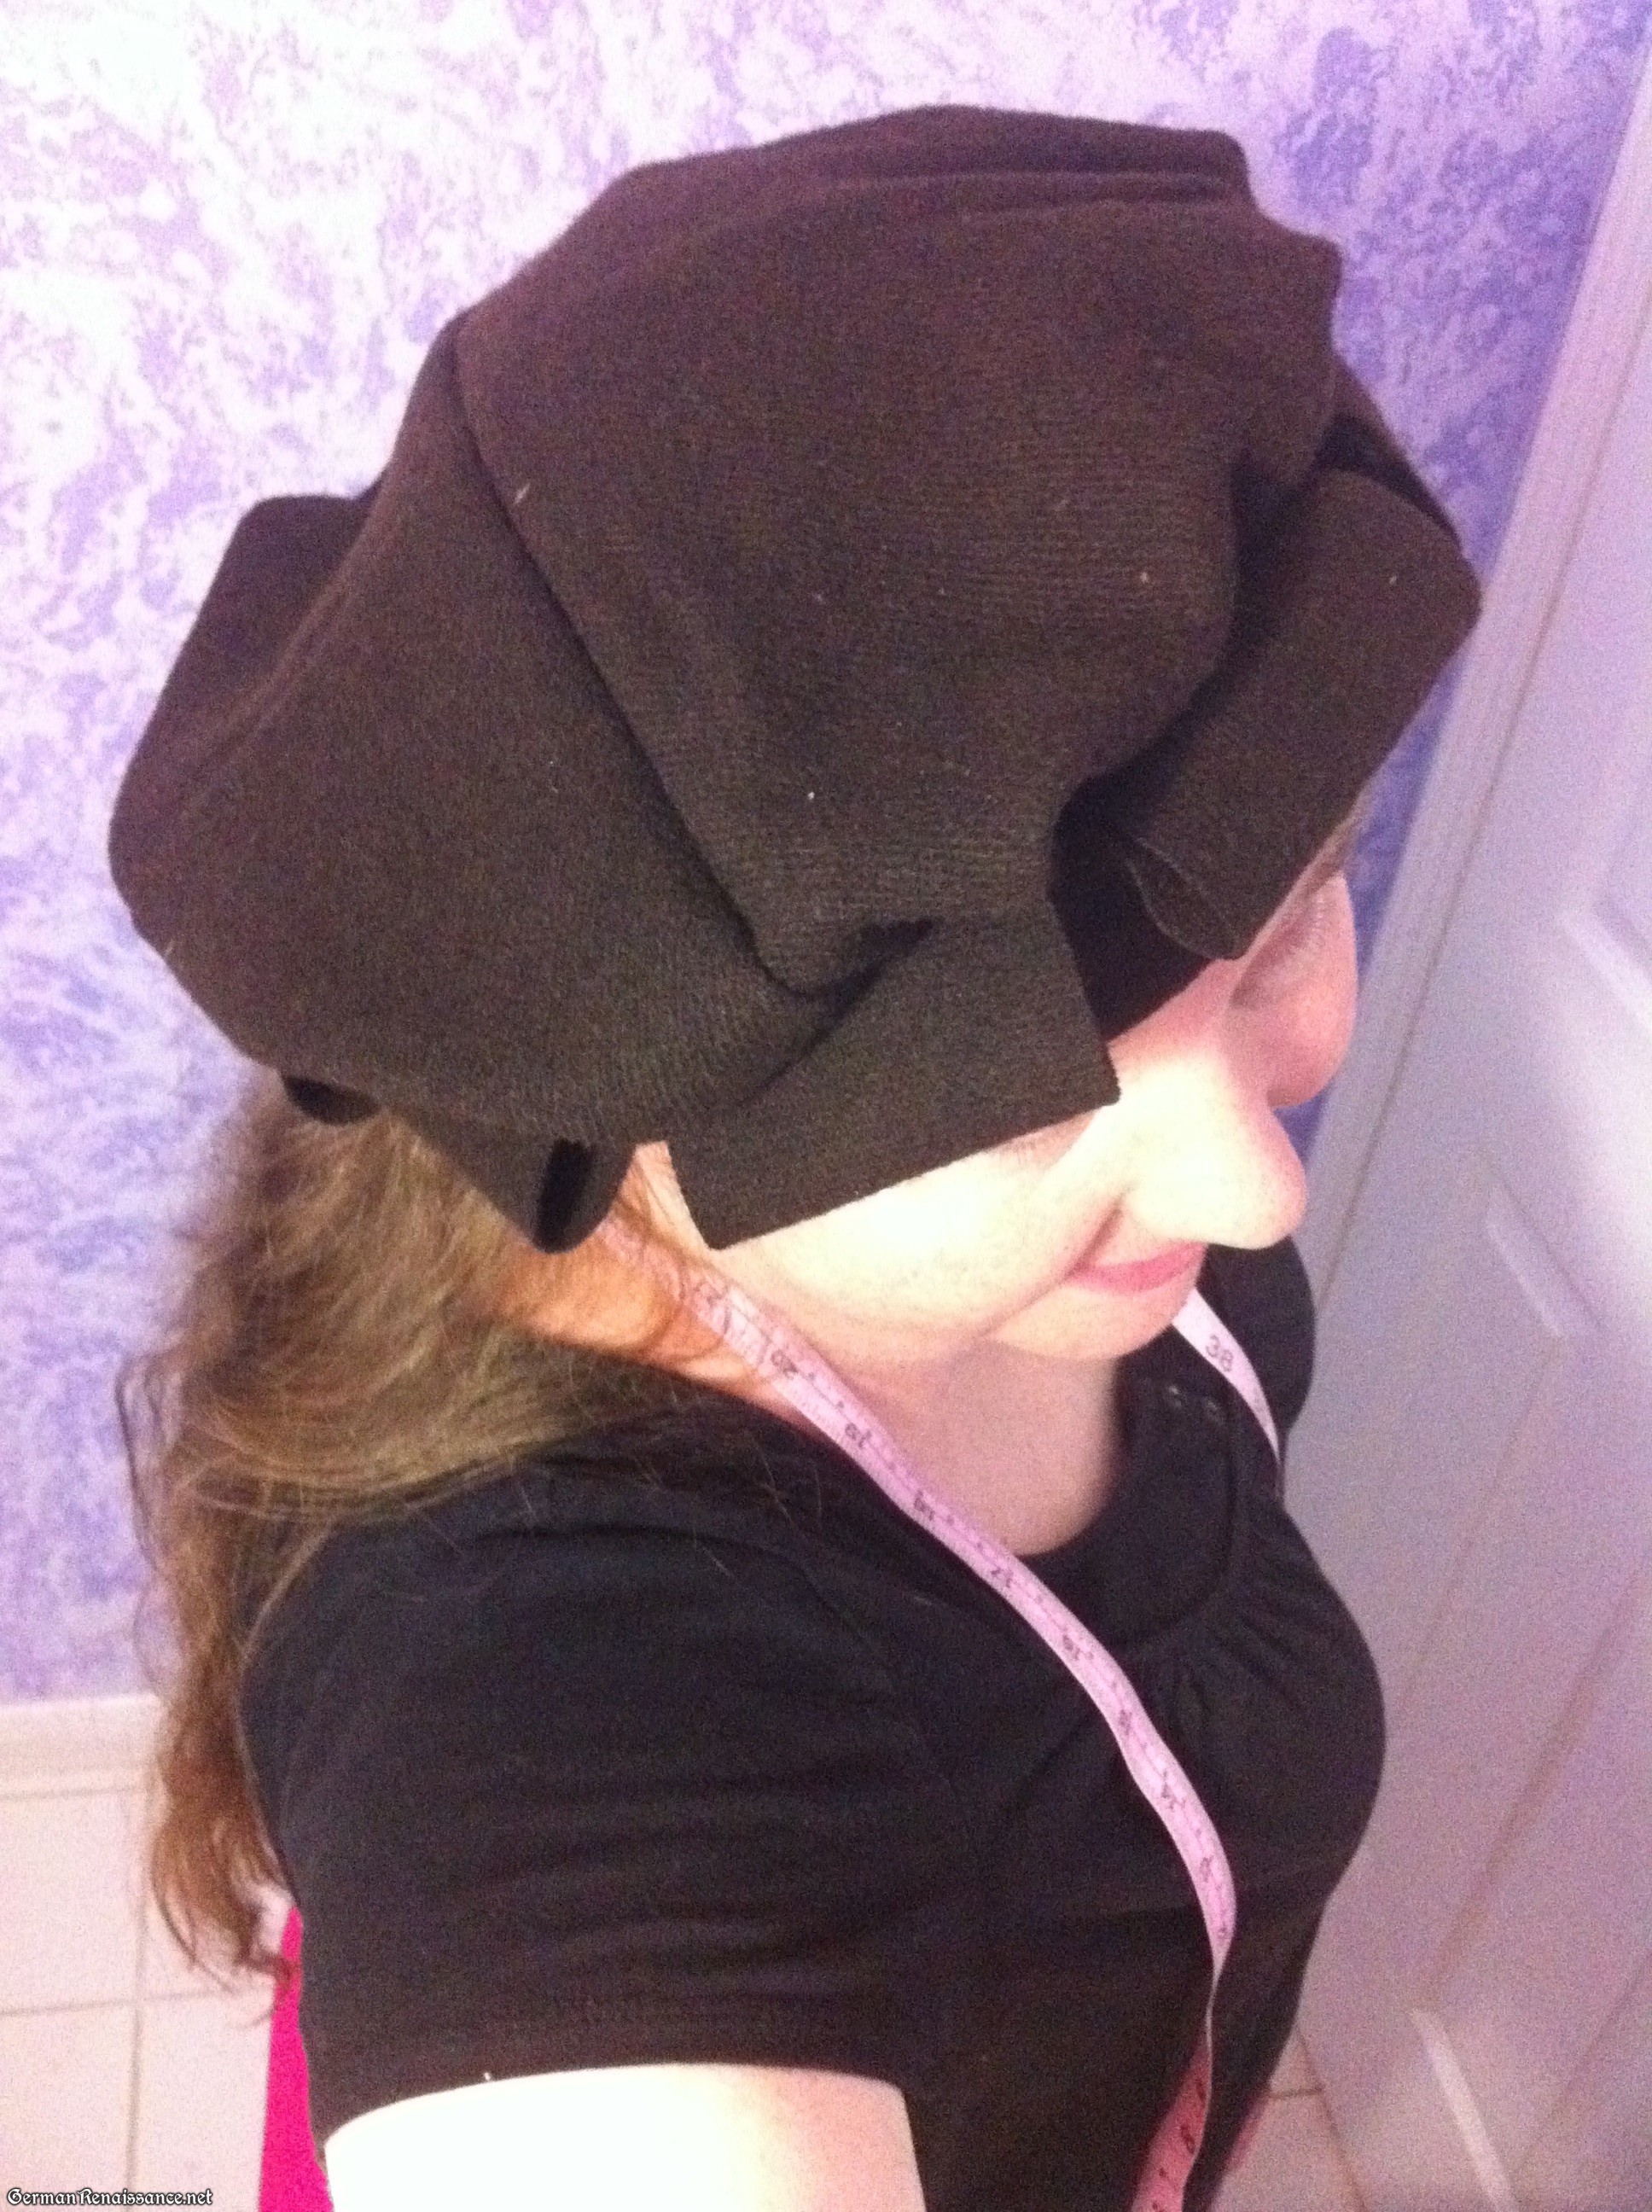
Mock-up of hat
And here’s the finished version — note that I made both the circle and the strips bigger:
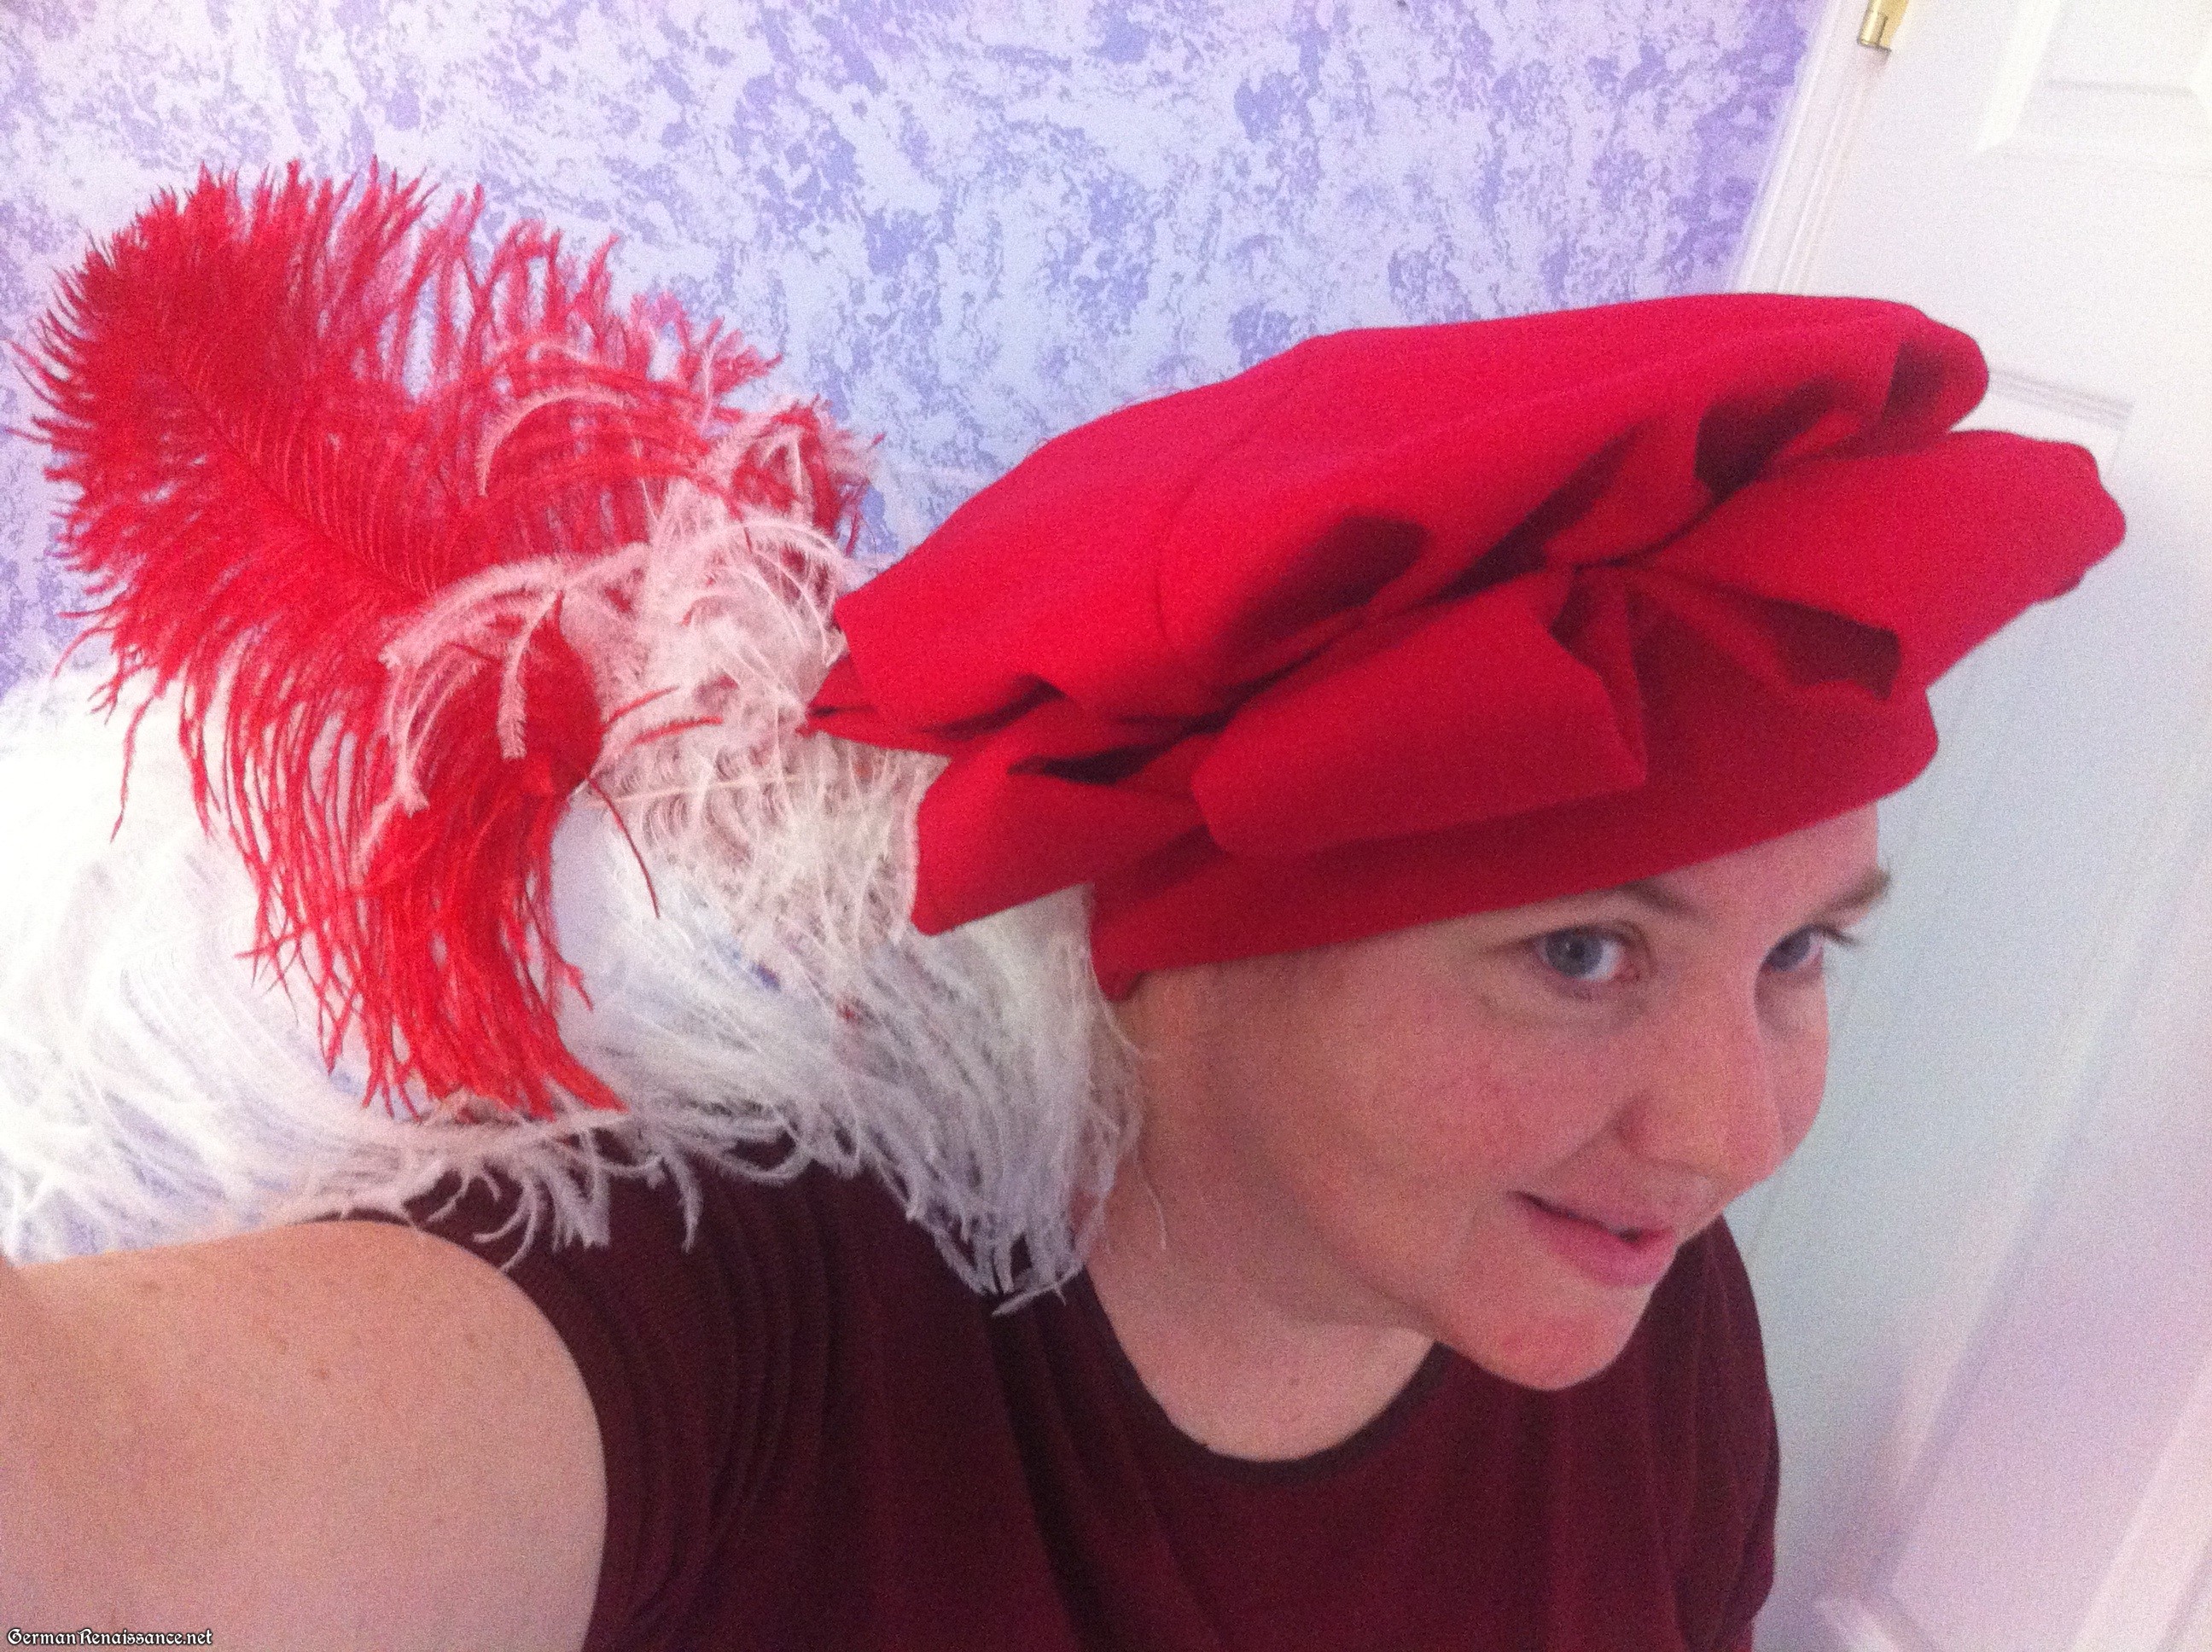
Completed hat!
Common colors for hats were black, blue, red, gray, blue, white, and green.
If you have questions, please let me know!

Nice starfish hat. And a really simple pattern. I have seen other how-to versions but your patterns are so easy & get the look too! Thank You! Lady Cate
Guten Morgen meine damen und herren. My family comes from two areas in germany, the frieshland and prussia. I was wondering if you might help me find a period hat from each of those areas. Custom would be nice and I would pay nicely for it. Any help would be appreciated. Tony “Sourkraut” Tieman.