German women are well known for their braids throughout history. But did you know German women of the 15th and 16th centuries augmented their own locks with false braids (zopfe)? Take a look at any number of paintings, drawings, or woodcuts of women with large braids or lumpy caps and you’ll begin to see that these ‘dos were not done without some help!
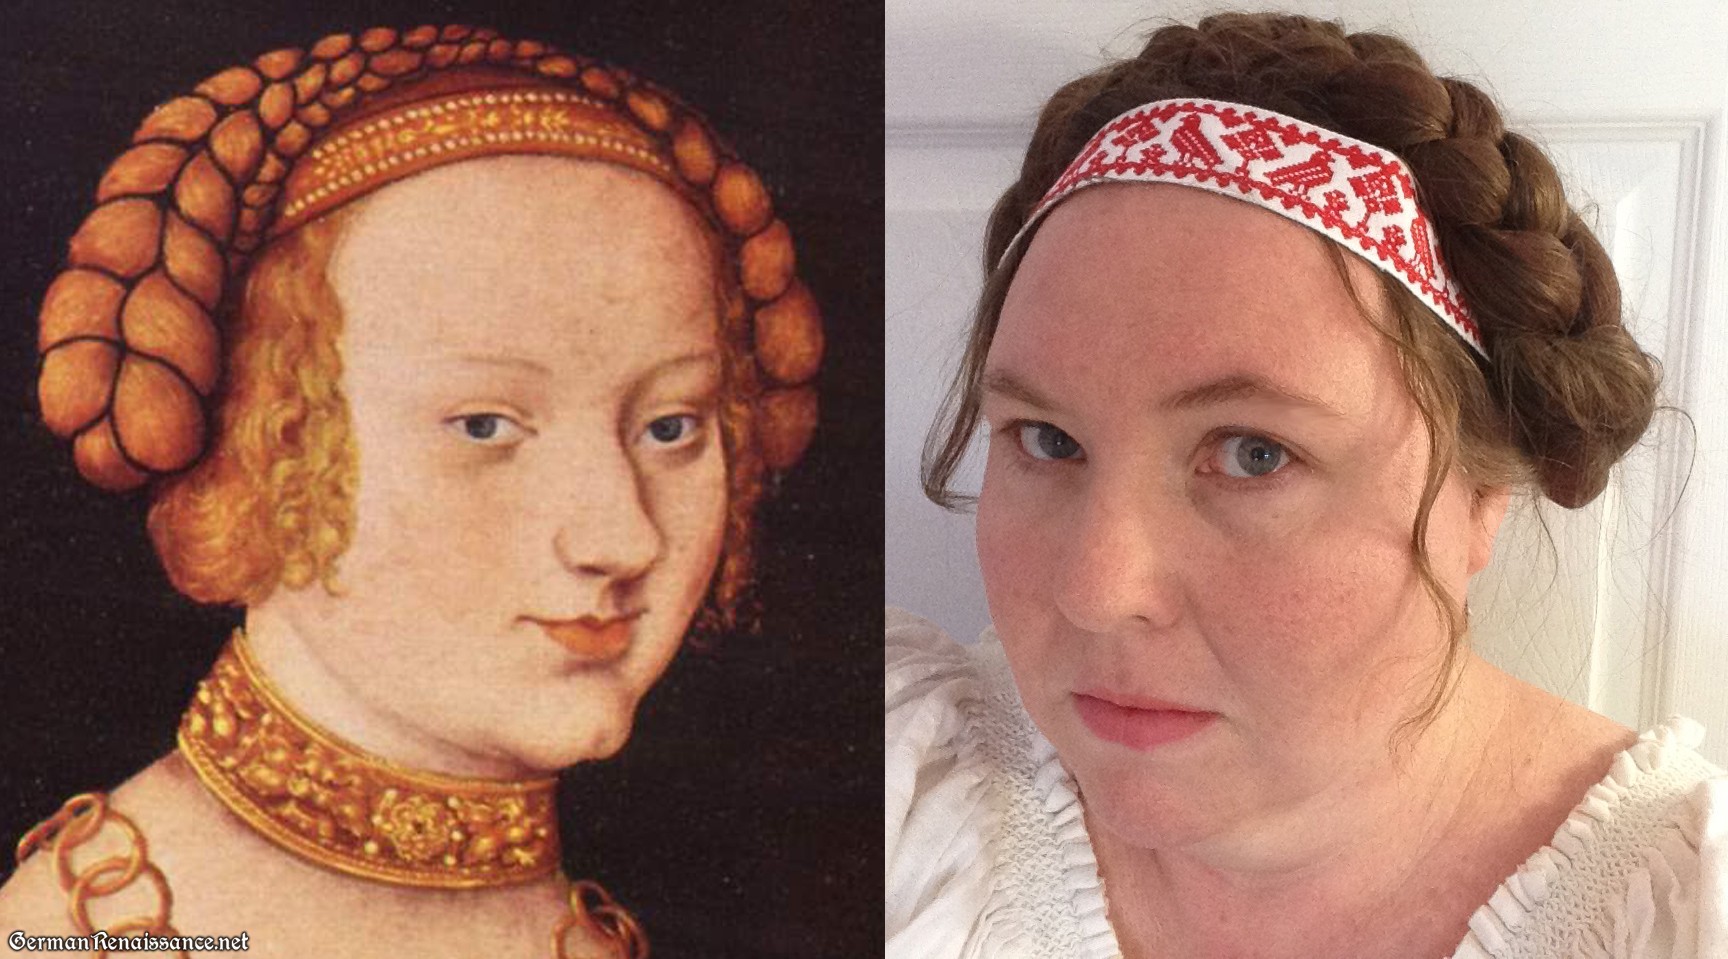
Princess Sidonia in 1535 (left) and Genoveva (me) in 2013 (right), both with zopfe!
You can see many more images of braids, and braids under caps, at my Pinterest page: http://pinterest.com/genovevalubeck/german-hats-and-hairstyles/
A Brief History of Zopfe in Period
The use of false braids during this time period is documented. There is at least one extant fake braid in existence, created from padded linen cloth-tubes.
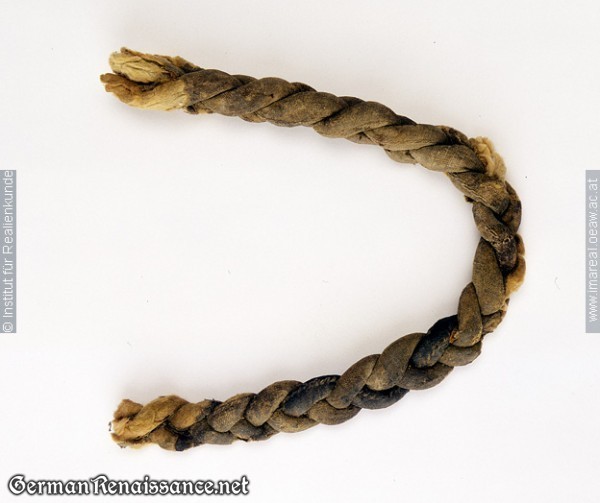
Extant false braid (15th/16th century, Allgäuer Landesmuseum, Kempten, Germany)
False zopke are also depicted in a painting quite clearly. In two of the scenes of St.Clare of Assisi,1465-70, first we see a woman with large braids. Then we see the same woman with her hair being cut off — her fake braids are seen nearby.
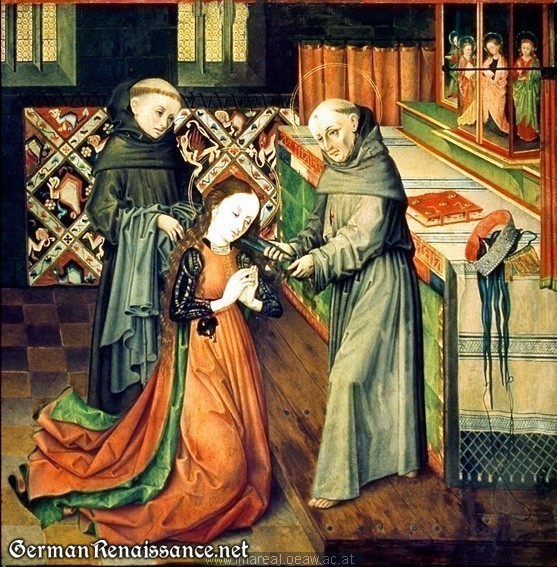
Scene from St. Clare of Assisi, 1465-70
Zopfe are also mentioned in “Textiler Hausrat : Kleidung und Haustextilien in Nürnberg von 1500-1650” by Jutta Zander-Seidel. This is a book, written in German, that gives descriptions of clothing and household articles common to Nurnberg in the years from 1500-1650. And it turns out there’s a section on braids (zopfe) in her book thanks to a table of contents I found online. Sadly, the book is not in print, nor is it online. I was, however, able to find a translation of the section on braids in the GermanRenCostume Yahoo Group. And, according to that book, the German ladies did indeed wear false braids. Not only that, but it seems women from all classes wore them, the author having found them noted in the wills of working women and married women, as well as in the inventory of Heironymus Imhoff in 1571.
Based on the evidence and the notes in Textiler Hausrat, zopke were made from silk (seiden), waste silk (Flidtseide), linen, and (later in the 17th century) cotton. Predominate colors were red, green, and yellow, but also found are liver color, flesh color, gold color, brown, black, blue, nail color, ash color and sea green color. We get a hint as to the creation of the artificial braids by an entry made in 1571 into the household account book of the Behaim family where they purchased blanket weaver’s wool to fill two pairs of braids. Four years later this was recorded, “the 15th of December I paid for an ell and a quarter of black sendal for a pair of braids, and sewing silk 2 pfund, 6 pfennig…. same year the 18th of December 1575 I paid for an ell and 1/8 of brown ormesin for Maria a pair of braids and for sewing silk and for wool 18 pfennig.” The braids were mostly stuffed with waste wool. There was even a “Zopfmacher” (braid maker), whom you can see pictured below with a bundle of braids in his right hand.
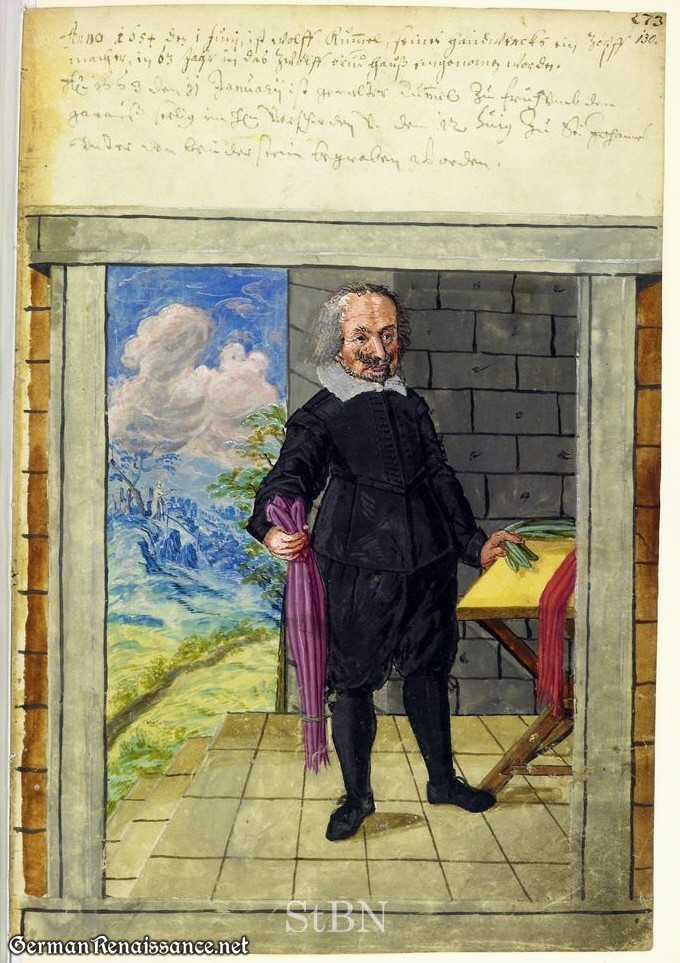
Der Zopfmacher (Braid Maker) – Hausbuch der Landauerschen Zwölfbrüderstiftung, Band 1. Nürnberg 1511-1706
How to Make Zopfe
Wanting to present the proper German appearance, I’ve made my own pair of zopfe with great success, and you can, too.
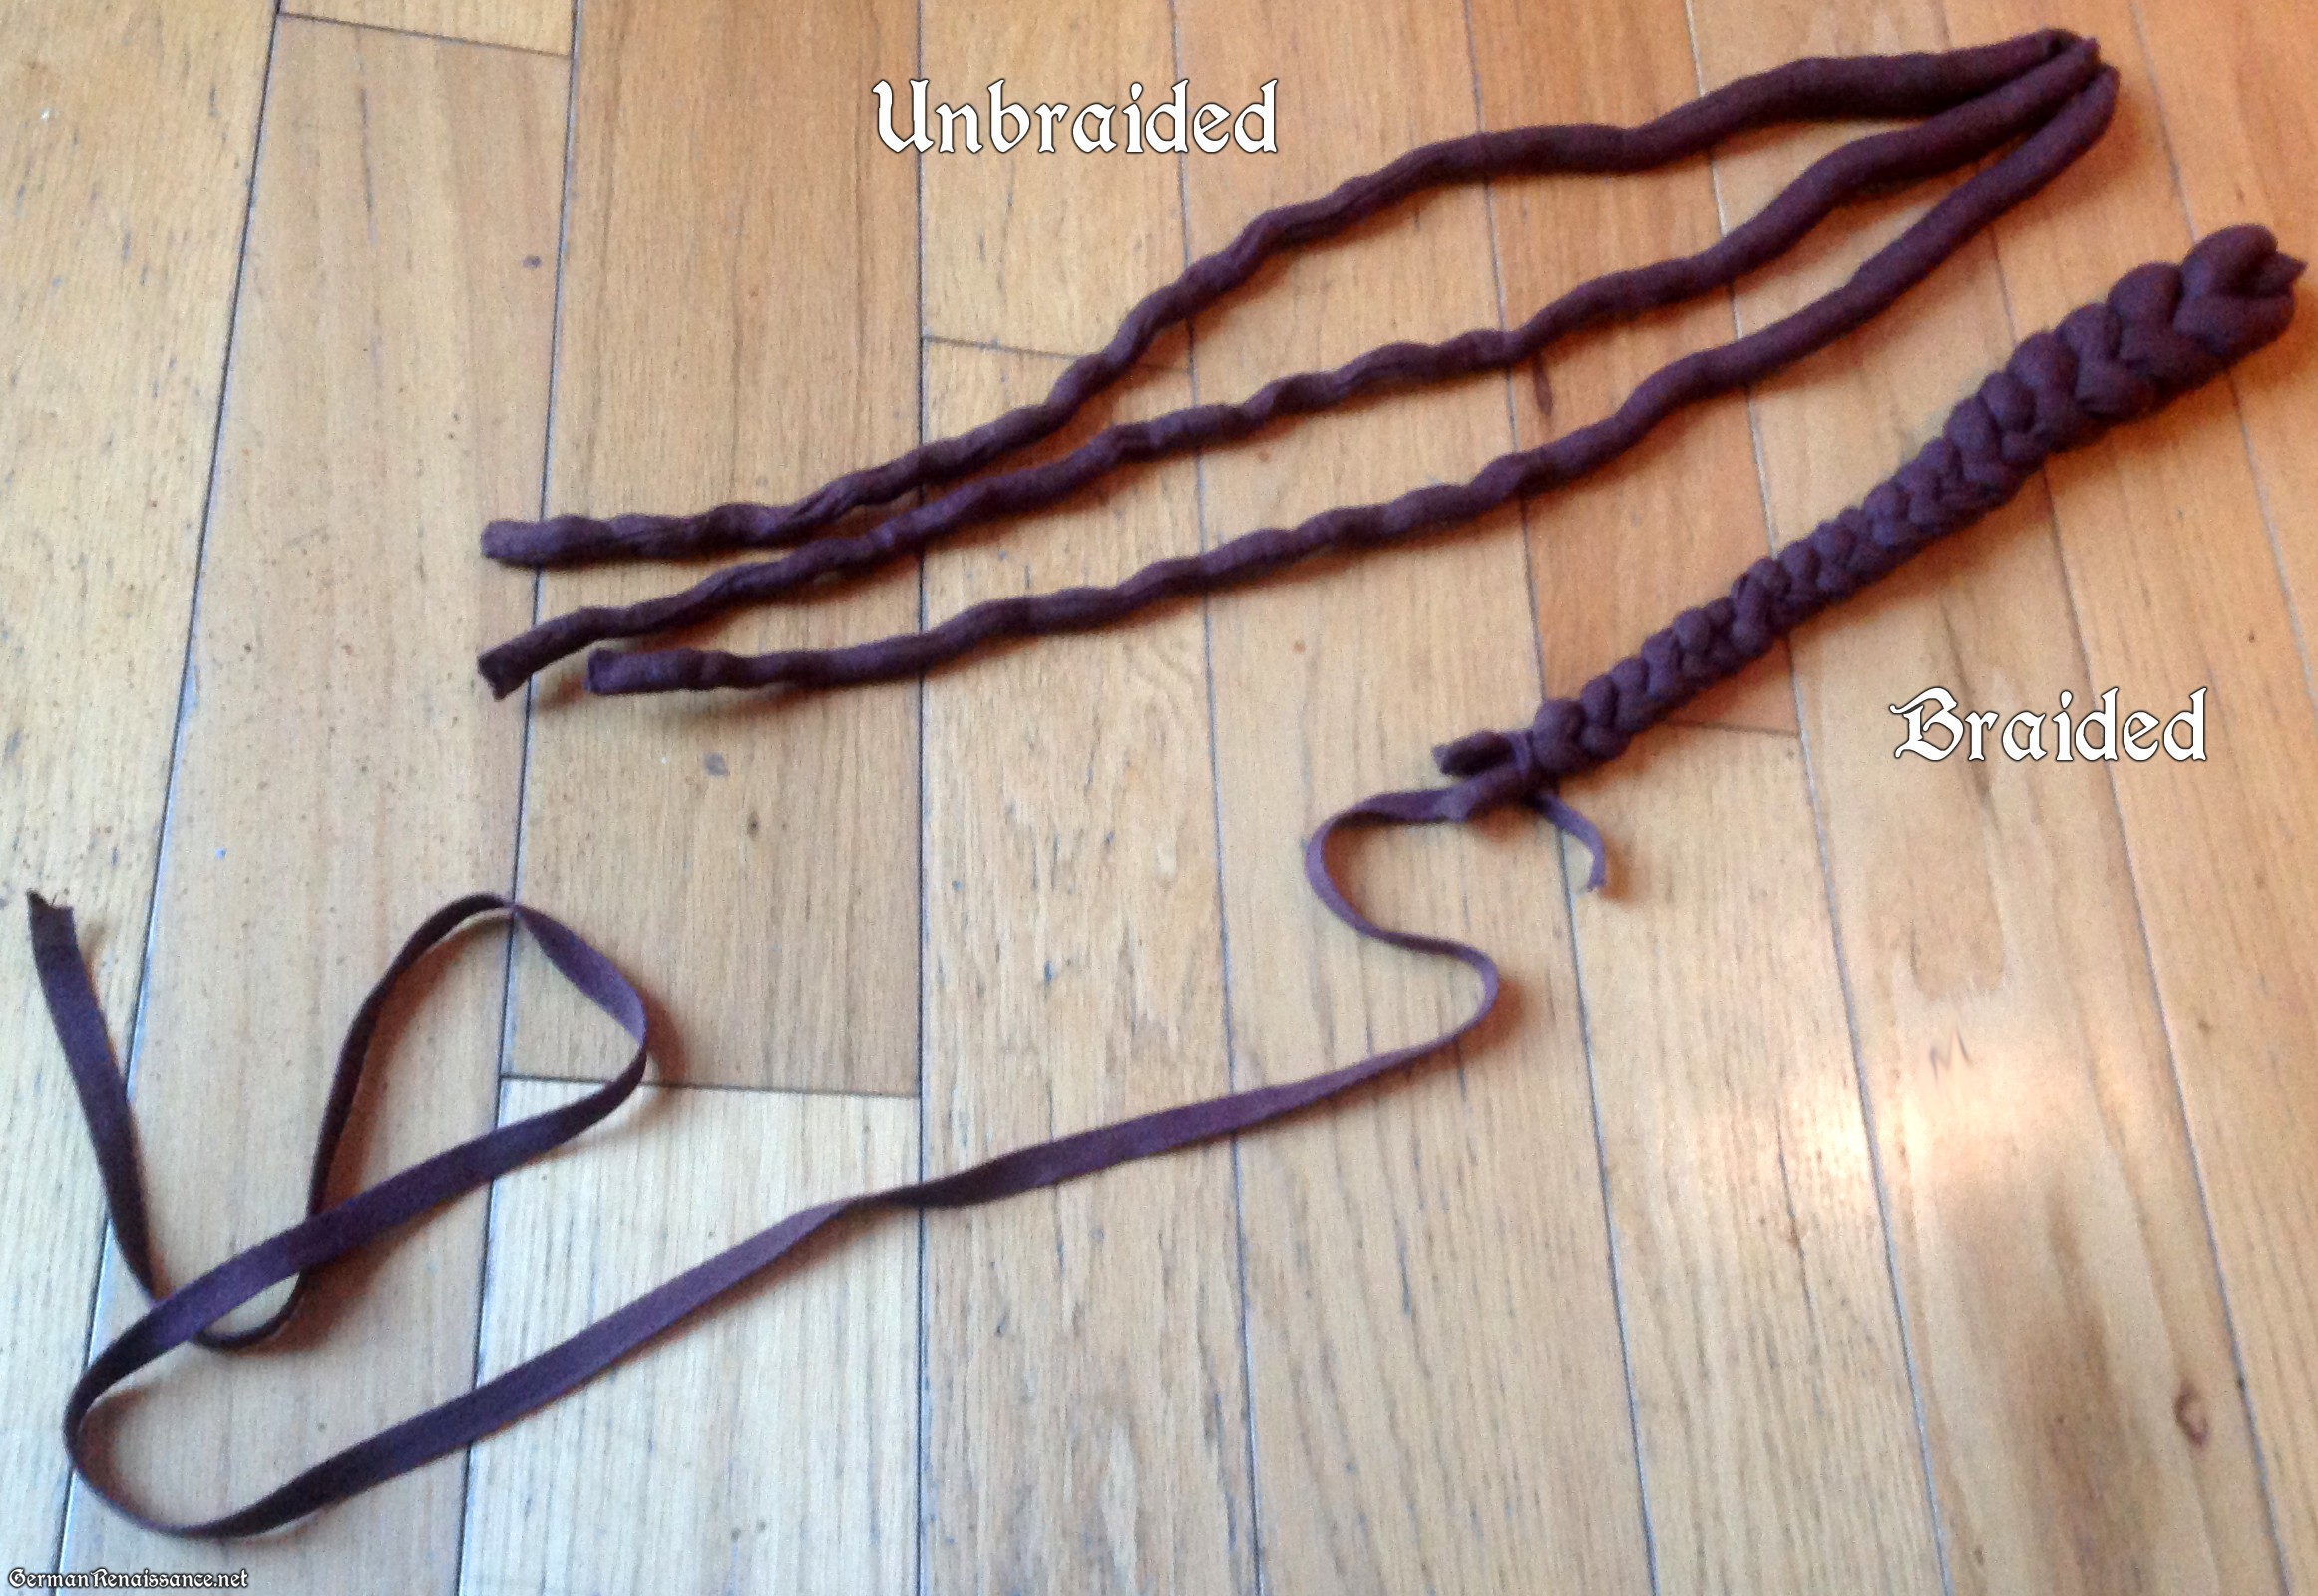
My pair of zopfe. The top set are unbraided and ready to go into my hair. The bottom set is braided so you can get an idea of how easily they braid together.
Materials:
- Linen in any reasonable color (I chose a color close to my hair)
- Wool roving, about 1/3-1/2 pound.
- Linen or silk thread
- A long, thin wooden stick (like those used for kebobs)
- Scissors
- Needle
- Pencil with eraser
Directions:
1. Cut out six lengths of linen about 2 3/4” wide by 26″ long.
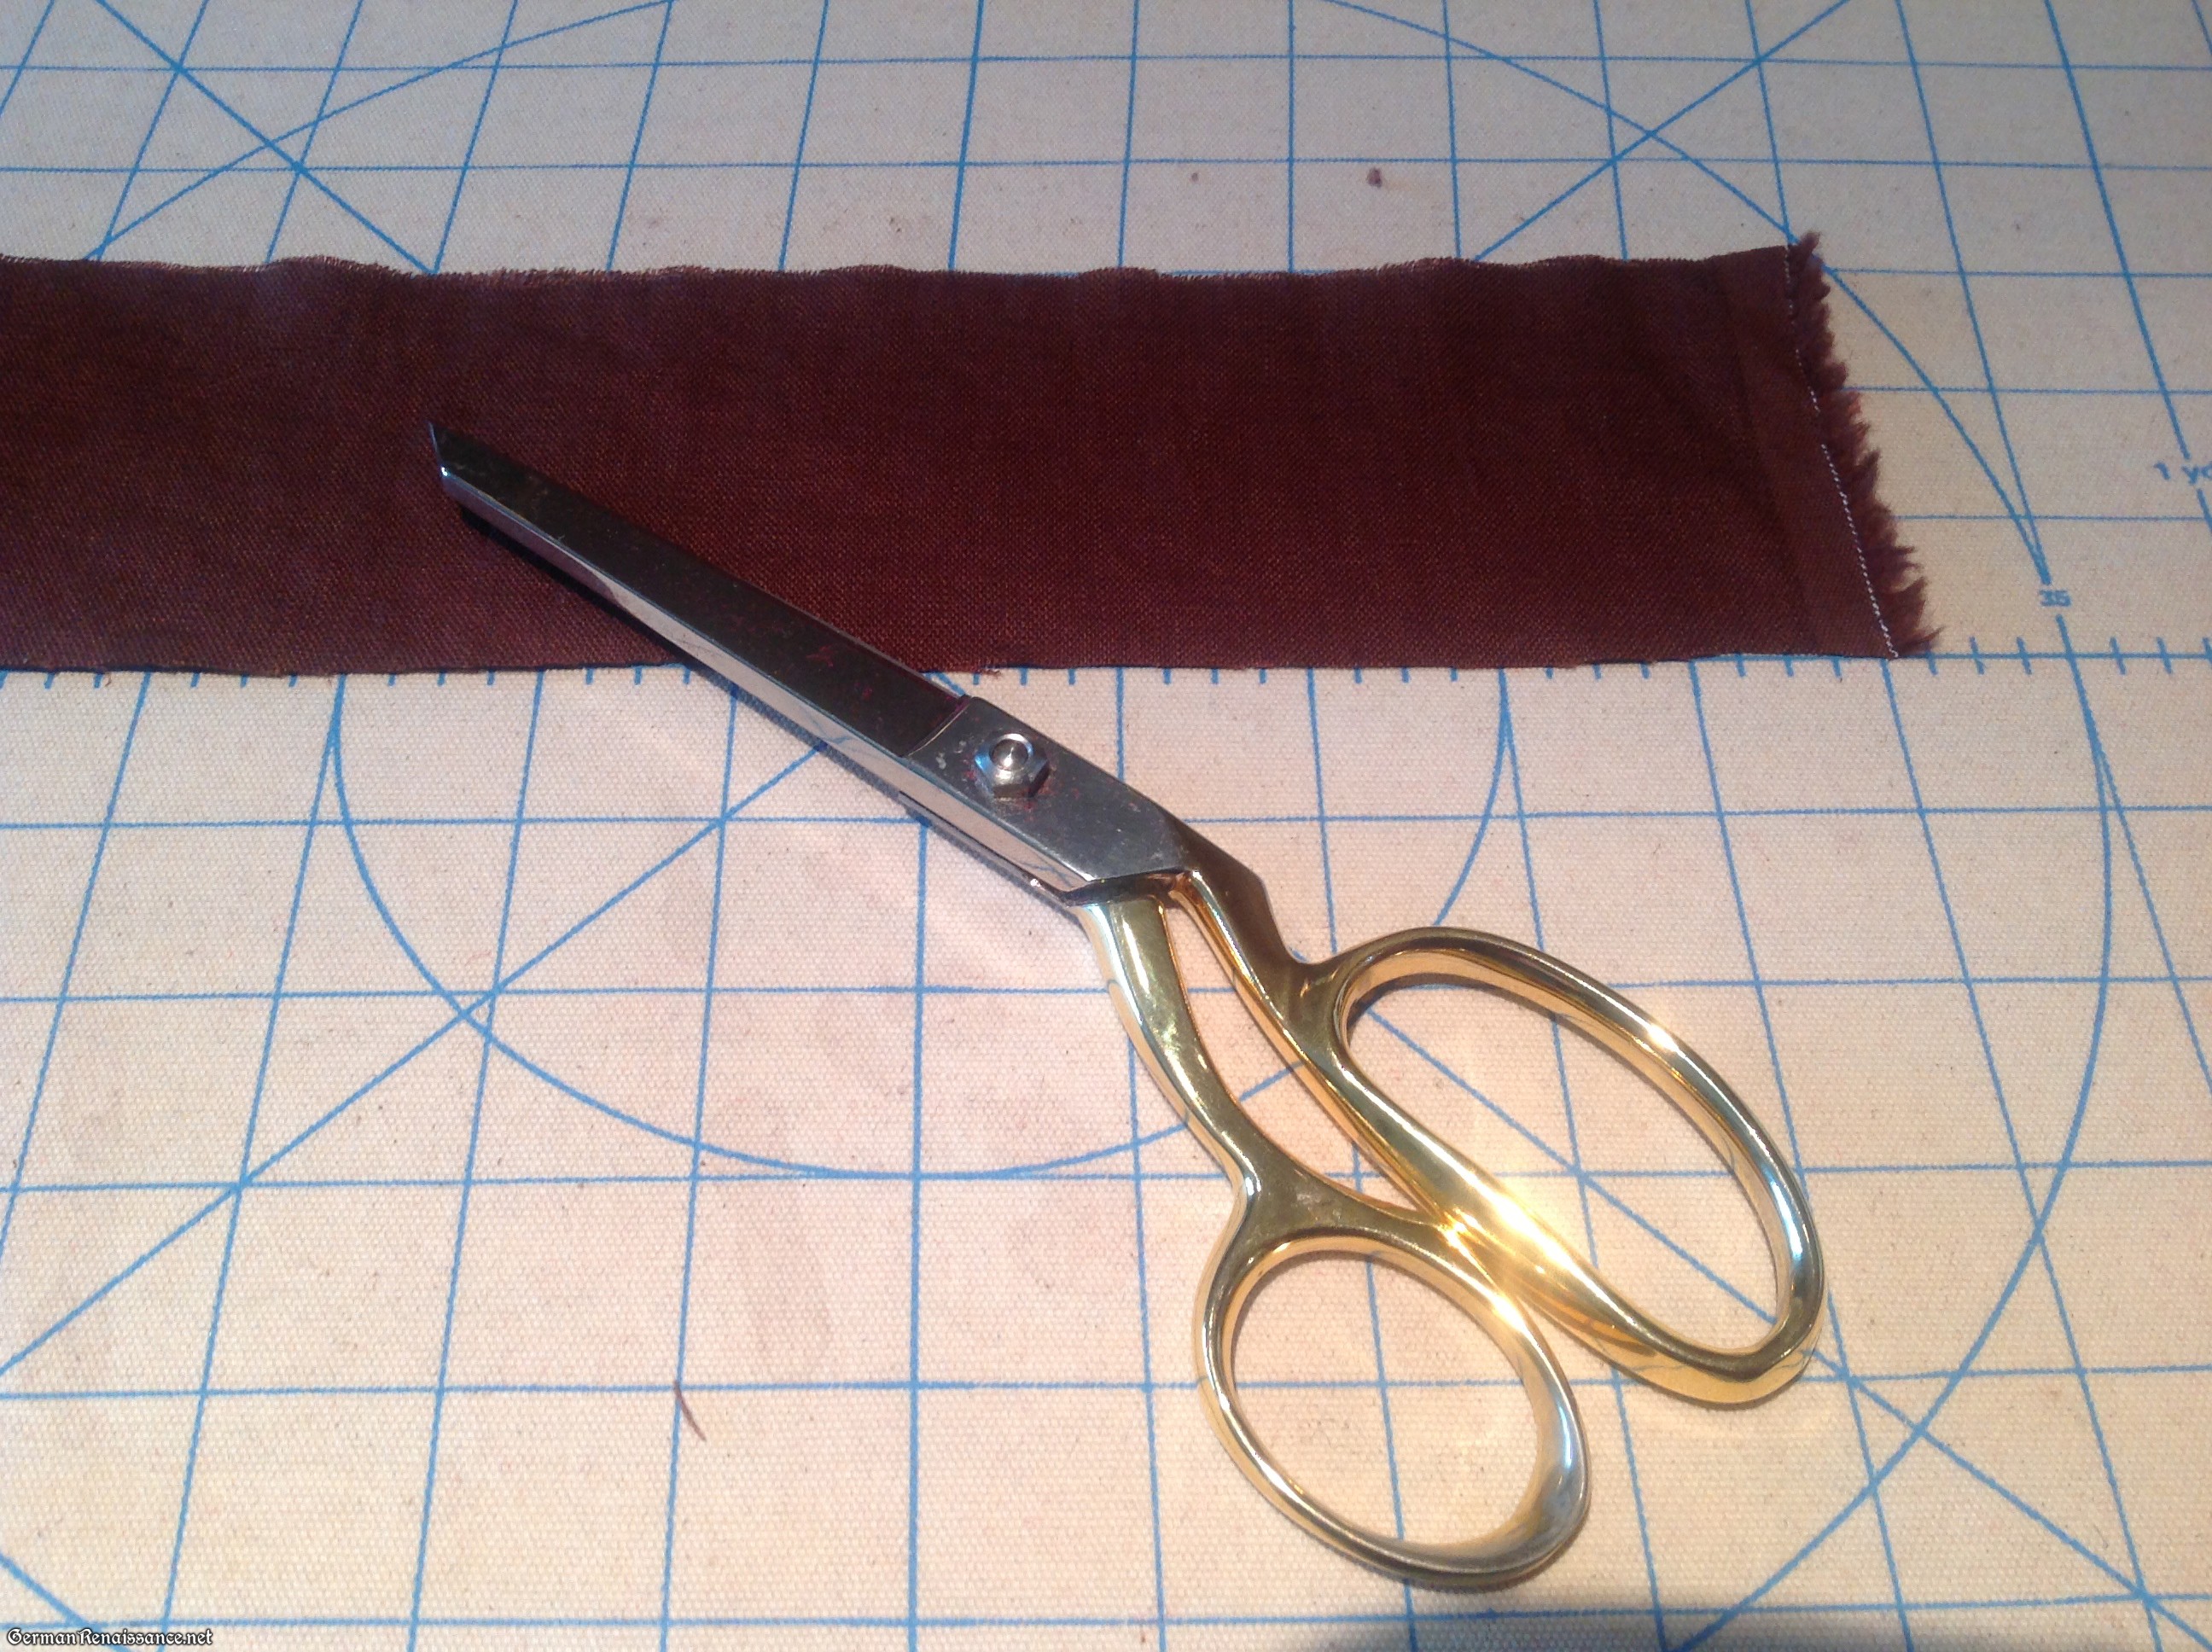
Cut out your linen strips.
2. Fold each strip of linen lengthwise and sew along it’s length, closing it — note that at the top of the strip you’ll want to sew about 1/4″ from the raw edge but by the time you get to the bottom your seam should be closer to 1″ from the raw edge. Your are bringing your seam closer to the folded edge as you go creating a tapered tube. Trim off the excess fabric along the seam.

You can see how I’ve tapered the seam here.
3. Turn each tube inside out using your wooden stick. To do this, place the blunt end of the wooden stick near the end of the tube, bunch the fabric down around the stick until the fabric begins to encase the stick, then push the fabric down the stick. It’s a bit hard to explain, so I made a video for you at http://youtu.be/XQAXcdlqAL0
Tube being turned right side out with a stick
4. Lay your linen tubes out on a flat surface and measure out six strips of wool roving the same length as your tubes. Trim the wool so that it’s thinner at the bottom end — add the wool you trimmed off to the top to make it thicker.
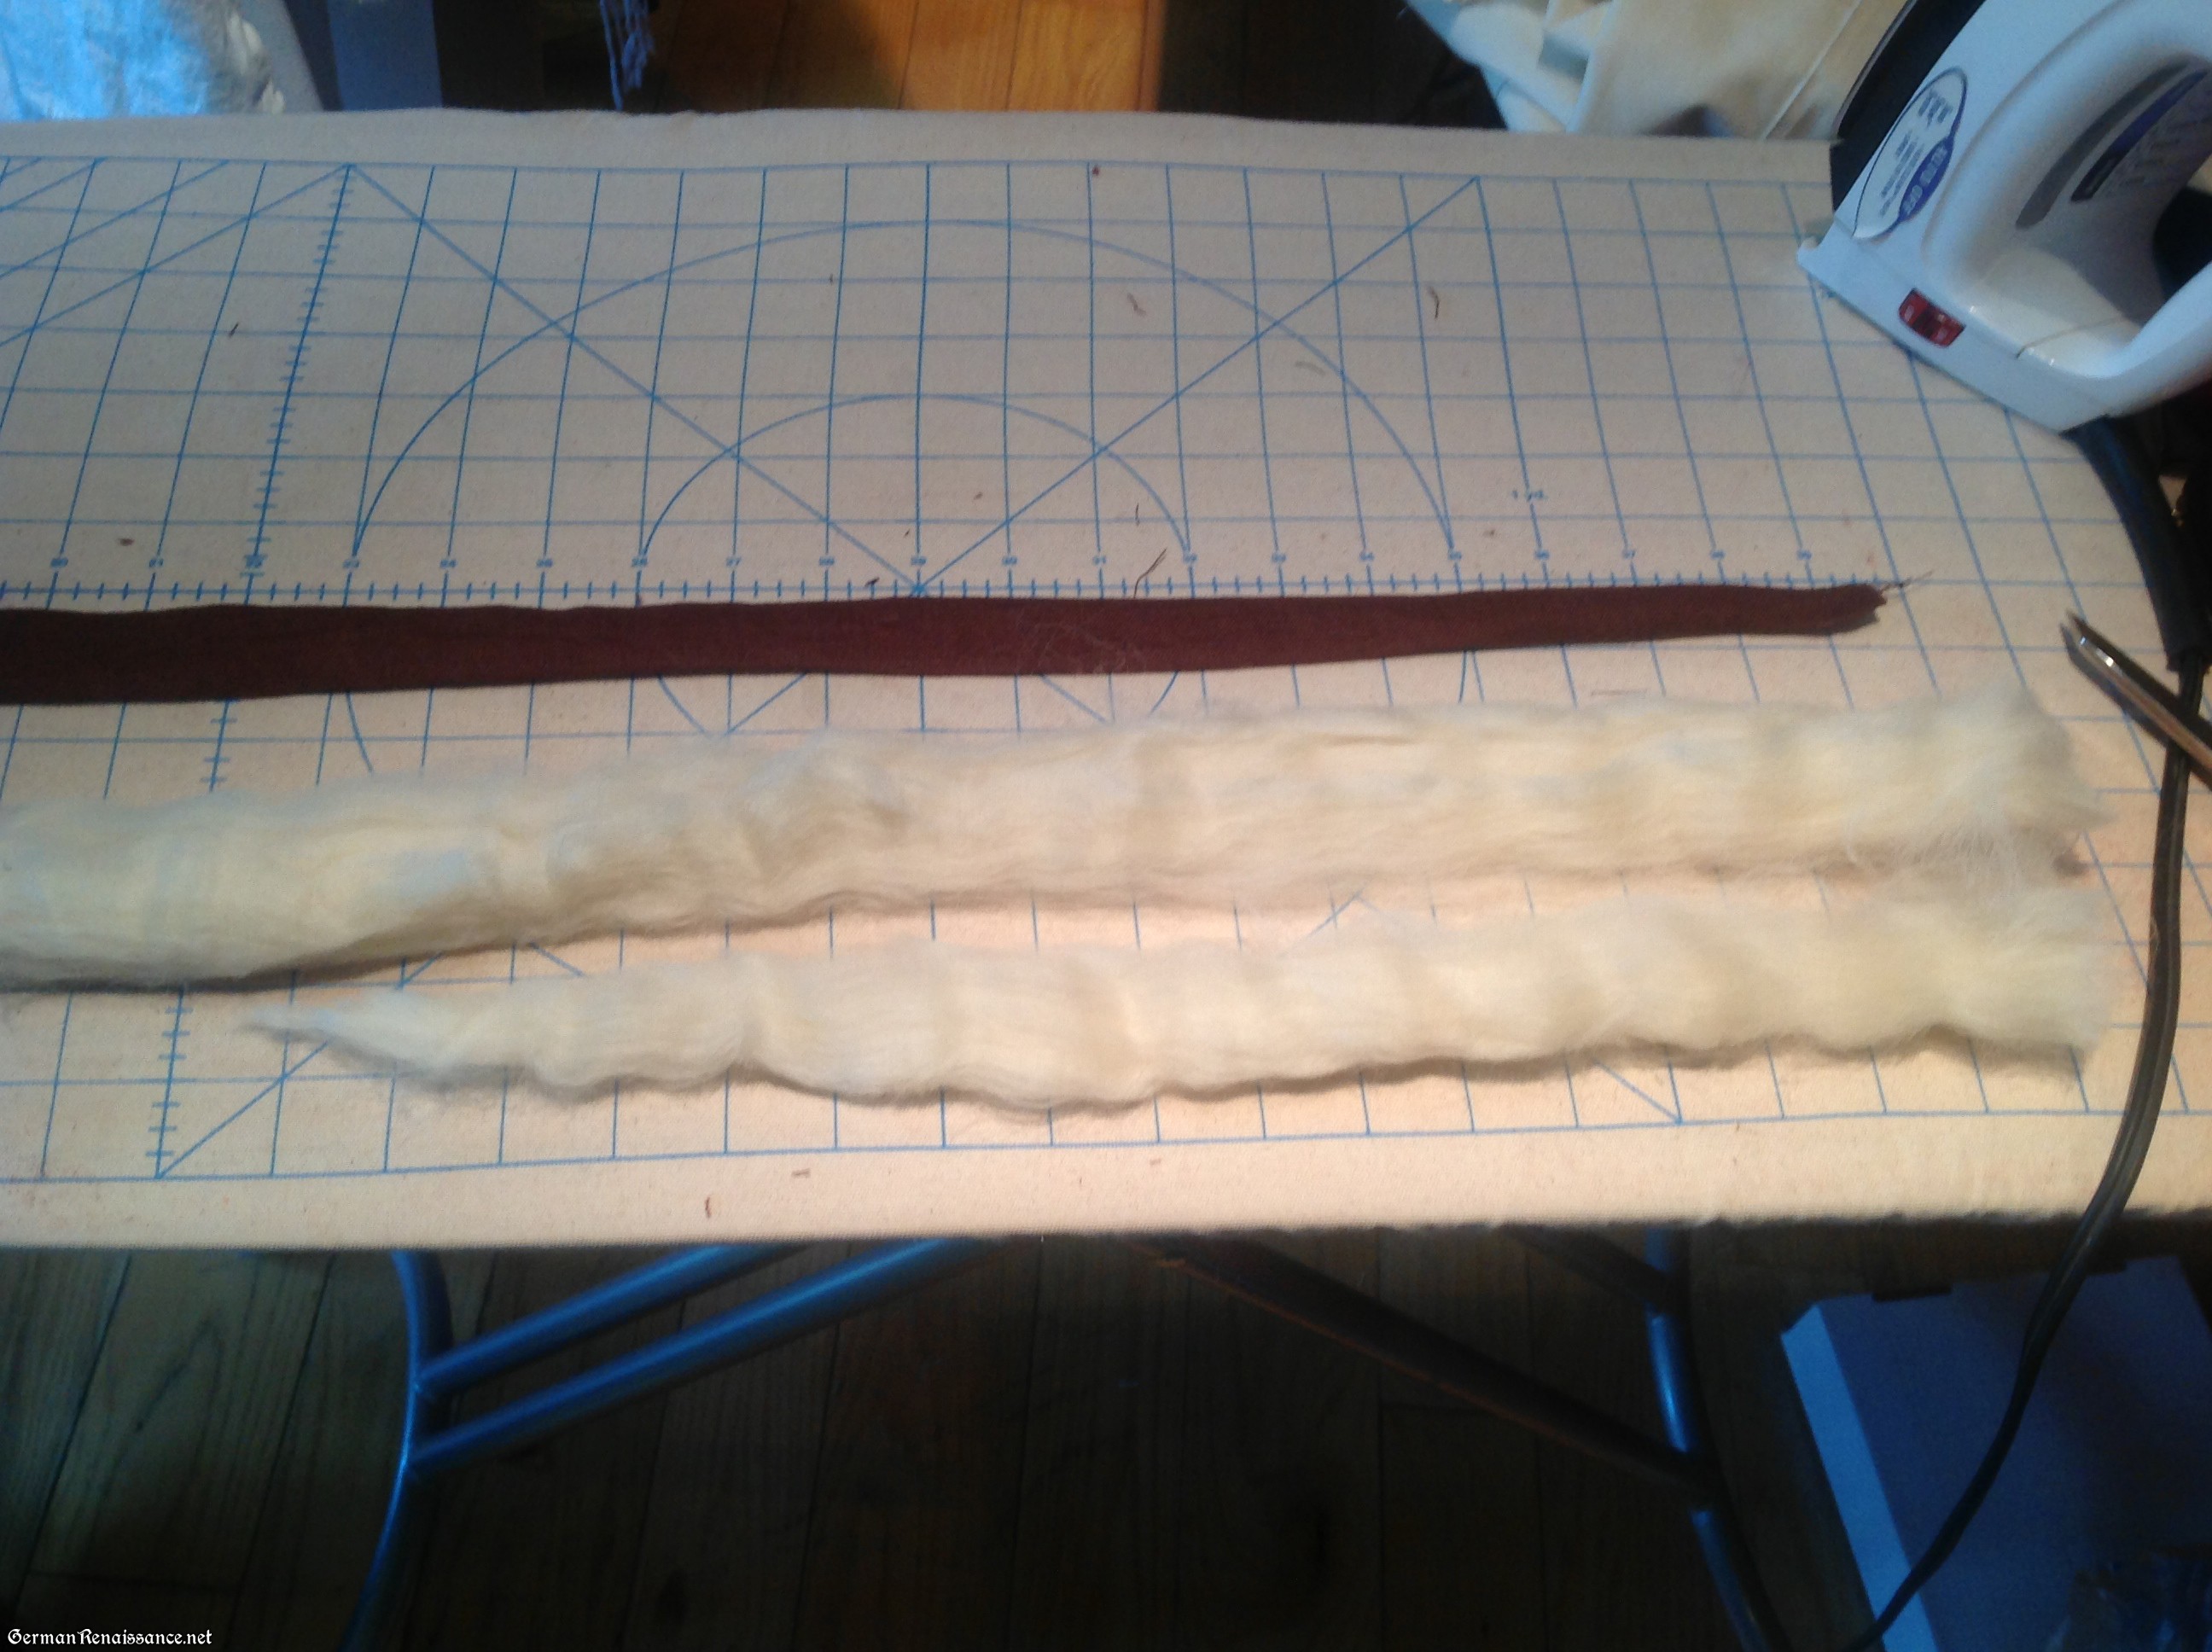
Trimming the wool so it’s narrower at one end.
5. Twist the wool lengthwise and then wrap thread around it (opposite direction from the twist) to keep the hairs neatly contained.
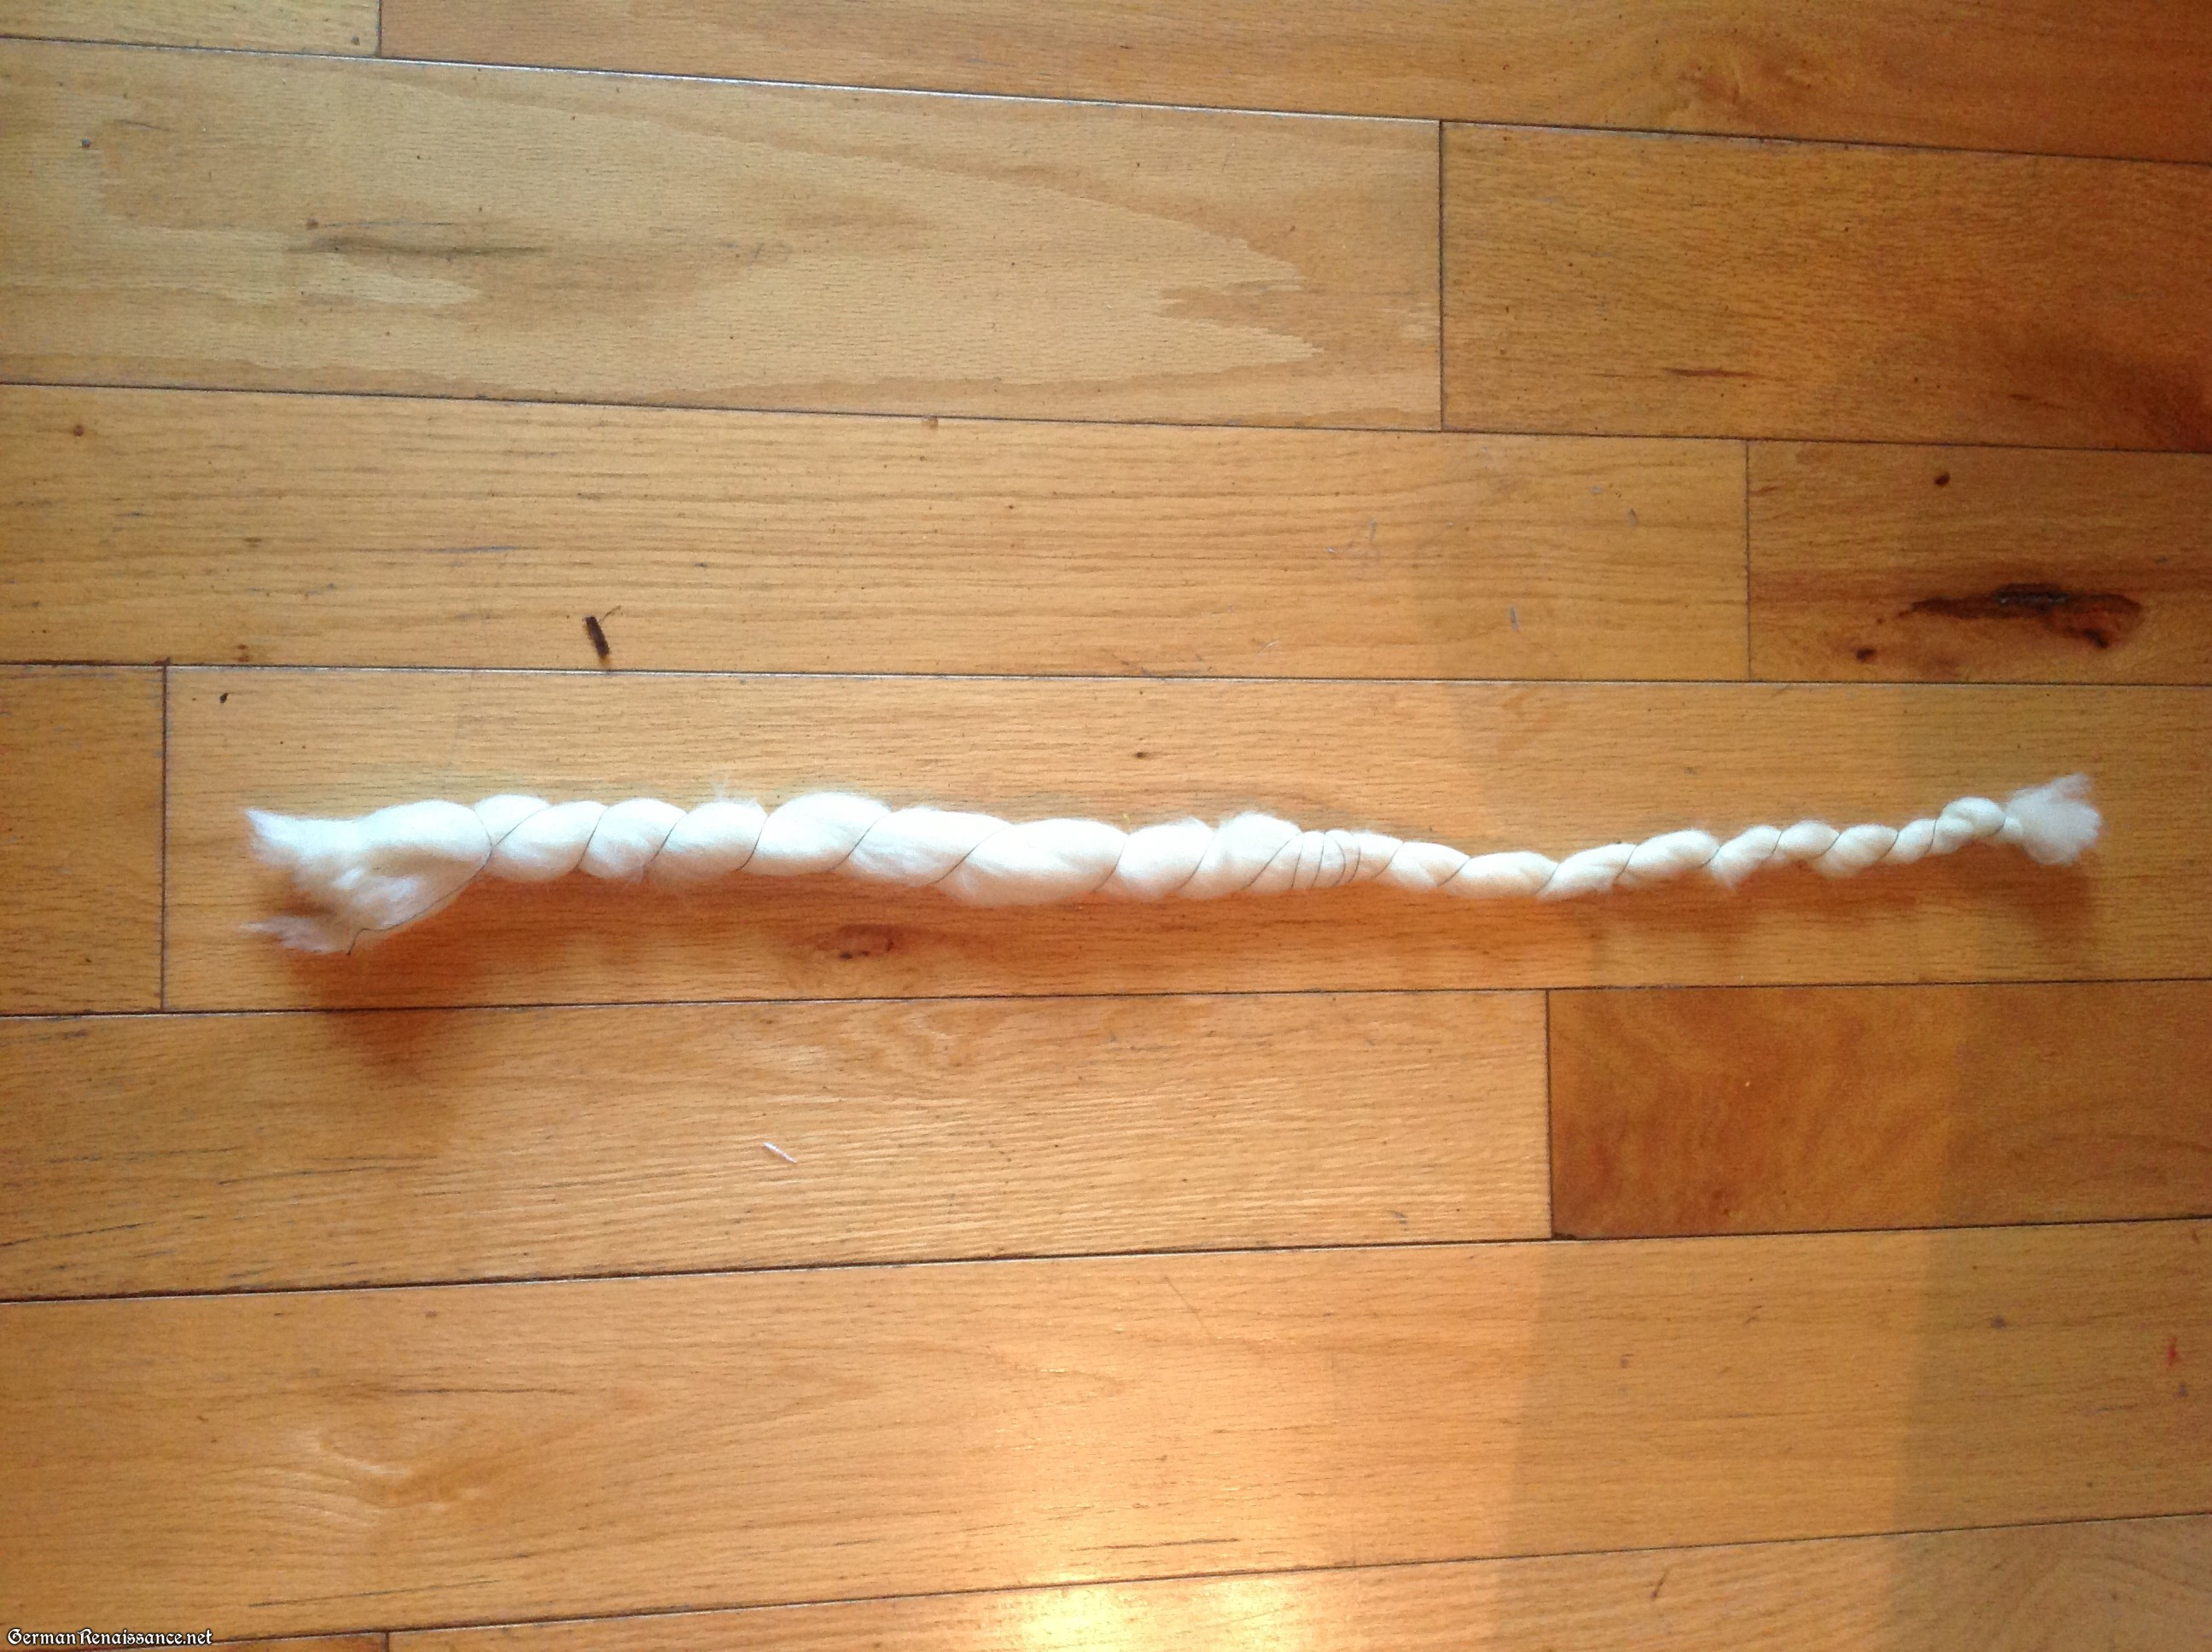
The length of twisted, bound wool.
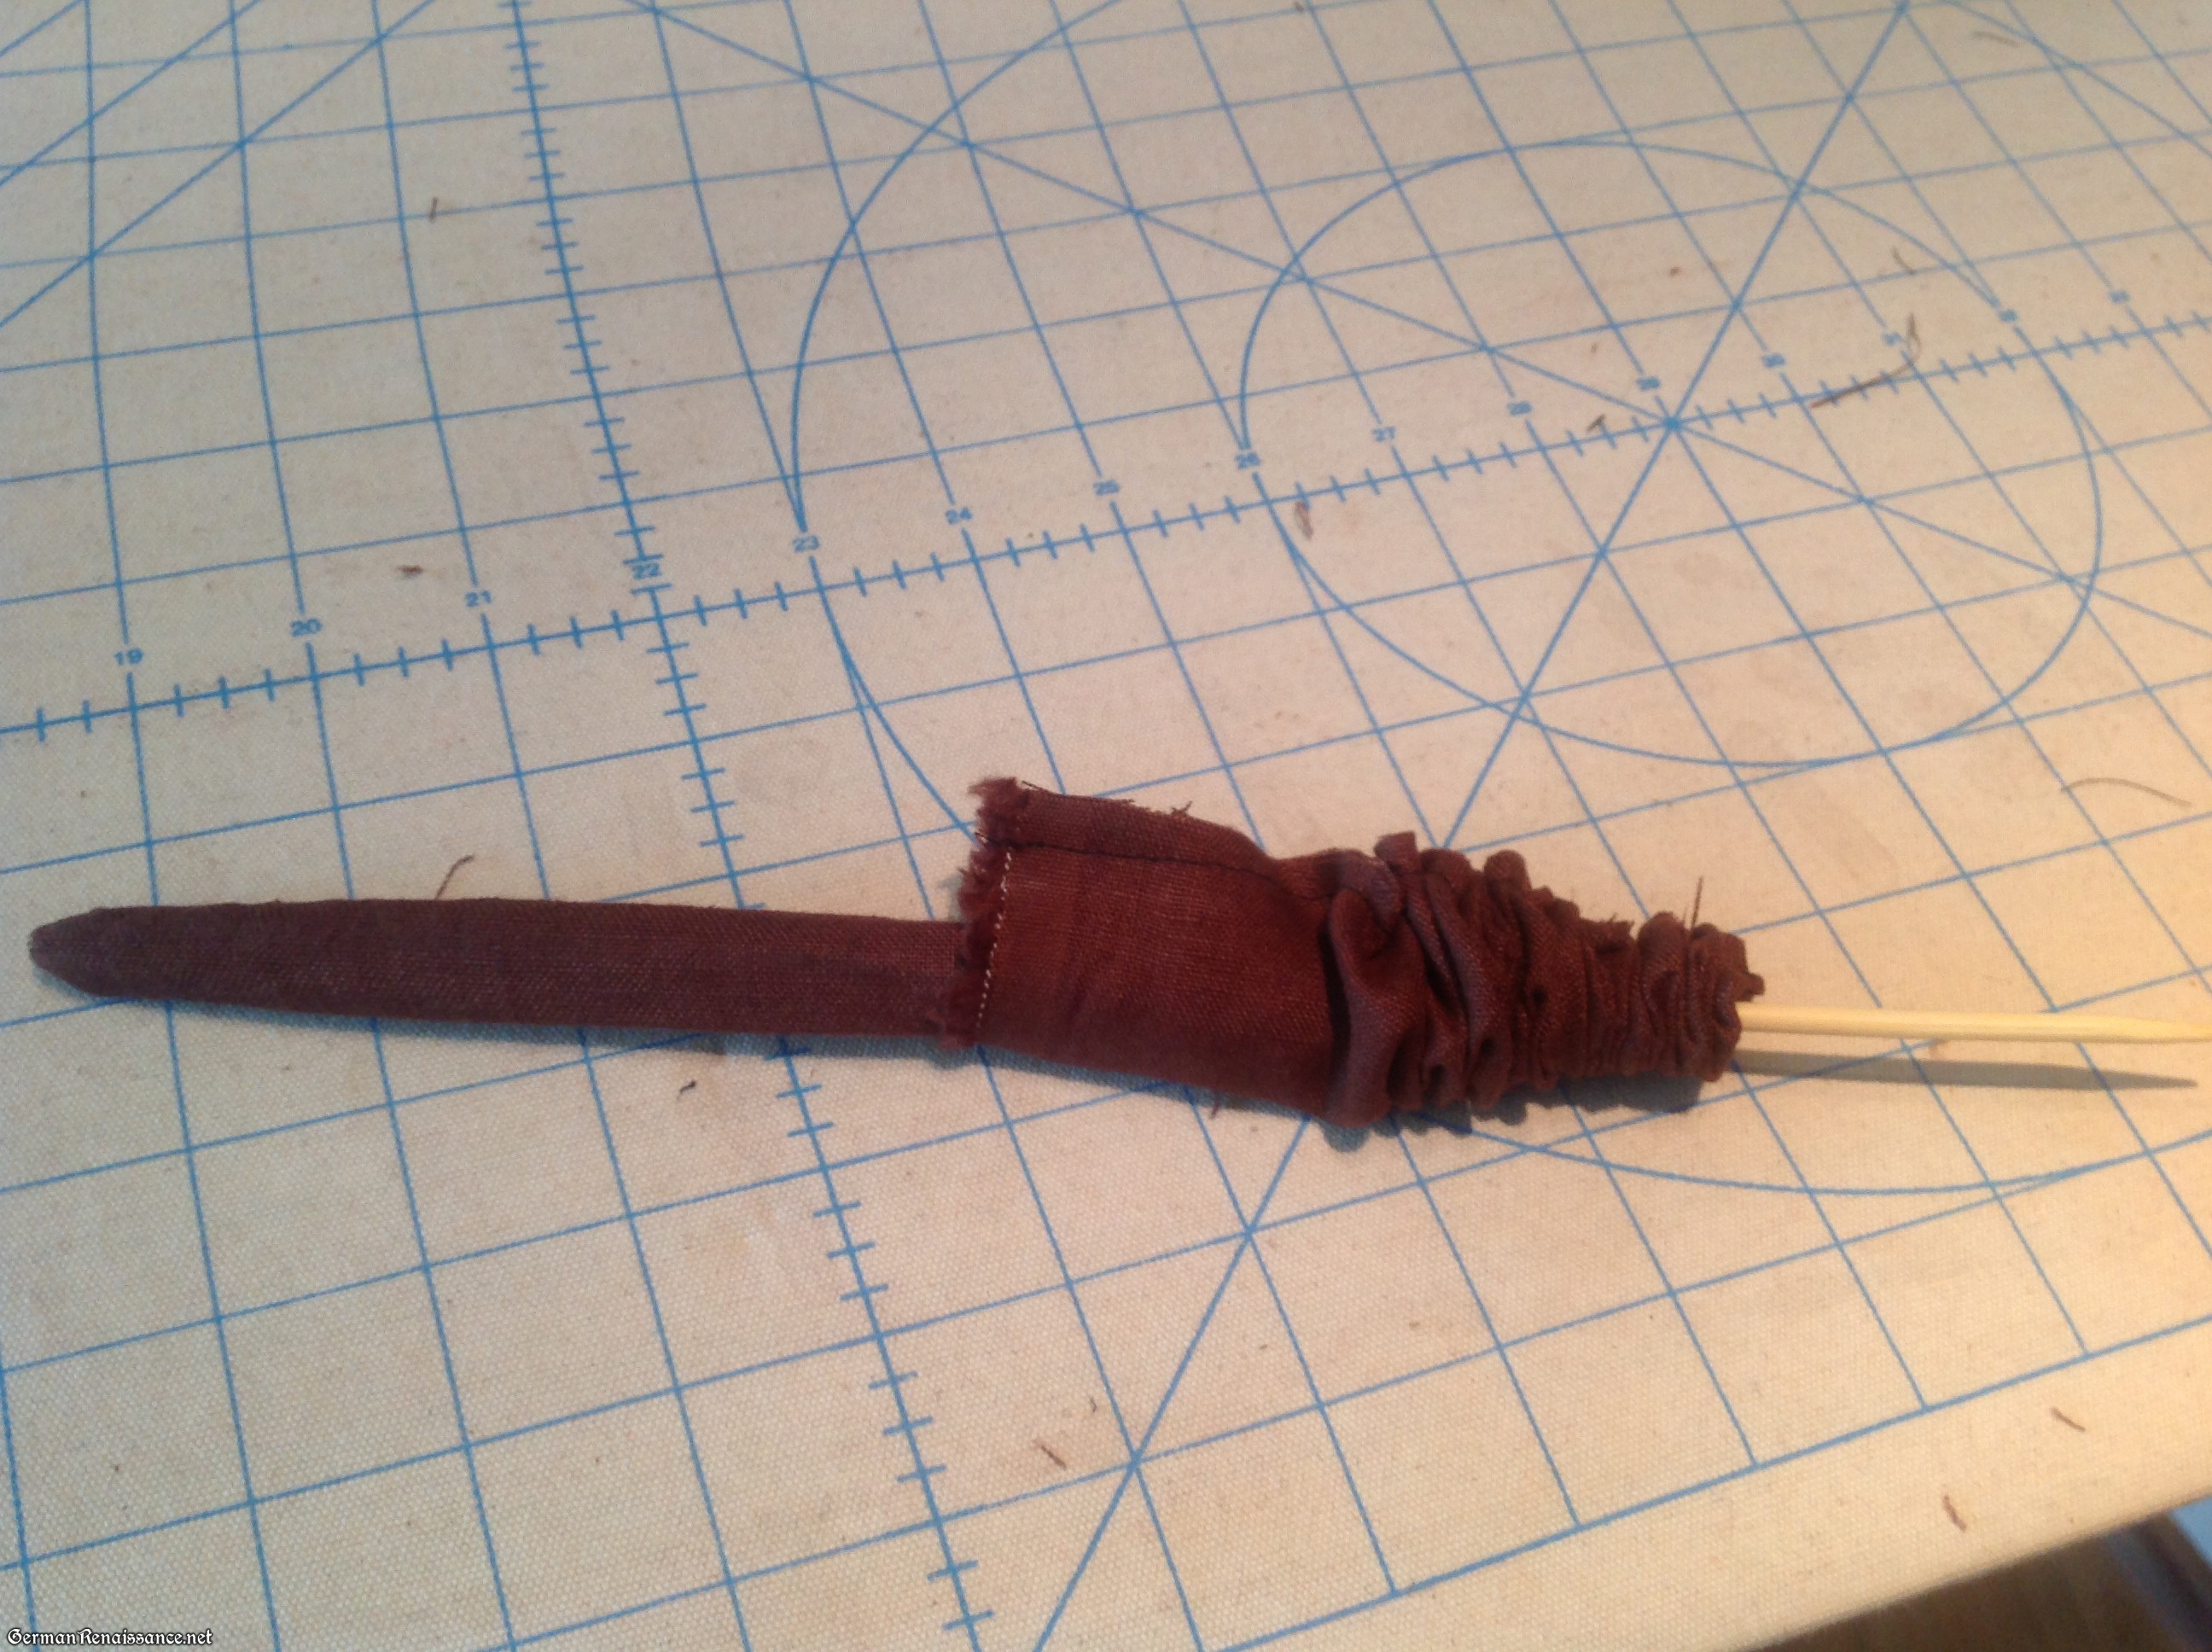
6. Attach the narrow end of the twisted, bound wool to the blunt end of your wooden stick, wrapping the tip of the wool around the end of the stick securely.

Wrapping the wool around the stick securely.
7. Insert the wool-with-stick into the wider end of your linen tube, carefully pushing it down into the tube. Work the stick all the way to the end of the tube and pull the other end over the length of wool. Tip: If bits get stuck, you can use the eraser end of your pencil to push parts into the tube.
8. Once your stick is pushed all the way to the end of the tube, pull it out just a bit and snip off the bit of wool covering the end, then pull the stick out — the wool will stay behind.
9. Sew the ends of the tubes shut, then sew three of the tubes together at the wider ends. I thought it worked best to sew the edges together creating a three-pointed star, and then sew those edges down again, creating a sort of flower shape.
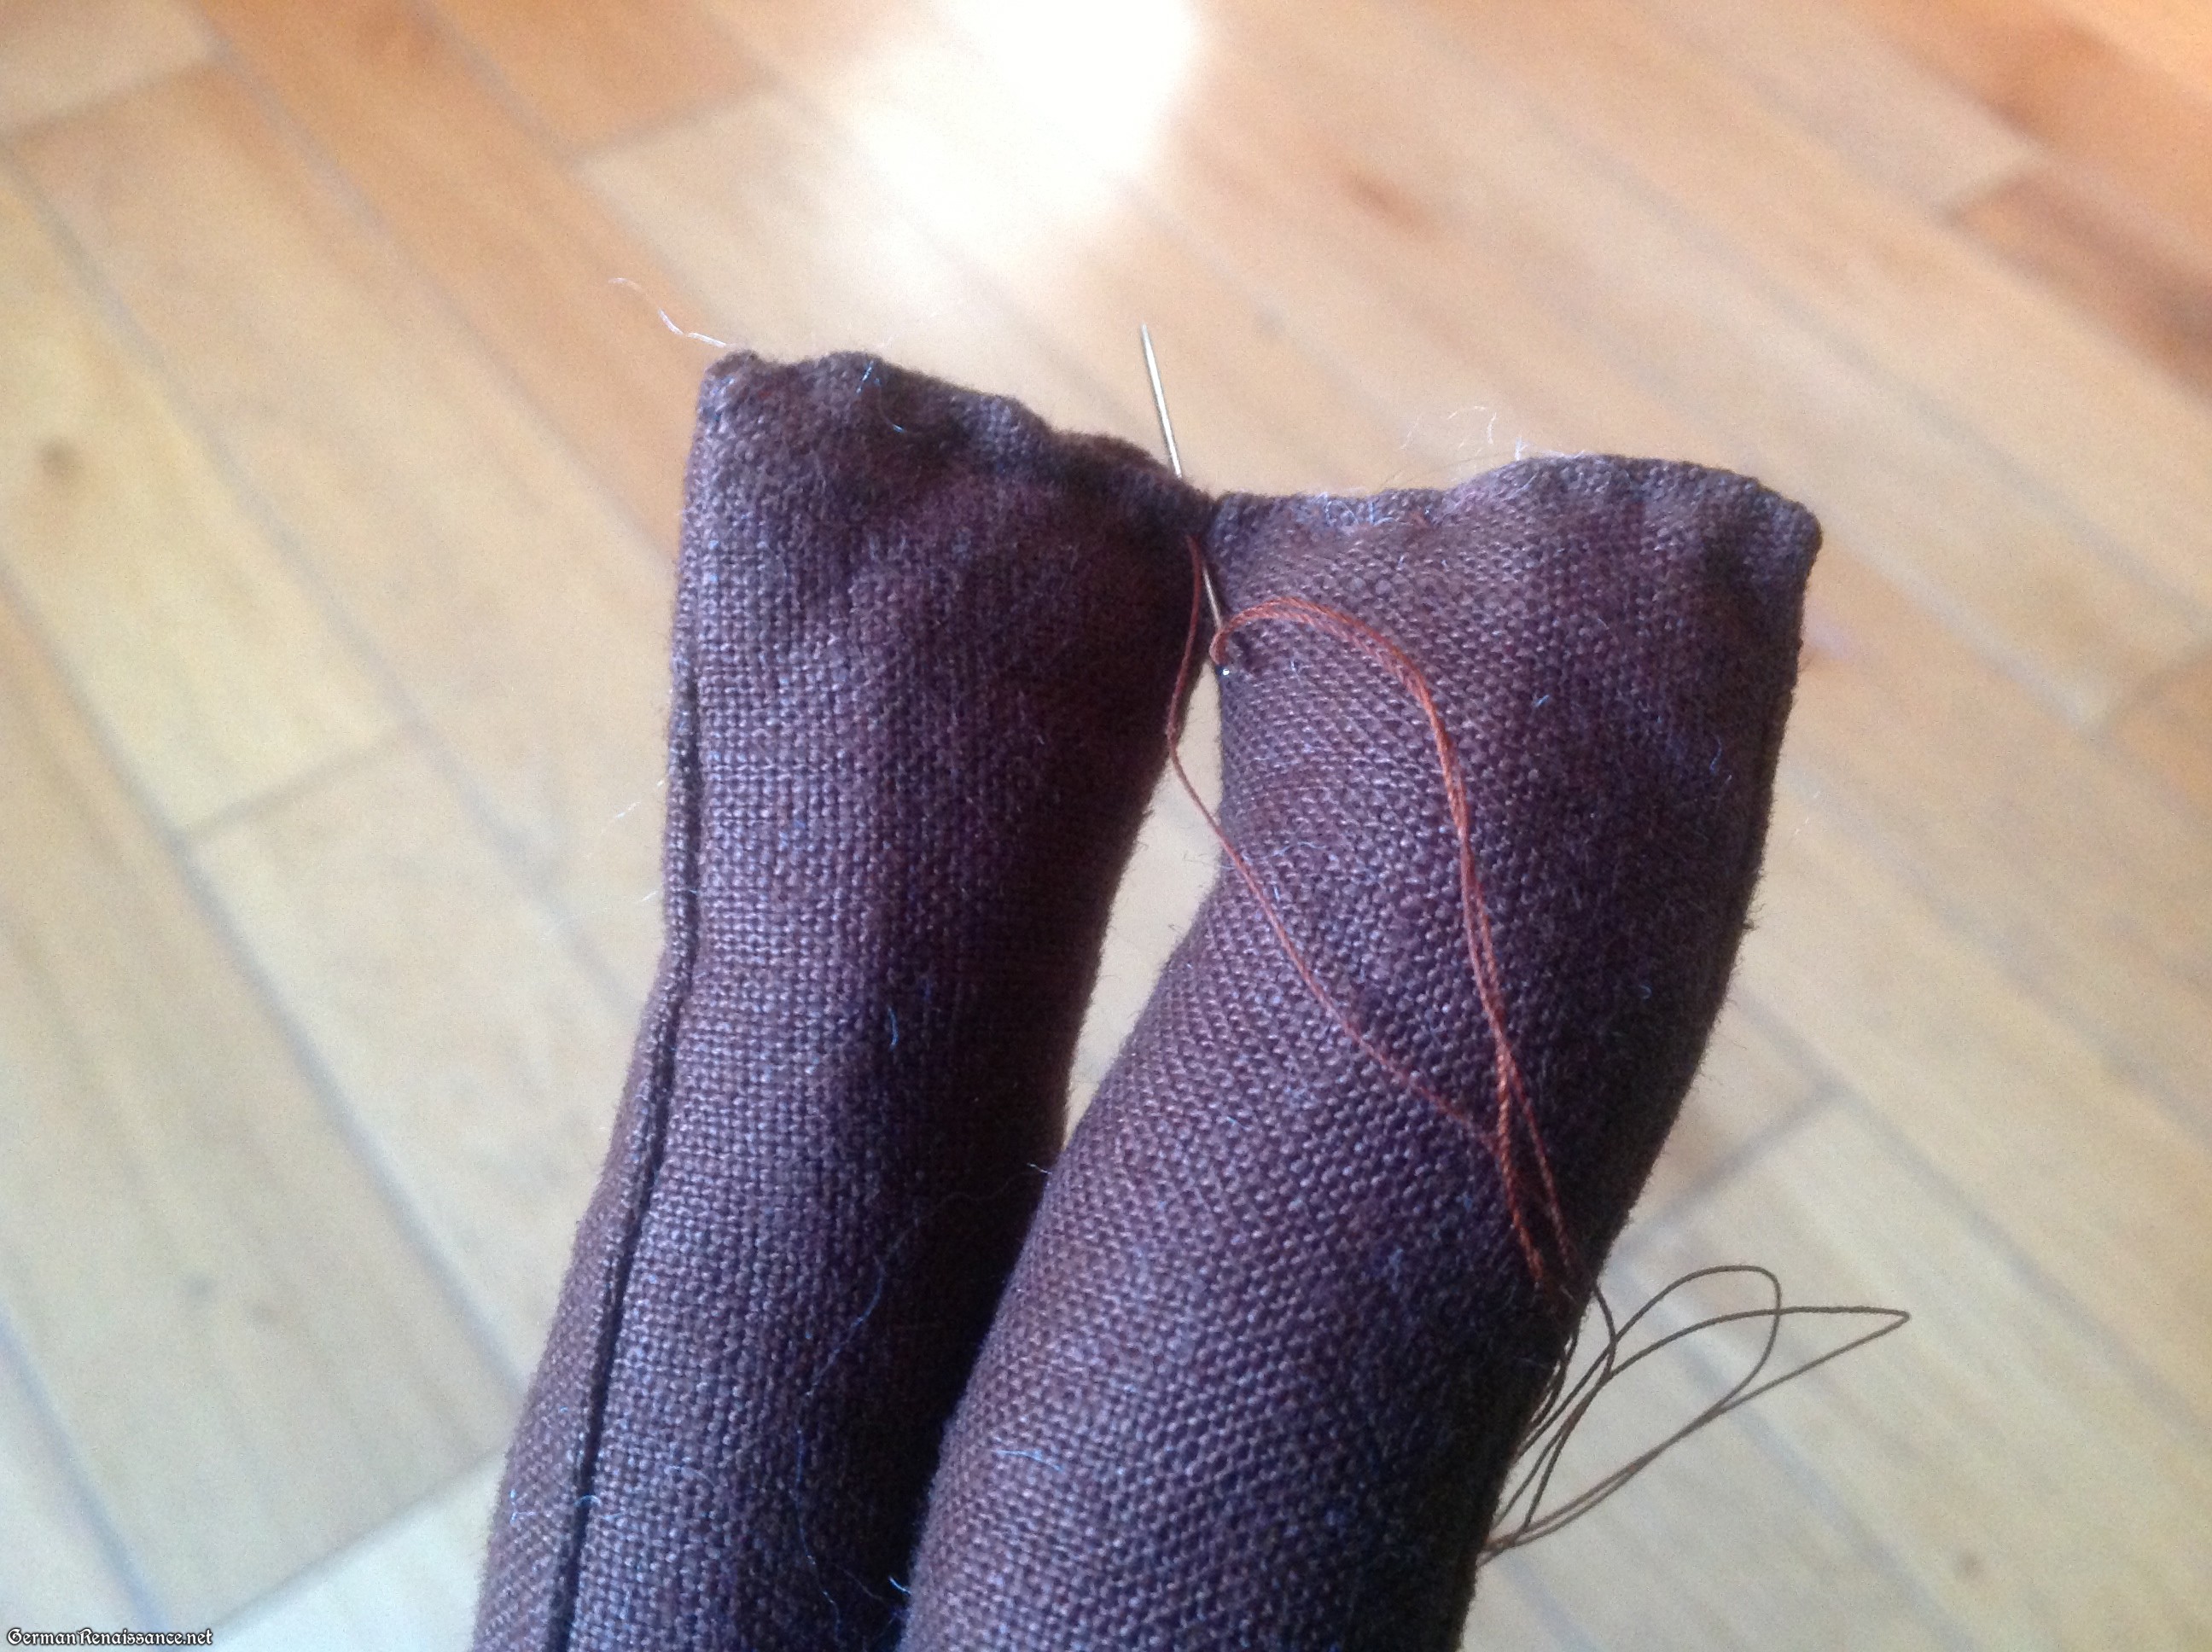
Sew the wider ends of the tubes together.
How to Wear Your Zopfe
If you have short hair and will be wearing a cap over your braids, you can just braid the zopke up together and attach them to your head with pins.
If you have hair long enough to braid up with the zopfe, do this:
1. Make two pigtails in the back of your head, tie with bands.
2. Take one pigtail in one hand and put the wide end of your zopke into the pigtail so the hair goes all around it.
3. Braid your hair with the zopke just as you would normally braid your hair. The zopke will stay in place once you do the first set of plaits. Continue braiding, paying attention to how your own hair falls over the fake braids.
4. If you run out of your own hair before you reach the end of the zopfe (as I do), just keep braiding the zopke — your hair will stay inside the plait.
5. When you reach the bottom, tie the zopke with a long ribbon. I use a cotton twill ribbon.
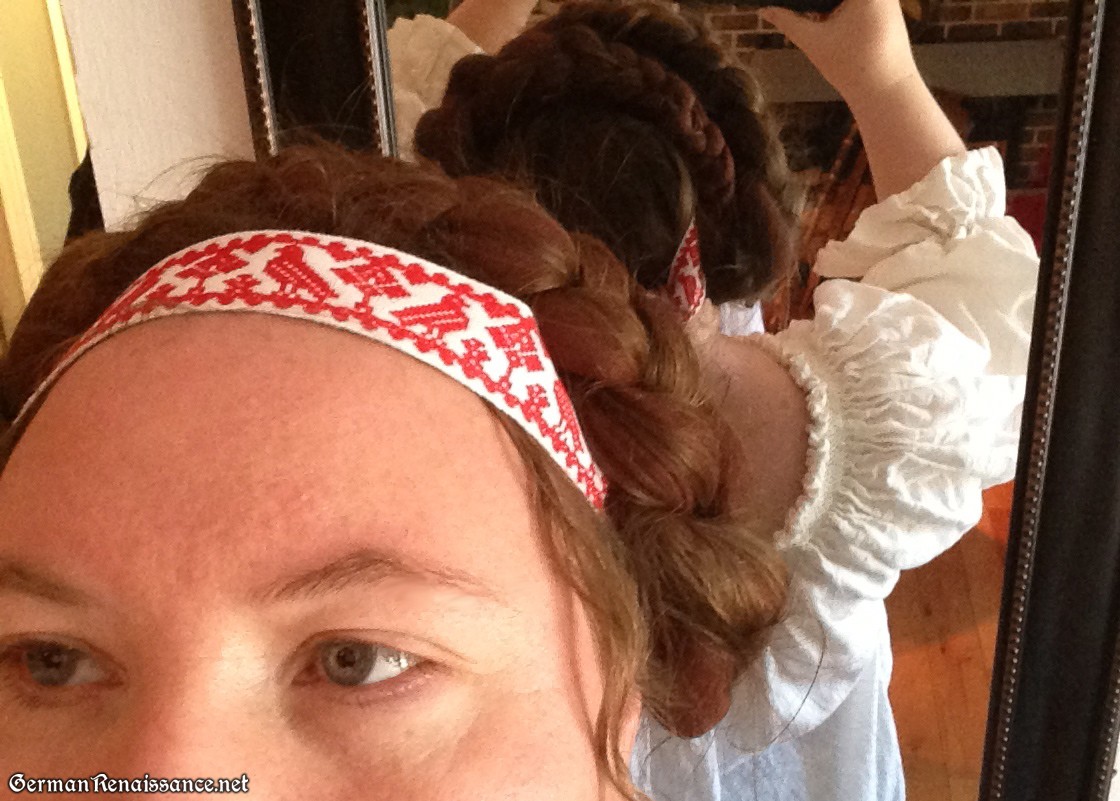
6. Repeat for the other pigtail. (If you want to wear a headband, put it on now.)
7. Now wrap one braid up and over your head. How far forward your braid falls on top of your head depends on the hairstyle you’re trying to recreate and the shape of your head. Tuck the end of the braid behind the ear opposite from where it began, then bobby pin in place.
8. Repeat with the other braid. You may be able to tuck the end of the second braid under the first one on top of your head, depending on how thick it ends up and the hairstyle you want to recreate. Pin in place.
9. Using the ribbons tied to the end of your braids, wrap them around the back of your head, cross them up over the top of your head (behind your braids), and back down to the base of your head where you will tie them. This keeps the braids secure to your head.
At this point, you can leave the braids uncovered. add a Gefrens (a band with a width of fringe in the back), or cover them entirely with a cap. Here are photos of me in the braids, with and without a cap — notice how the cap is filled out by the braids.

Front view

Side view
Back view
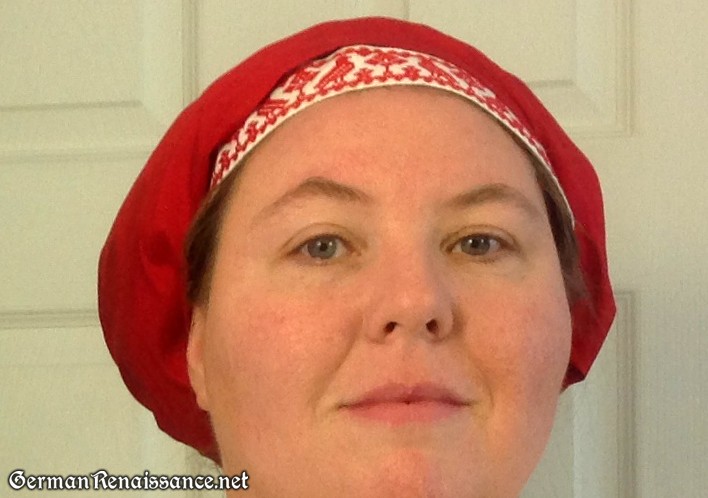
With cap
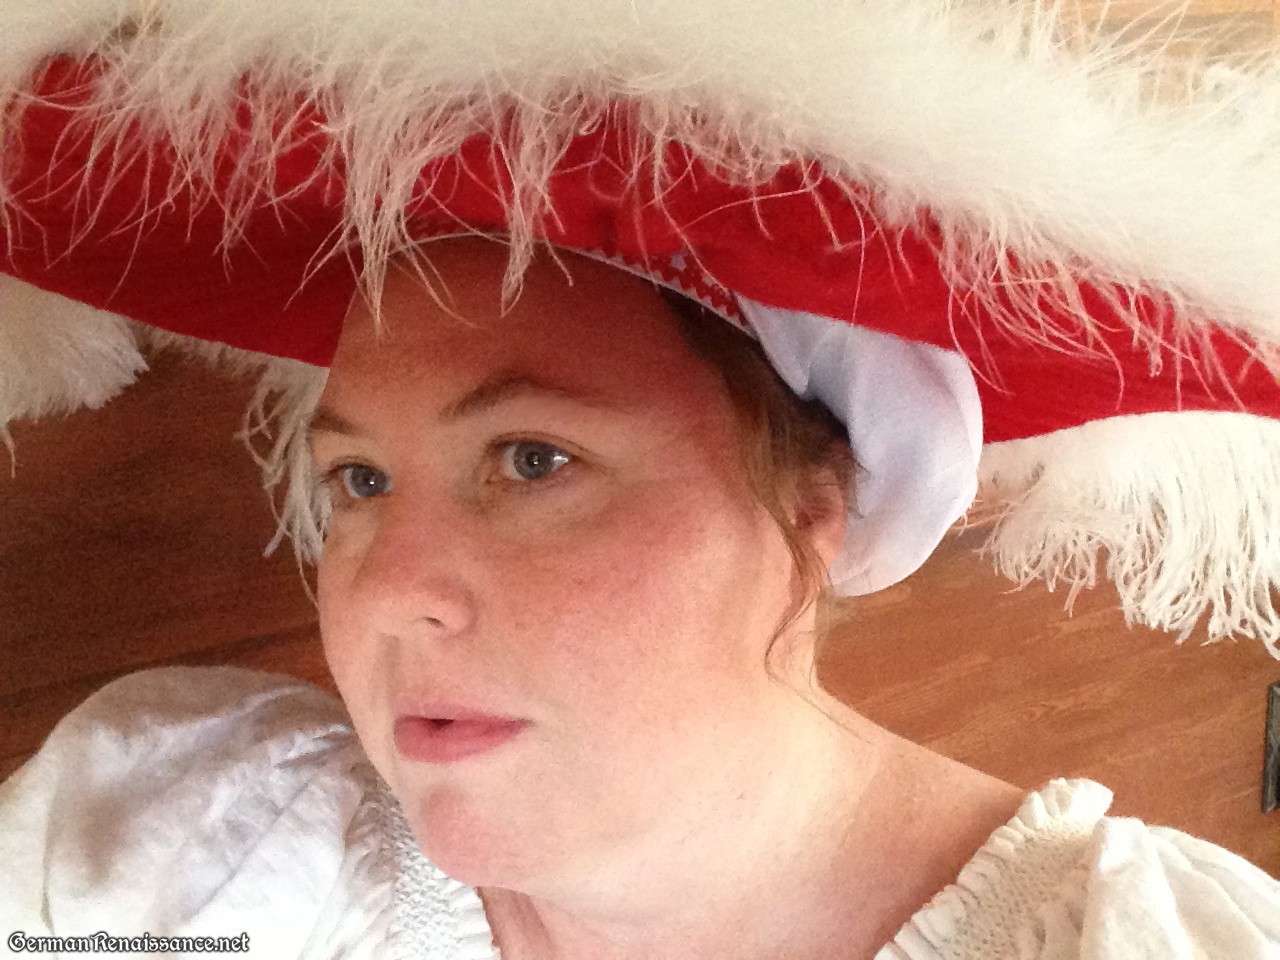
With cap and hat!

YAY! Thank you thank you thank you!! I do hair as my medieval thing – I study it across all the medieval time and I make fake hair pieces and do braids on people – I had seen the picture of Saint Clare with her blue fake braids and I knew that’s what they had to be! Thank you so much for sharing, this is great!
Thanks for this great idea and for the picture of the “Zopfmacher”. I have made my own fake braids and it works really fantastic!