With all the travel I’ve been doing lately, I need reliable garment bags that protect the clothing I make. After much research into the features I want (breathable fabric, long length, fold-over design with shoulder strap) and those I do not want (zippers and obviously modern touches), I’ve developed a pattern. If you’d like to make your own garment bag, here’s what you’ll need:
Garment Bag Materials:
- Unbleached canvas 60″ wide (length = garment length + 12″; I used 2 yards for a long dress)
- Cotton thread
- Your favorite hanger
- Wood dowel (1/2″ in diameter, 36″ long) – optional for a fold-over feature with carrying strap
- 12″ strip of unbleached muslin for ID and accessory pocket – optional for ID and accessory pockets
Garment Bag Instructions:
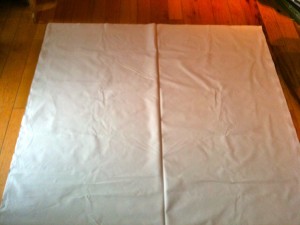
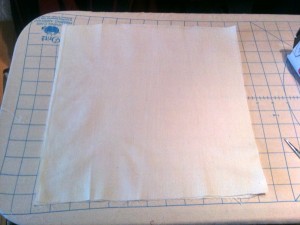
1. Lay out your fabric with the 60″ wide section at the top and the selvedge at the sides.
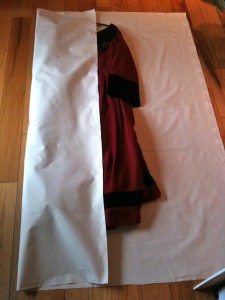
2. Center your garment (on its hanger) on top of the fabric, making sure the top of your hanger lines up with the top of the fabric.
3. Fold over the left side of the fabric. I like to leave a 1/2″ of room between the fold and my garment for roominess.
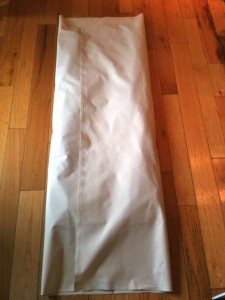
4. Fold over the right side of your fabric, overlapping the two sides. This will be the width of your garment bag. (My width is about 25.5″.)
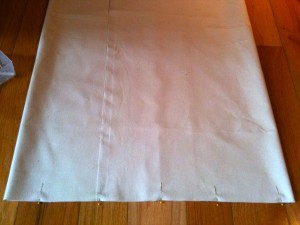
5. Put a pin at the either fold to mark the spots and mark the length you want your garment bag to be. Remove your garment and re-fold at the pins.
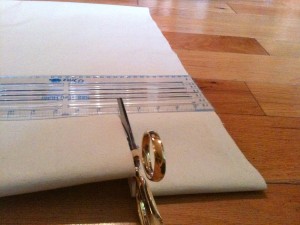
6. Cut the fabric to the length you want your bag. (Note: If you’re going to do the optional fold-over, you’ll want to cut off at least 5″.)
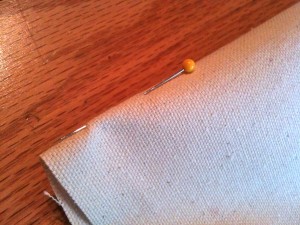
7. Pin the edge (this will be the bottom of your bag) in place.
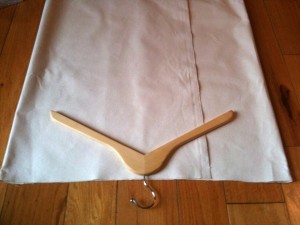
8. Center the hanger at the top of your fabric (with the hook extended above the edge of the fabric, as if hanging).
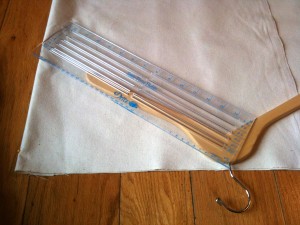
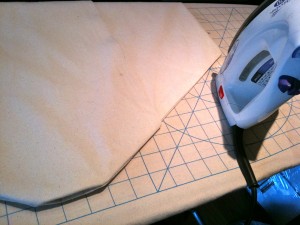
9. Mark the angles with a straight edge from the top to the sides (make sure you have at least 3″ of straight edge at the top) and cut the fabric on the angles you marked (no need to add in any seam allowance here).
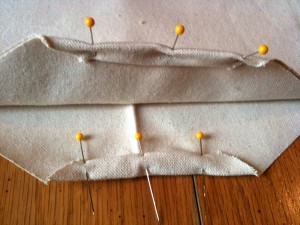
10. Fold under and press the top straight edge twice and pin in place. It’s very important that you roll over the two top overlapping edges together.
11. Sew down the hem of each of the two straight edges on the top of the bag.
Note: At this point, check your fabric edges that overlap one another (the selvedge) — if you think they might unravel or fray over time, or you want this edge to look more decorative, now is the time to do something. The simplest thing you can do is a rolled hem. Or you could cover the edges with bias tape. (My selvedges were just fine and I did nothing.)
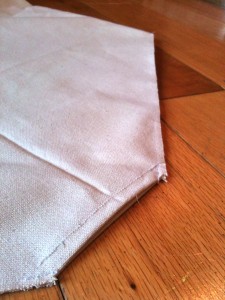
12. Sew together the top angled edges of your bag 1/4″ from the edge.
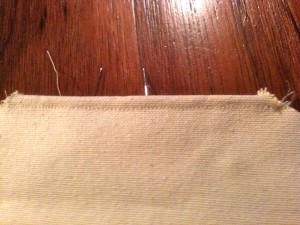
13. Sew the bottom edge of your bag 1/4″ from the edge.
14. Clip the corners, turn your bag inside out, press the edges, and sew the top and bottom edges again (we’re making French seams).
15. Turn the bag right side out again, press the all four edges of your bag.
Now just put your hanger through the top, and voila … you have a hanging garment bag!
Optional Feature: Fold-Over Feature with Carrying Strap
If you’d like to be able to fold over your garment bag (handy for long bags) and carry it with a shoulder strap, you’ll want to add this feature. Note also that this feature keeps your bag’s overlapped edges more secure as it acts to keep everything in place.
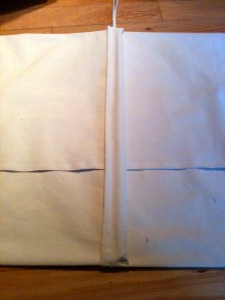
A. Lay out your garment bag, mark the spot you want it to fold over (halfway down), and place your wood dowel on top edge to edge. If your dowel is too long, cut it to the exact width of the bag. Set aside.
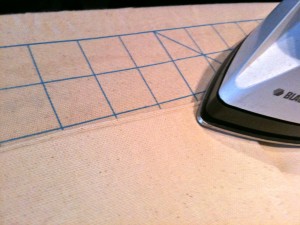
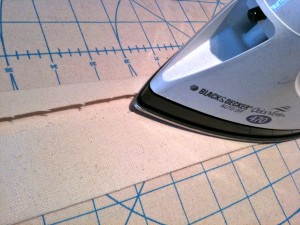
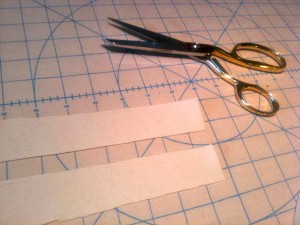
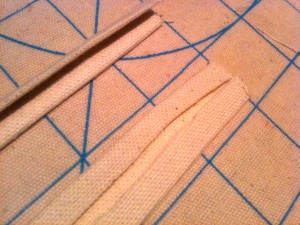
B. Take that strip of canvas you cut off the bottom of your bag in step 7 above, trim to 5″ wide, and fold over the bottom about 1.5″ and the top about .75″, and press as shown below.
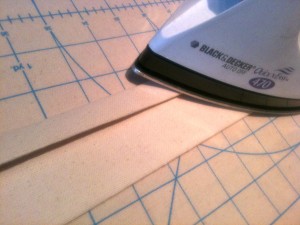
C. Fold the top of your strip over and press again.
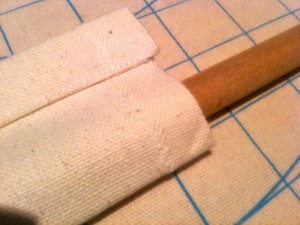
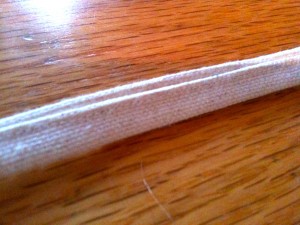
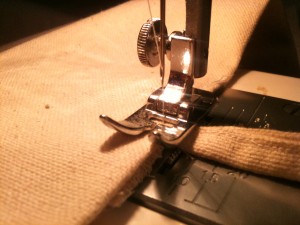
D. Sew the strip along the fold, insert the dowel, and set aside for now.
E. From the corners you clipped off in step 9, cut two 1.5″ strips about 12″ long.
F. Fold over both the top and bottom edges of these strips and press down, then fold over again and press (you’re making cords).
G. Sew along the fold of the strips.
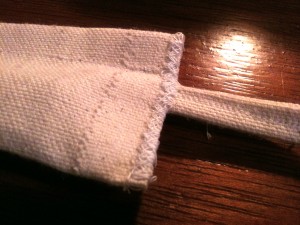
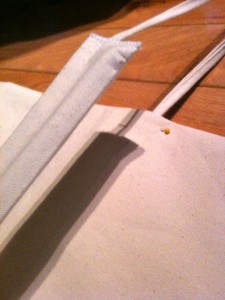
H. Pick up your strap (with the dowel in it) and insert each of your cords into the ends of the strap, then sew along the strap edge to secure.
I. Place the strap with attached cords on top of your garment bag where marked the fold-point in step A. Note: You want your garment bag to fold over with the overlapping edges folded in, not folded out, for the security of the contents. Push the dowel all the way to one edge of your strap and pin it to one edge of your bag, then find the other edge of the dowel that is now in the middle of the strap and pin the strap in that spot to the other edge of your bag.
J. Tuck the other end of the strap under your garment bag, matching up the ends. Pin this strap edge to the edge of the garment bag. Now REMOVE the pin that was holding the other end of the strap to this edge, which you placed in the previous step.
K. Sew strap down to your garment bag in the TWO spots you have pins (very important) — one on either side of your garment bag. That means you’ll sew the strap at one end and sew it at the middle, but NOT at the other end. You want to keep this other end unattached to the garment bag so you can swing it out of way when you want to get and out of your bag.
Now just tie your cords together to keep your strap in place. The strap on the other side of your garment bag acts as a carrying strap.
Optional Feature: ID and Accessory Pockets
I. Cut out two 12″ x 12″ pieces of unbleached muslin (you could use canvas if you have some leftover, of course).
II. Sew the two squares together all around except for the last 2″. Clip corners, turn inside out, press edges, and sew the square shut.
III. Place your pocket on the lower half (very important) of your garment bag. I put mine right at the top edge of the lower half, with the dowel strap actually covering the very top of the pocket — the strap will keep the pocket secured. Pin in place.
IV. Sew three sides of pocket down (leave top edge unsewn). You now have an accessory pocket.
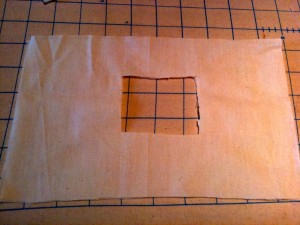
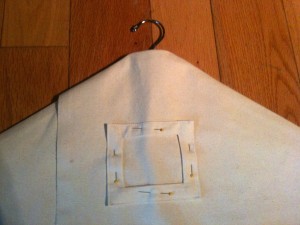
V. To make the ID pocket, cut out two pieces of muslin about 9″ x 6″. Pin in the center then cut a rectange out of the center about 2.5″ x 2.5″.
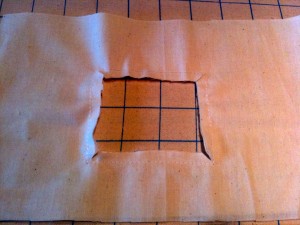
VI. Stitch around the cut-out area about 1/4″ from the edge, then snip diagonally at the corners.
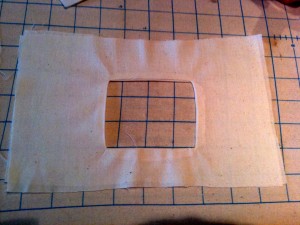
VII. Fold your fabric inside out and press edges.
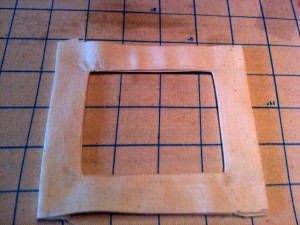
VIII. Cut off the extra fabric to make all sides even, then fold in edges all around and press.
IX. Pin to top of your garment bag.
Step X. Sew top, side, and bottom edge of ID pocket (don’t sew the other side). Now slide cut out a piece of paper a bit smaller, write your name (or the contents of your garment bag) on it, and slide it in!
Voila! You now have a spiffy, all-natural garment bag with carrying strap, ID pocket, and accessory pocket. This garment bag takes about an hour (for the basic bag) and 30 minutes (for the accessory pockets), so it’s not too hard or time-consuming.
Here’s my garment bag with my gown inside:
Note: I don’t recommend this style of garment bag for airline travel, unless you plan to take it on as a carry-on — the overlapping edges are fine for car transport, but would not hold up to being tossed about in baggage train or cargo hold, in my opinion.






Thanks for sharing this tutorial. I’ve made a few “bags” with holes for transporting SCA garments, but your method is much better. I’ll have to try it.
Looks good. You might consider throwing a coat of sealer on that wood to help ensure that the wood doesn’t stain the bag and clothing if it gets wet.
MJR
Good idea, thanks!
A band of trim down the outside at the overlap and some velcro underneath to secure it would make it better able to handle cargo hold treatment.