Rolled pleats are a technique for neatly gathering a large amount of fabric into a small area to create long, tubular pleats from the pleated point to the end of the fabric. I like to use rolled pleats on my German gowns (skirt) because they produce the right look. Sadly, I cannot find any evidence that this type of pleating was actually used during this period. But those of us attempting reconstruct garments from the 16th century theorize that this type of pleat may have been used because it looks similar to the way skirts look in paintings, particularly those by Lucas Cranach, with the pleats falling in long rows to the ground. Lady Cerridwen verch Ioreword did a good experiment with different styles of pleats which illustrates this.
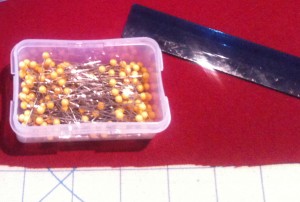
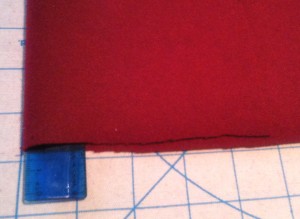
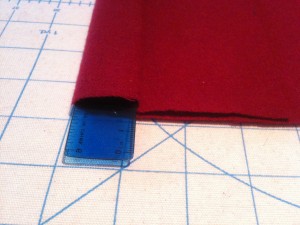
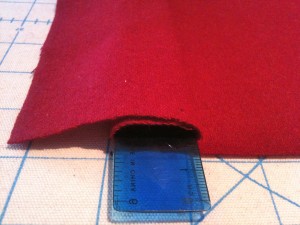
Making rolled pleats are not hard. You’ll need your fabric, a straight ruler or something similar, and pins.
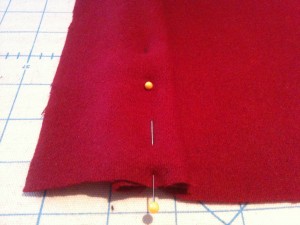
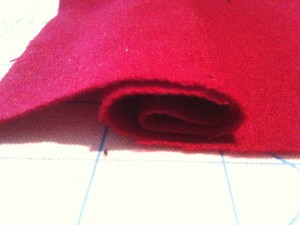
Step 6: Hold roll in place with two pins, one near the edge and one a few inches down (the second pin keeps the roll tidy and in place until you sew it).
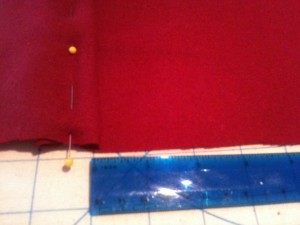
Step 7. Use the ruler to measure the distance to the next starting point (use calculator below to determine how far over) and begin again at step 1.
Pay attention to how far apart you begin your next rolled pleat and do it consistently for the best effect.
You can use something other than ruler to achieve a roll that is wider or narrower. The minimum amount of fabric needed for rolled pleats set side-by-side is 5 inches of material for every 1 inch of pleats. If you don’t have quite enough material for that, you can add a bit of space between each pleat. If you have more material than that, it’s possible to repeat step 3 and roll it again (for this method, you’ll want 7 inches of material for everyone 1 inch of pleat).
When you are finished pinning your pleats, I recommend you sew the pleats down before finishing your skirt and/or attaching it to the bodice — this keeps the pleats nice and straight, which is important for that tubular roll look.
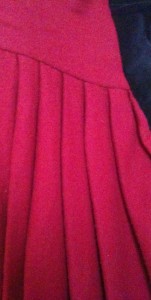
Here is a photo of my German gown with rolled pleats. Notice how the rolled pleats create the nice, long rolls down the dress! The gown was not pressed to do that — the rolls happen naturally thanks to the pleating method.
To determine how far apart to make your next pleat, use this Rolled Pleats Calculator:
Based on the above measurements, this is just the right amount of material for 36 side-by-side single rolled pleats. Start your next pleat 3 inches from the last one.
If the calculator doesn’t work for you, you can calculate this manually by first getting these measurements:
A. The width of the object you’ll use to roll your pleats (i.e., a ruler). For example: 1
B. Five times number A. For example: 5
C. Width of your fabric. For example: 180
D. Width of your bodice’s (or skirt band’s) waist. For example: 36
E. Divide C by B. For example 180/5=36
If your D = E, then your pleats will fit perfectly side by side so start your next pleat 3″ to the side of your last pleat (as shown in step 1).
If your D is larger than E, you’ll need to space your pleats a little farther apart to get them even. To determine how far apart, subtract E from D to get the difference (i.e, 7) and divide the difference by E (i.e. 7 / 36 = .19). So in our example, we’d have .19 inches between each pleat, so begin each new pleat at 3 and 3/16 inches to the side of your last pleat.
If your D is smaller than E, consider an extra roll (repeat step 3) and do the math again but this time number B should be 7 times A. Now compare your D to your E, and if it is larger, make the above adjustments.
Please let me know if you have any questions!

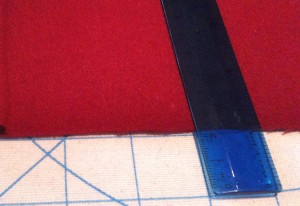

You can also use a serving fork to roll those pleats, just slip it in & spin it like you do when eating spaghetti. But my favorite is to sew down gossling tape (avalible at any place you buy fabric). Gossling tape is usually used to put the pleats in draperies, & it comes in many widths & configerations too. I sew it down on both the outside edges, being carefull not to sew over the draw strings.
This explains the process so well! I tried to do it on my own but lacked enough skirt fabric, so my pleats were VERY narrow. Wrong look. I never thought about spacing them out. Thank you!
I just tried this method and I really like it! At first I thought that it would be too much fabric around the waist. But these pleats lay so nice, I was thrilled! Thanks Lady Cate
How do you determine your first pleat position if you need to allow for sewing on hook and eye tape and don’t want the stitches showing?