Brocade and pearls for the brustfleck
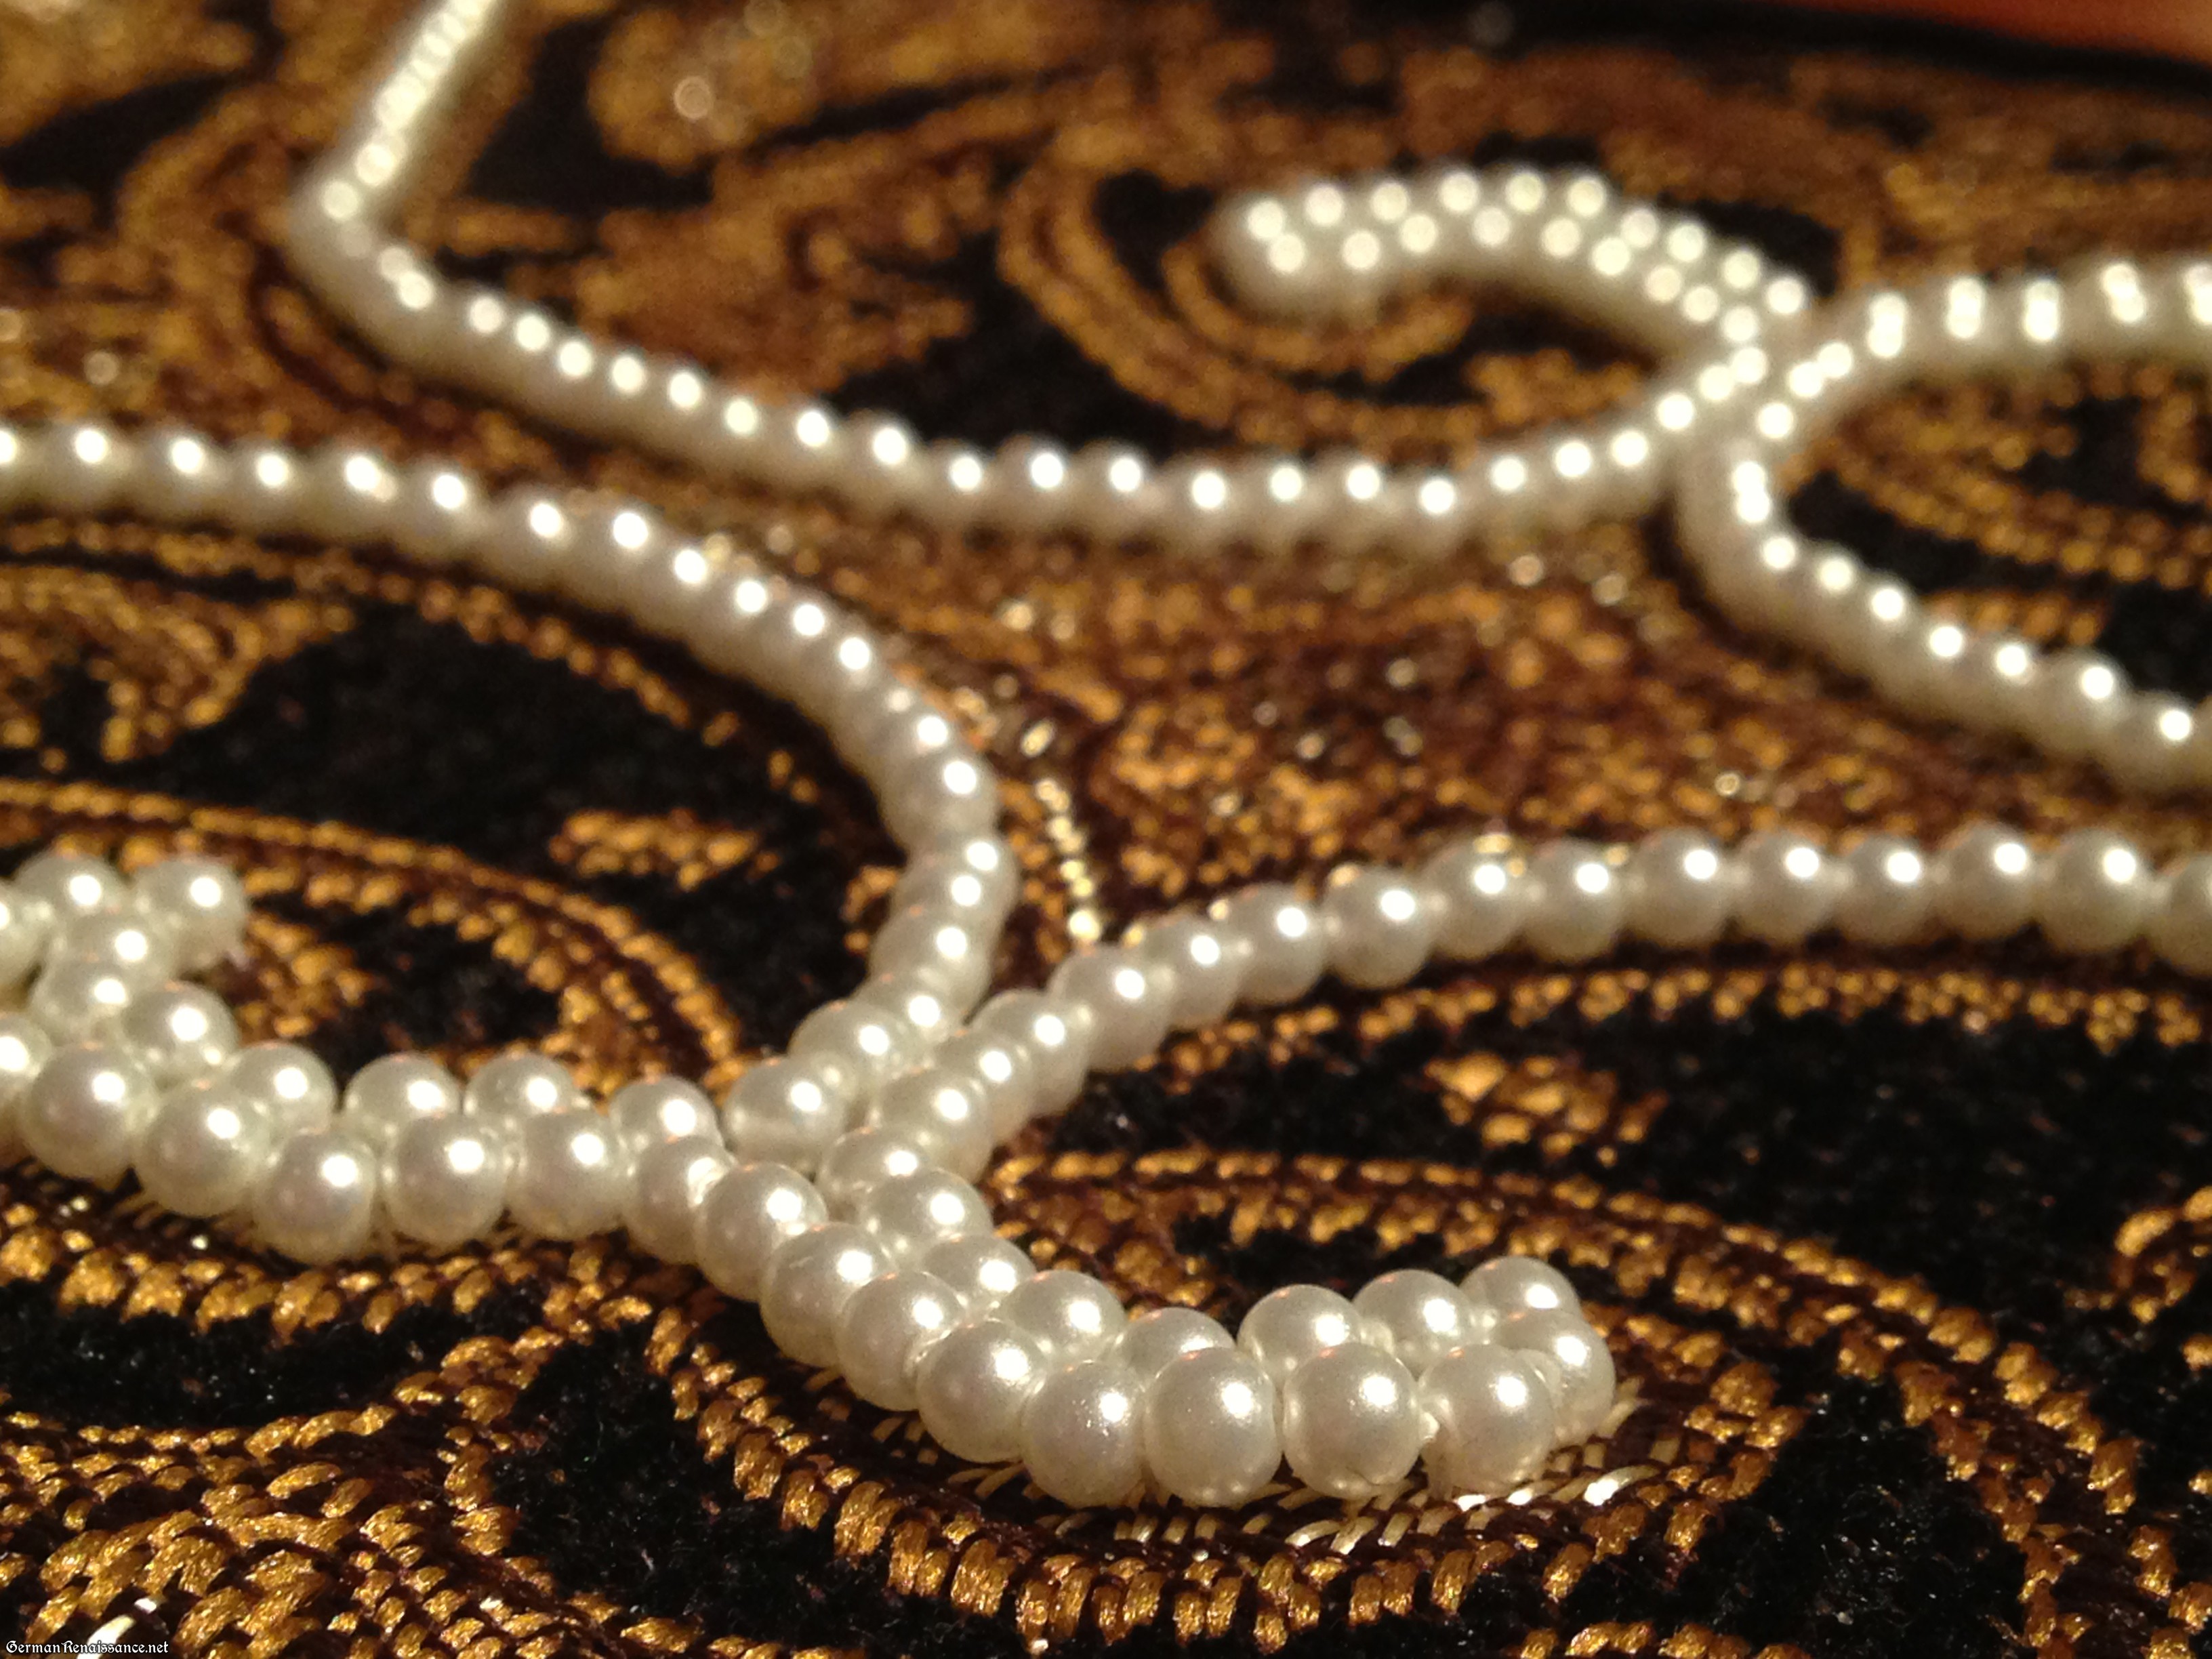
German women in the 16th century were partial to putting pearls on their garments and accessories. My research indicates that this has a lot to do with the fact that pearl-producing mussels (pearlenmuschel) flourished in the Saxon streams and rivers of Germany in the 16th century5. Unio margaritfera is the principal pearl-bearing mussel in this part of the world. The pearls produced were divided into three classes (first, second and third) and it is the third class that by far most pearls fell into. These pearls were known as sandperlen, and though of poorer quality, they had sufficient whiteness and luster to be used an ornaments. Unforunately, Saxon pearls are nearly unknown today due to the widespread destruction of the habitat by pollution. I like to substitute either small glass pearls (when I need regularity) or small (3mm) natural freshwater pearls (when I need the real thing).
If you apply pearls in a straight line, you have more options — for my goldhaube, I experimented with both couching down a strung line of pearls and with applying each pearl individually (see my goldhaube documentation for more details). But when you want to apply pearls in curves that flow naturally and smoothly, these techniques are fraught with issues. So as part of my Artisan Quest, I asked Mistress Melisant how she beads and she taught me a wonderful technique. I used it on the brustfleck for Katayoun’s Saxon court gown and it worked perfectly. The pearls remained in lovely curves, even when the brustfleck was being worn.
What You Need:
- Good beads – To get the best effect, be sure you use evenly-sized beads or pearls. If your freshwater pearls are slightly different shapes and sizes (as they often are), take the time to sort and organize the pearls by size before you begin. Also be wary of using beads that are too large, as it will be harder to turn corners. I recommend a size close to 3 mm.
- Milliner’s Needle – A long, thin needle (thin enough to pass through your bead), such as a milliner’s needle, works best.
- Thread – If your pearls have smooth holes (which they probably do), use regular sewing silk or polyester thread (avoid cotton, which swells). I like silk — you can get the Gutermann brand at JoAnns.
- Beeswax – Use it to wax your thread before beading.
- Material – I’ve used silk, brocade and linen. Consider how stiff you want your finished piece to be and if you should back your material with linen or something stiffer, like buckram. (The brocade for the brustfleck was backed with linen.)
- Hoop or Frame – It’s easier to bead when your material is tensioned properly in a hoop or slate frame. (I used a circular hoop for the brustfleck.)
How to Bead:
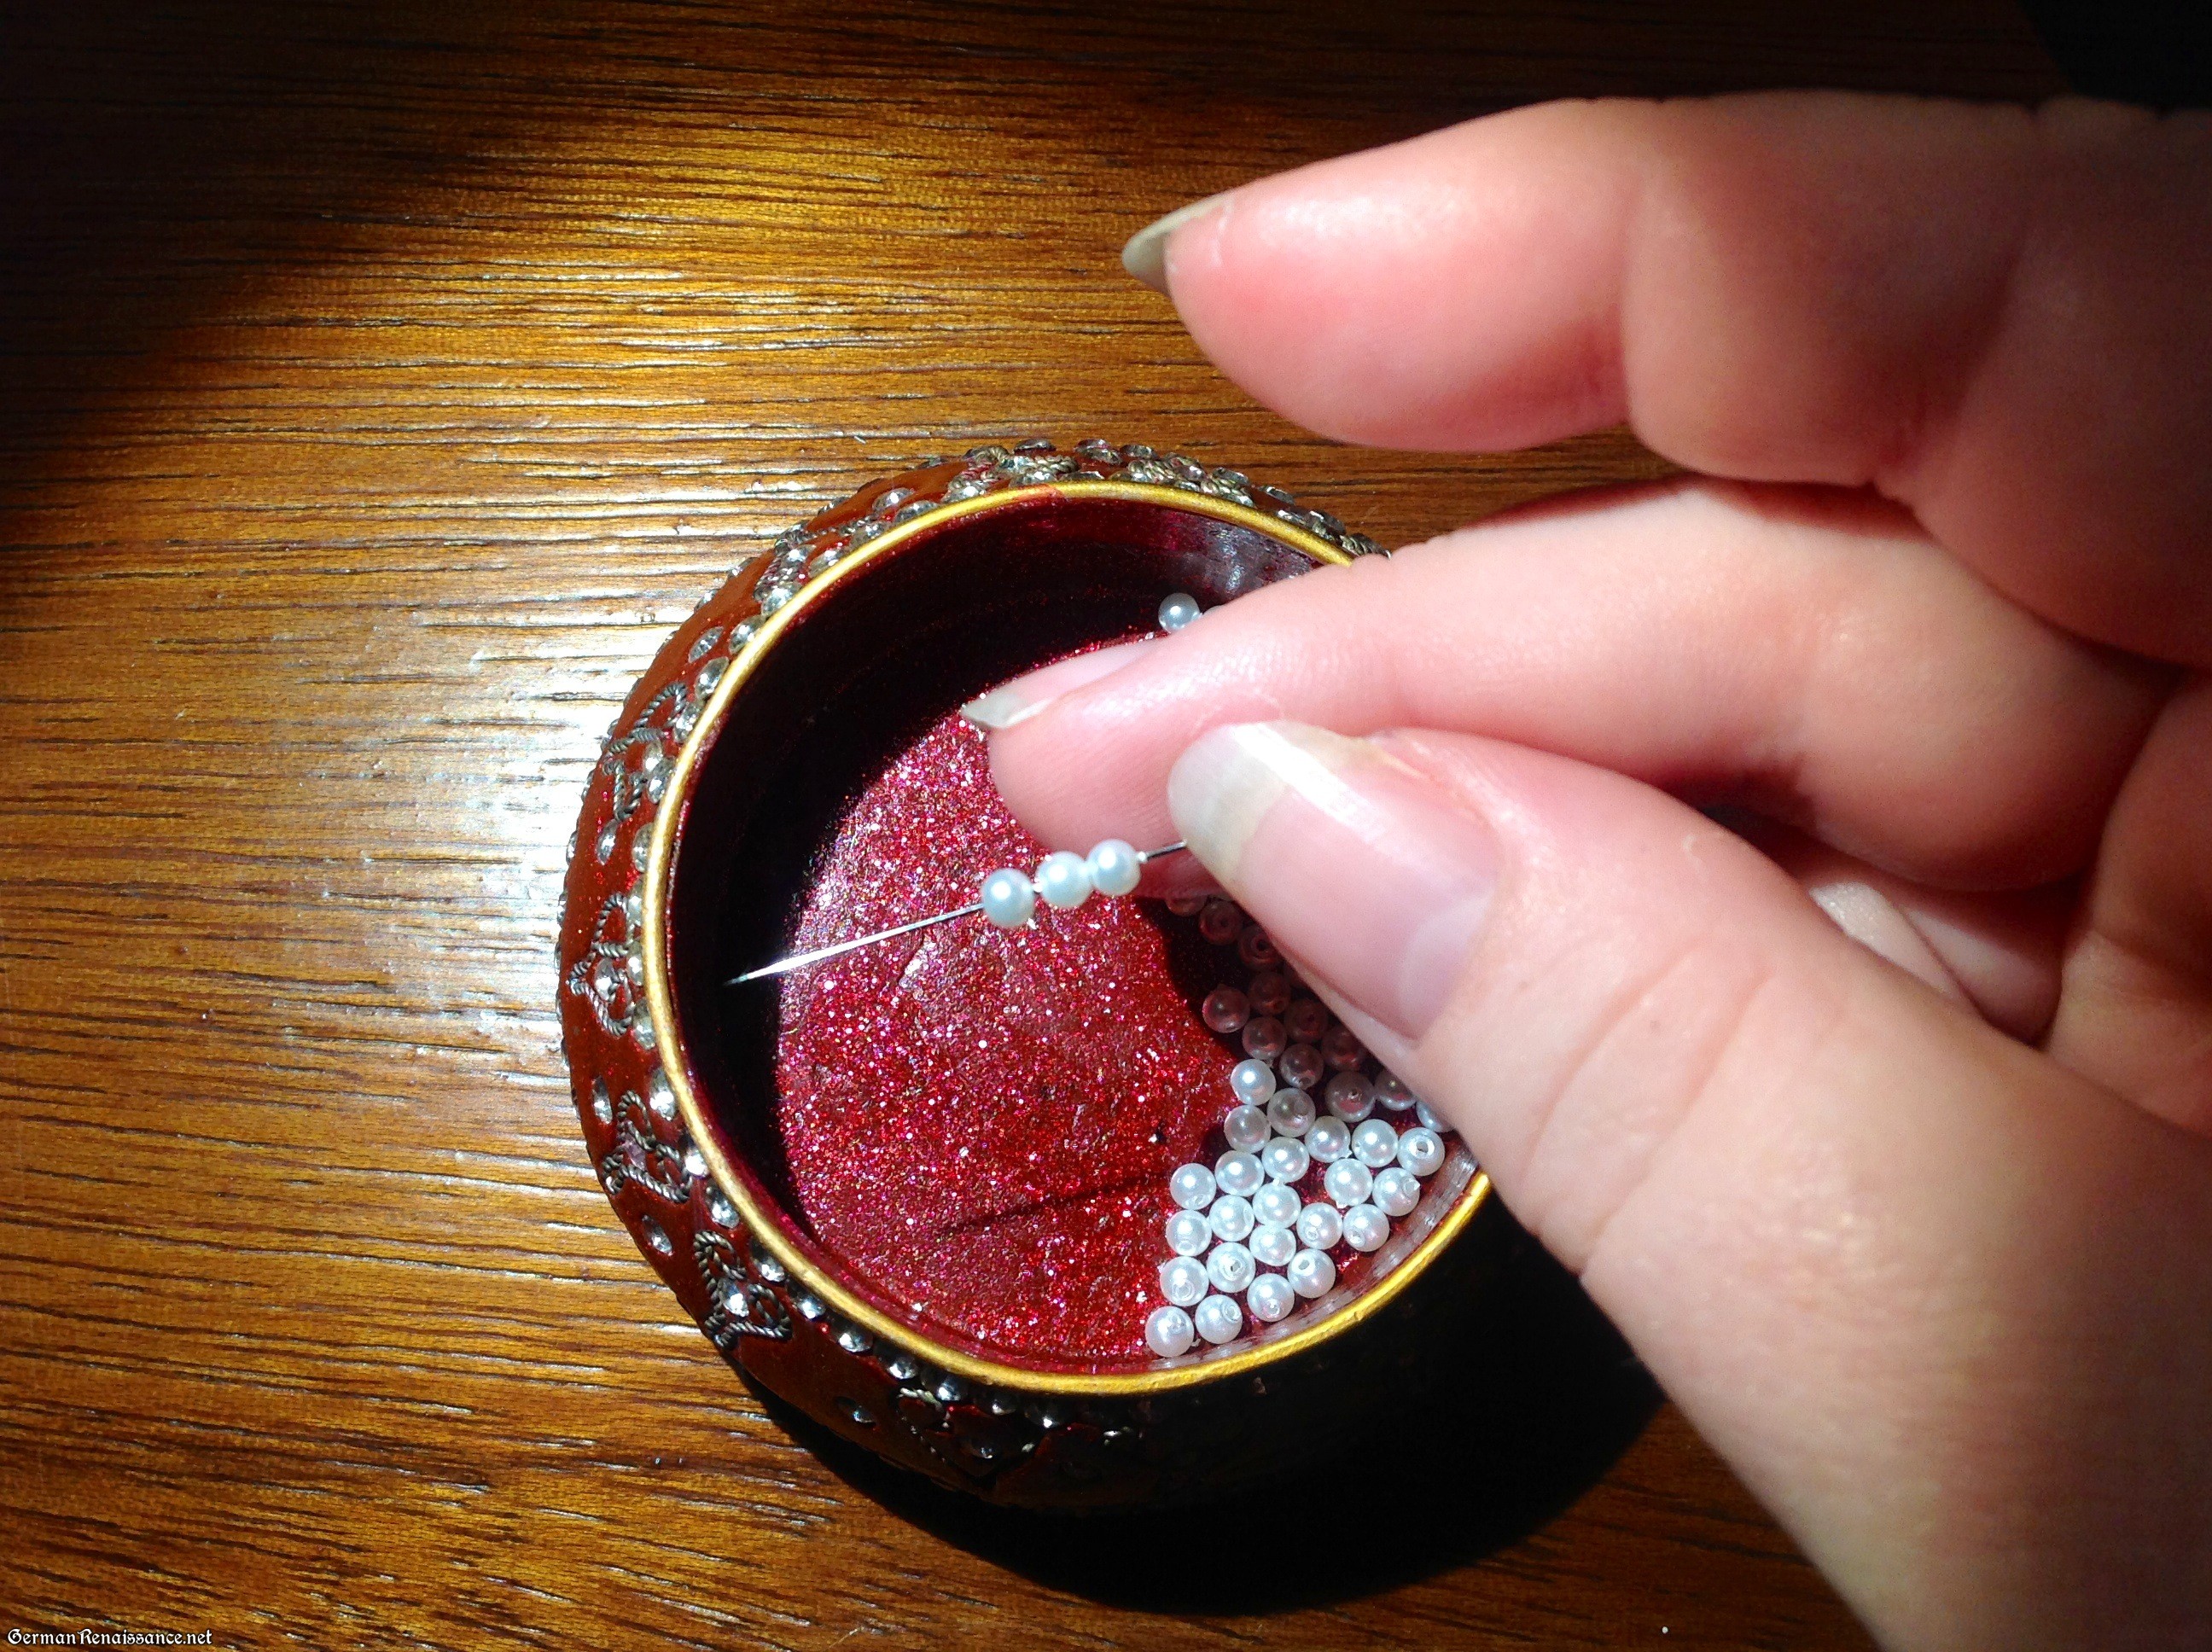
1. Prepare your material and tension it as needed with a hoop or frame. Cut off an 24-36″ length of thread. Wax and iron your thread to allow the beeswax to penetrate the fibers (the wax makes the thread less likely to tangle and strengthens the thread to boot)–be sure to surround your waxed thread with paper before ironing. Put the thread through the eye of your needle, double it, and secure the end with a double knot. Put your beads in a bowl.

Beads, needle, and waxed thread ready to go.
2. Bring your needle up through your fabric, from back to front, where you’d like to begin beading. Some beaders make three small stitches at this starting point in the fabric to keep the thread secured (I did this with my goldhaube). Mistress Melisant says she doesn’t bother with this starting technique and it all works out for her. (Note: I neglected to take a photo of this step. Just picture a thread pulled up and through a piece of material.)
3. Pick up three beads with your needle — you will sort of “scoop” them up in the bowl. [Tip: Reader Ellen suggests using a soft cloth rather than a bowl to avoid having to chase the beads around!] You can use your thumb and forefinger to keep the beads on the needle as you scoop up all the beads you need.
4. Pull your beads down to the end of your thread, making sure they lay flat against your material and do not “bunch” or “bubble” up because they are too tight against one another.
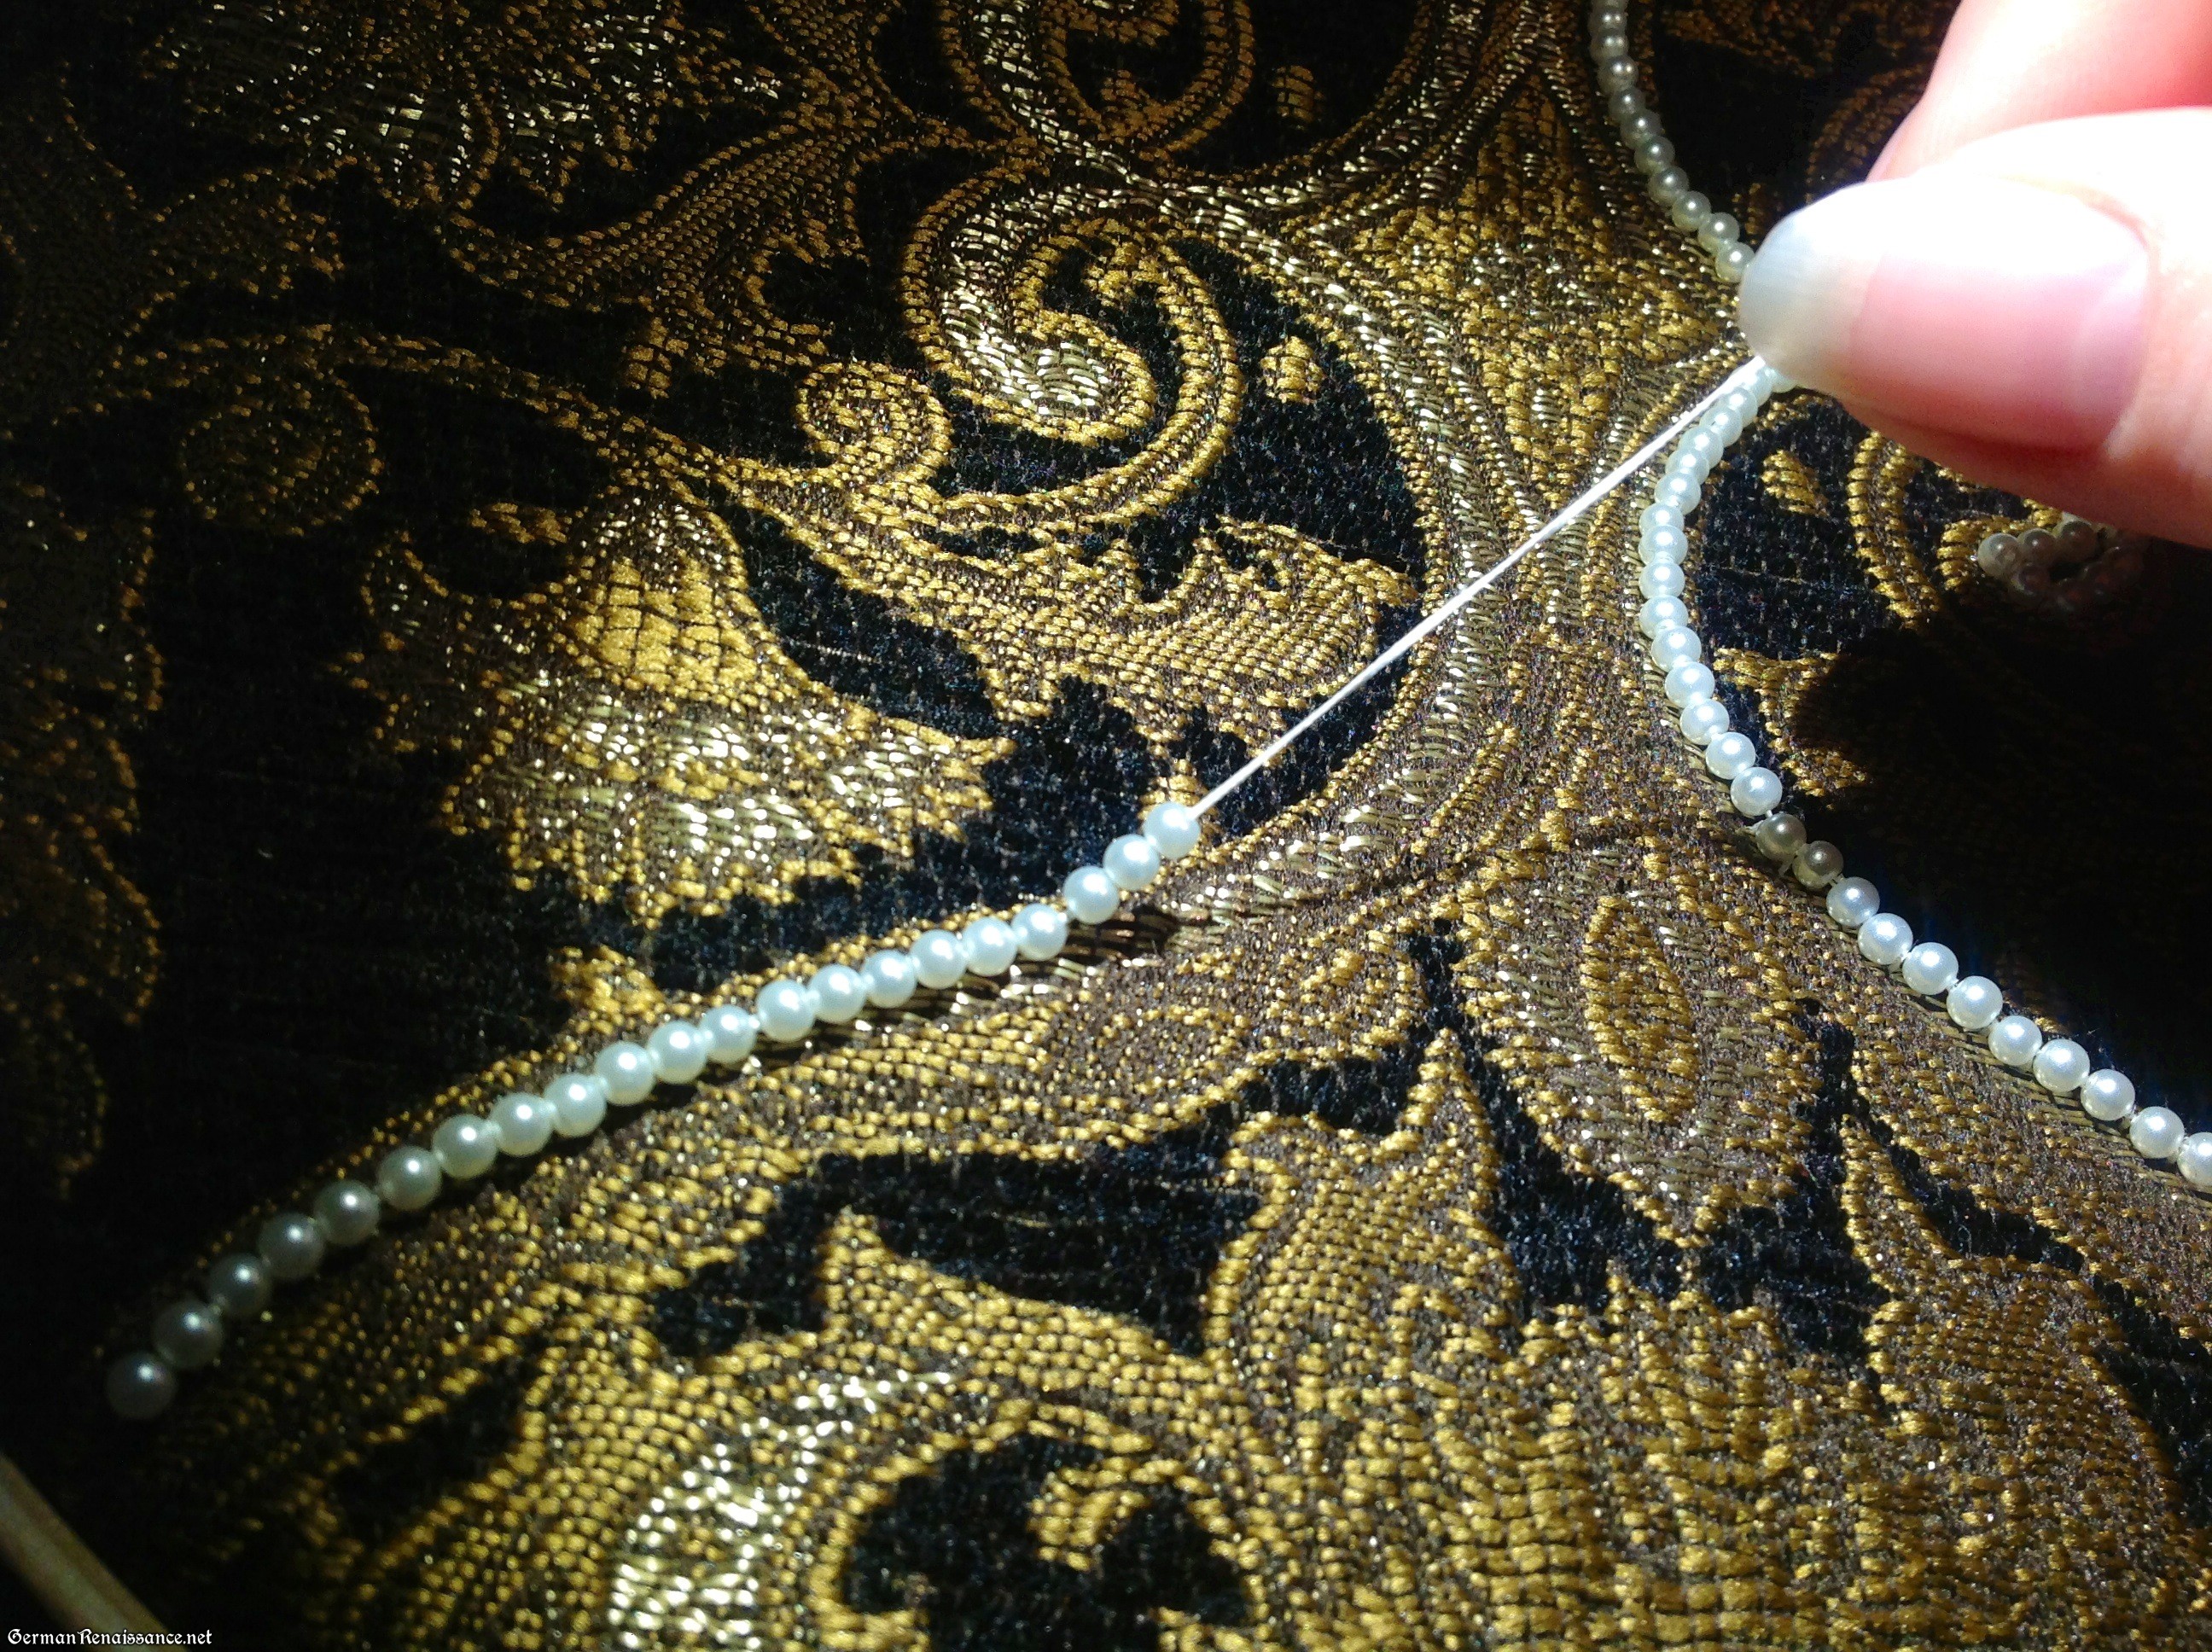
Pull the beads down to the material
5. Bring your needle and thread down at the end of the last bead, or even a touch beyond it (to avoid overcrowding and “bubbling”), and pull through.
Bring your needle down just beyond your third bead.
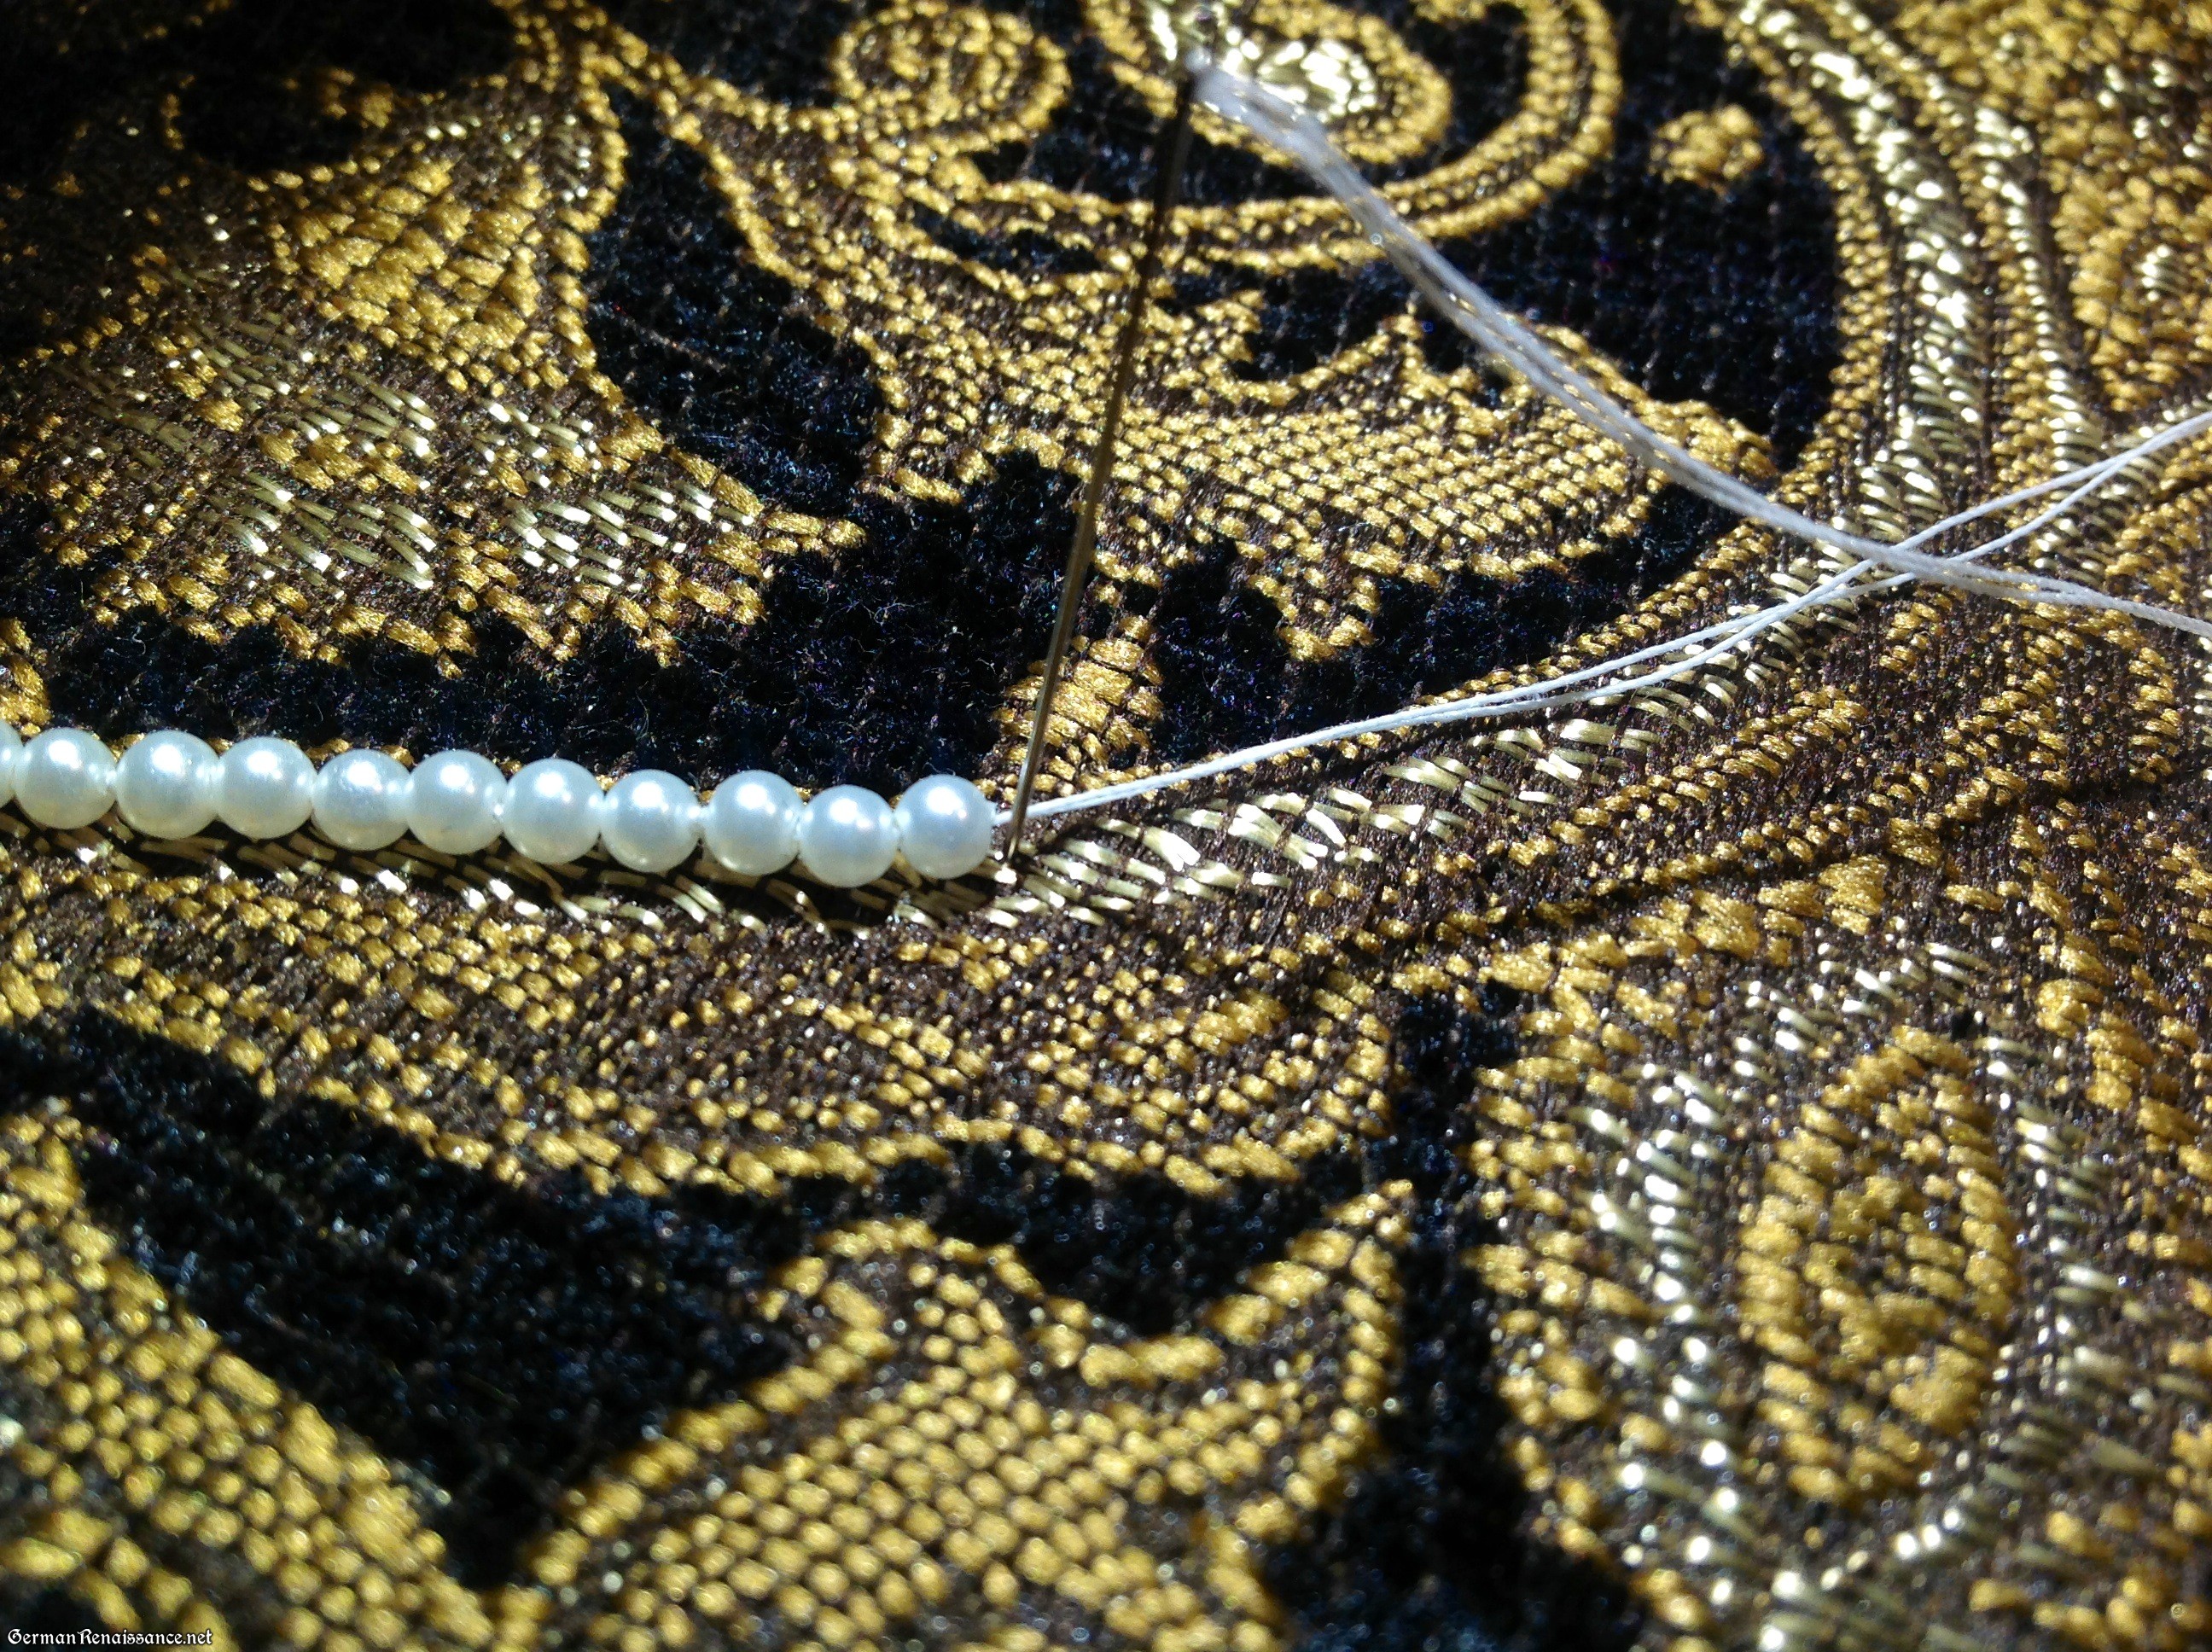
6. Bring your needle up between the last and second-to-last beads and pull through your material.
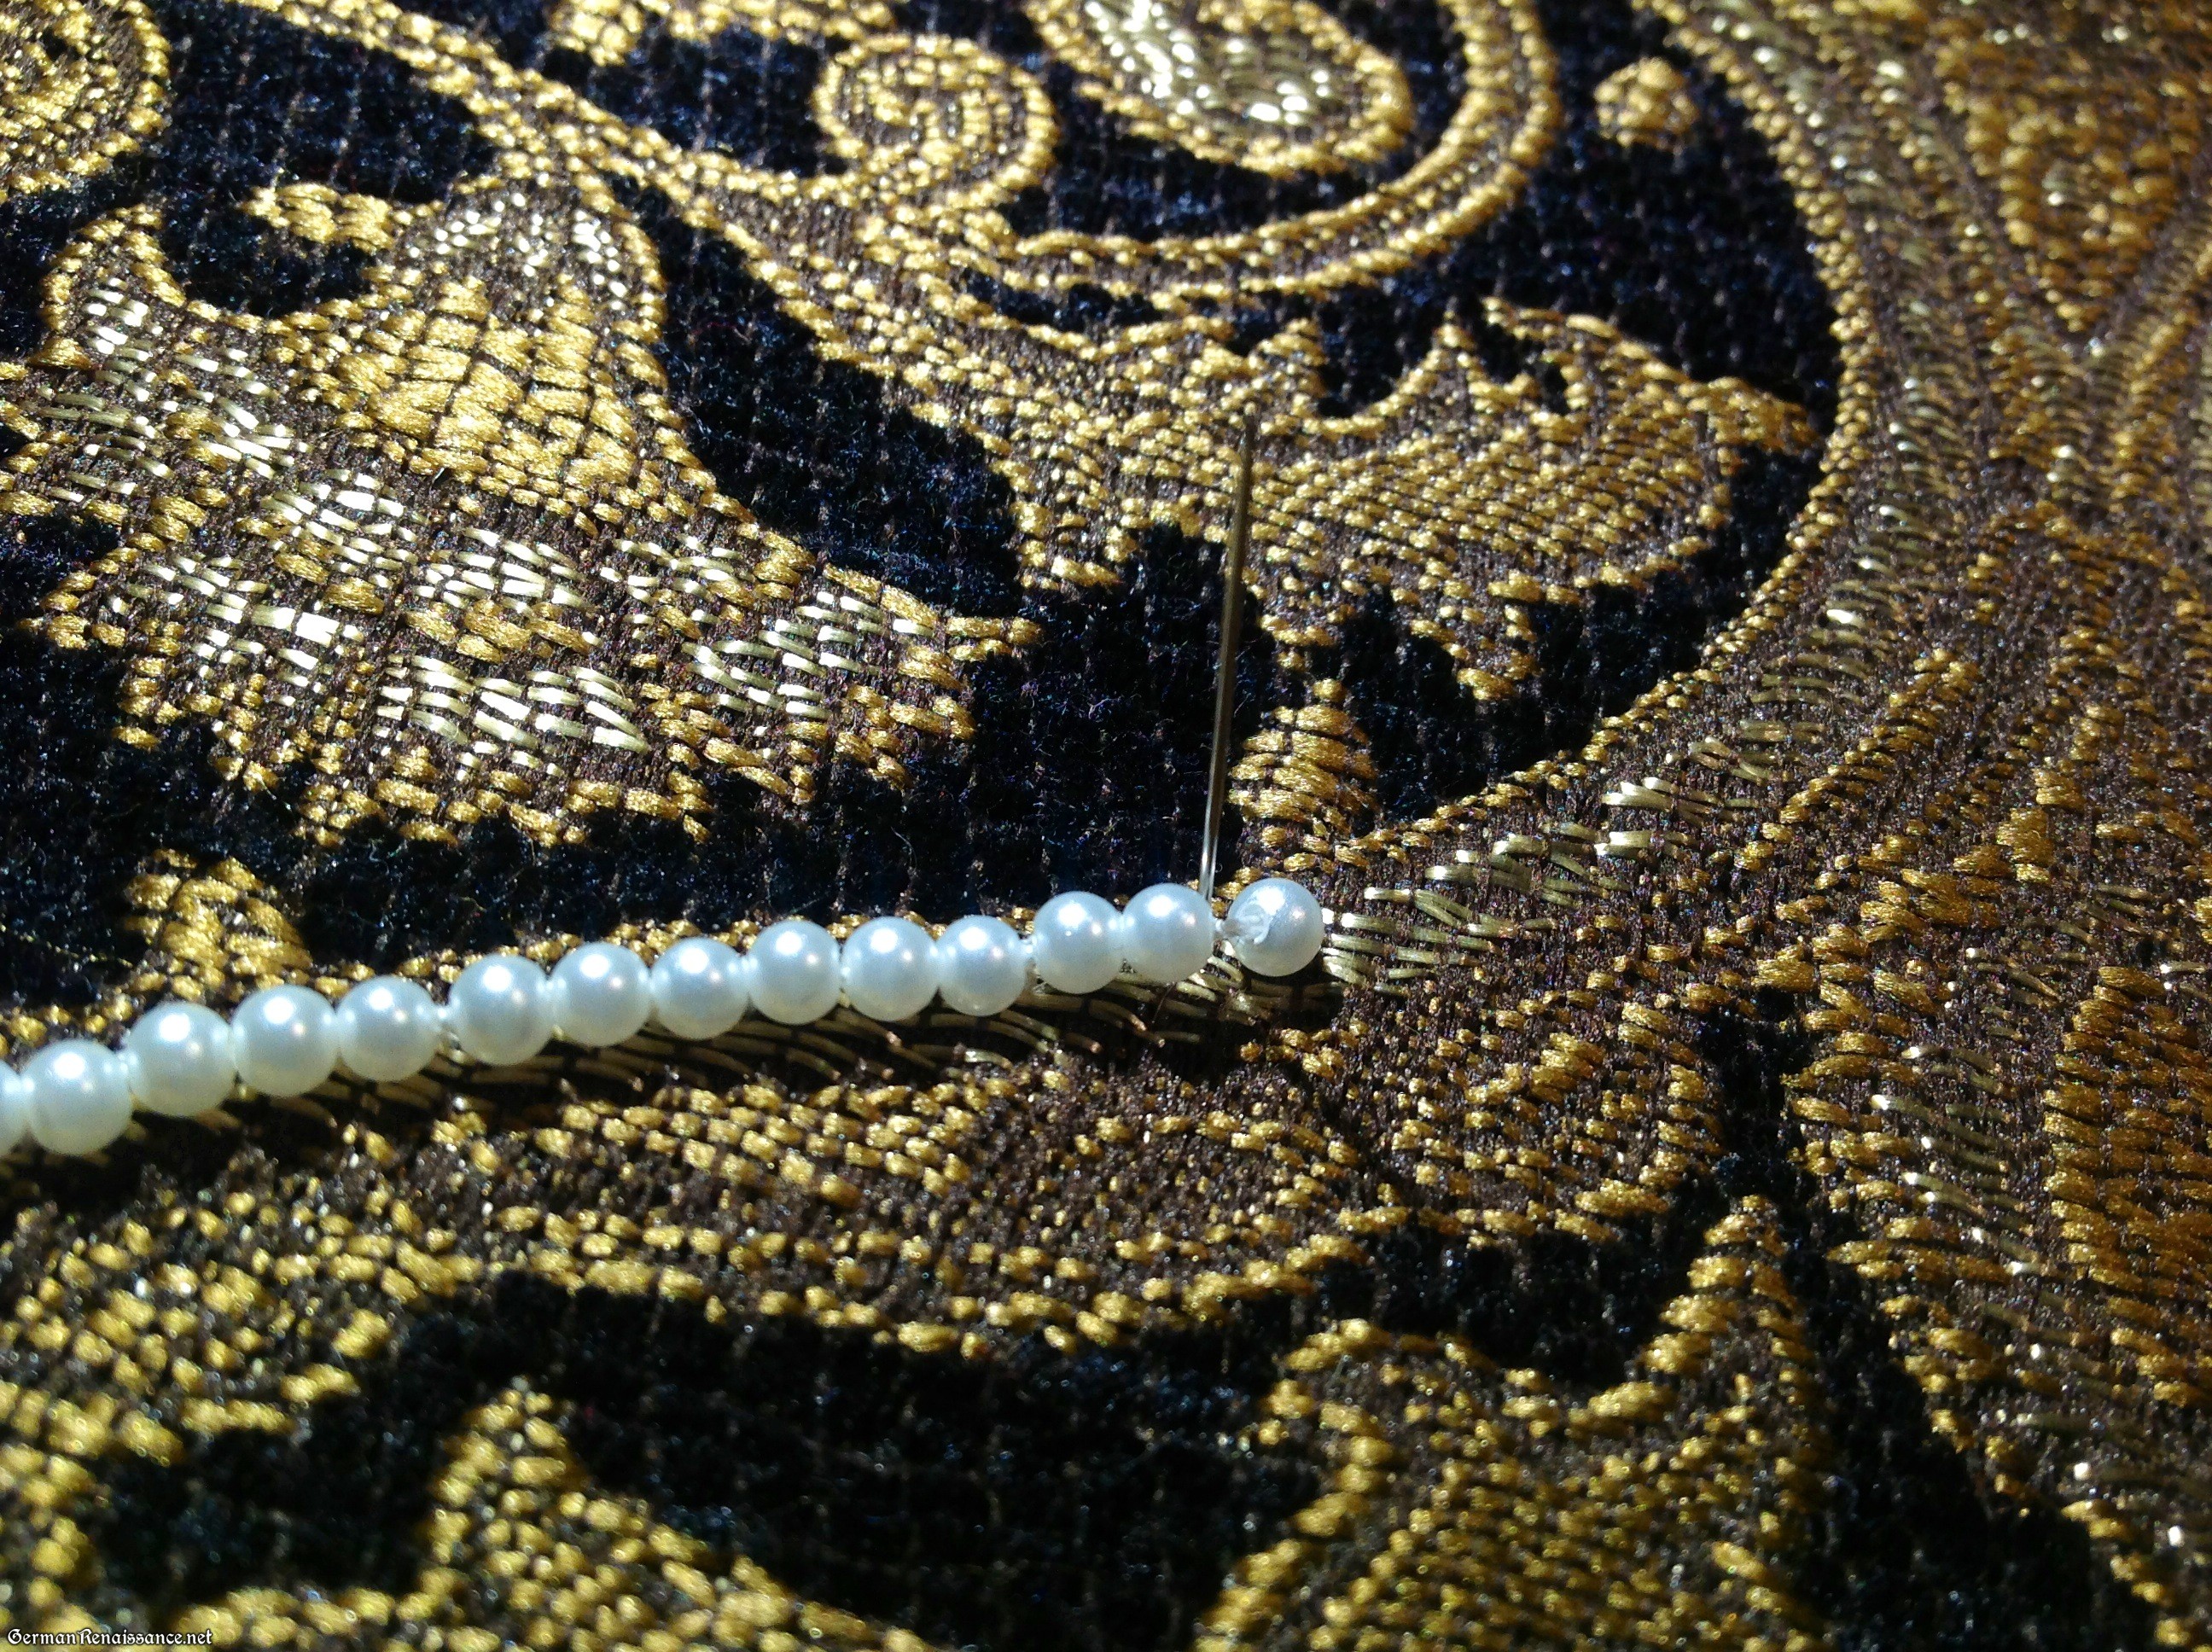
7. Now insert your needle through the last bead’s hole and pull the thread through. This secures that third bead AND creates an anchor point for the next bead.
Bring your needle through the last bead.
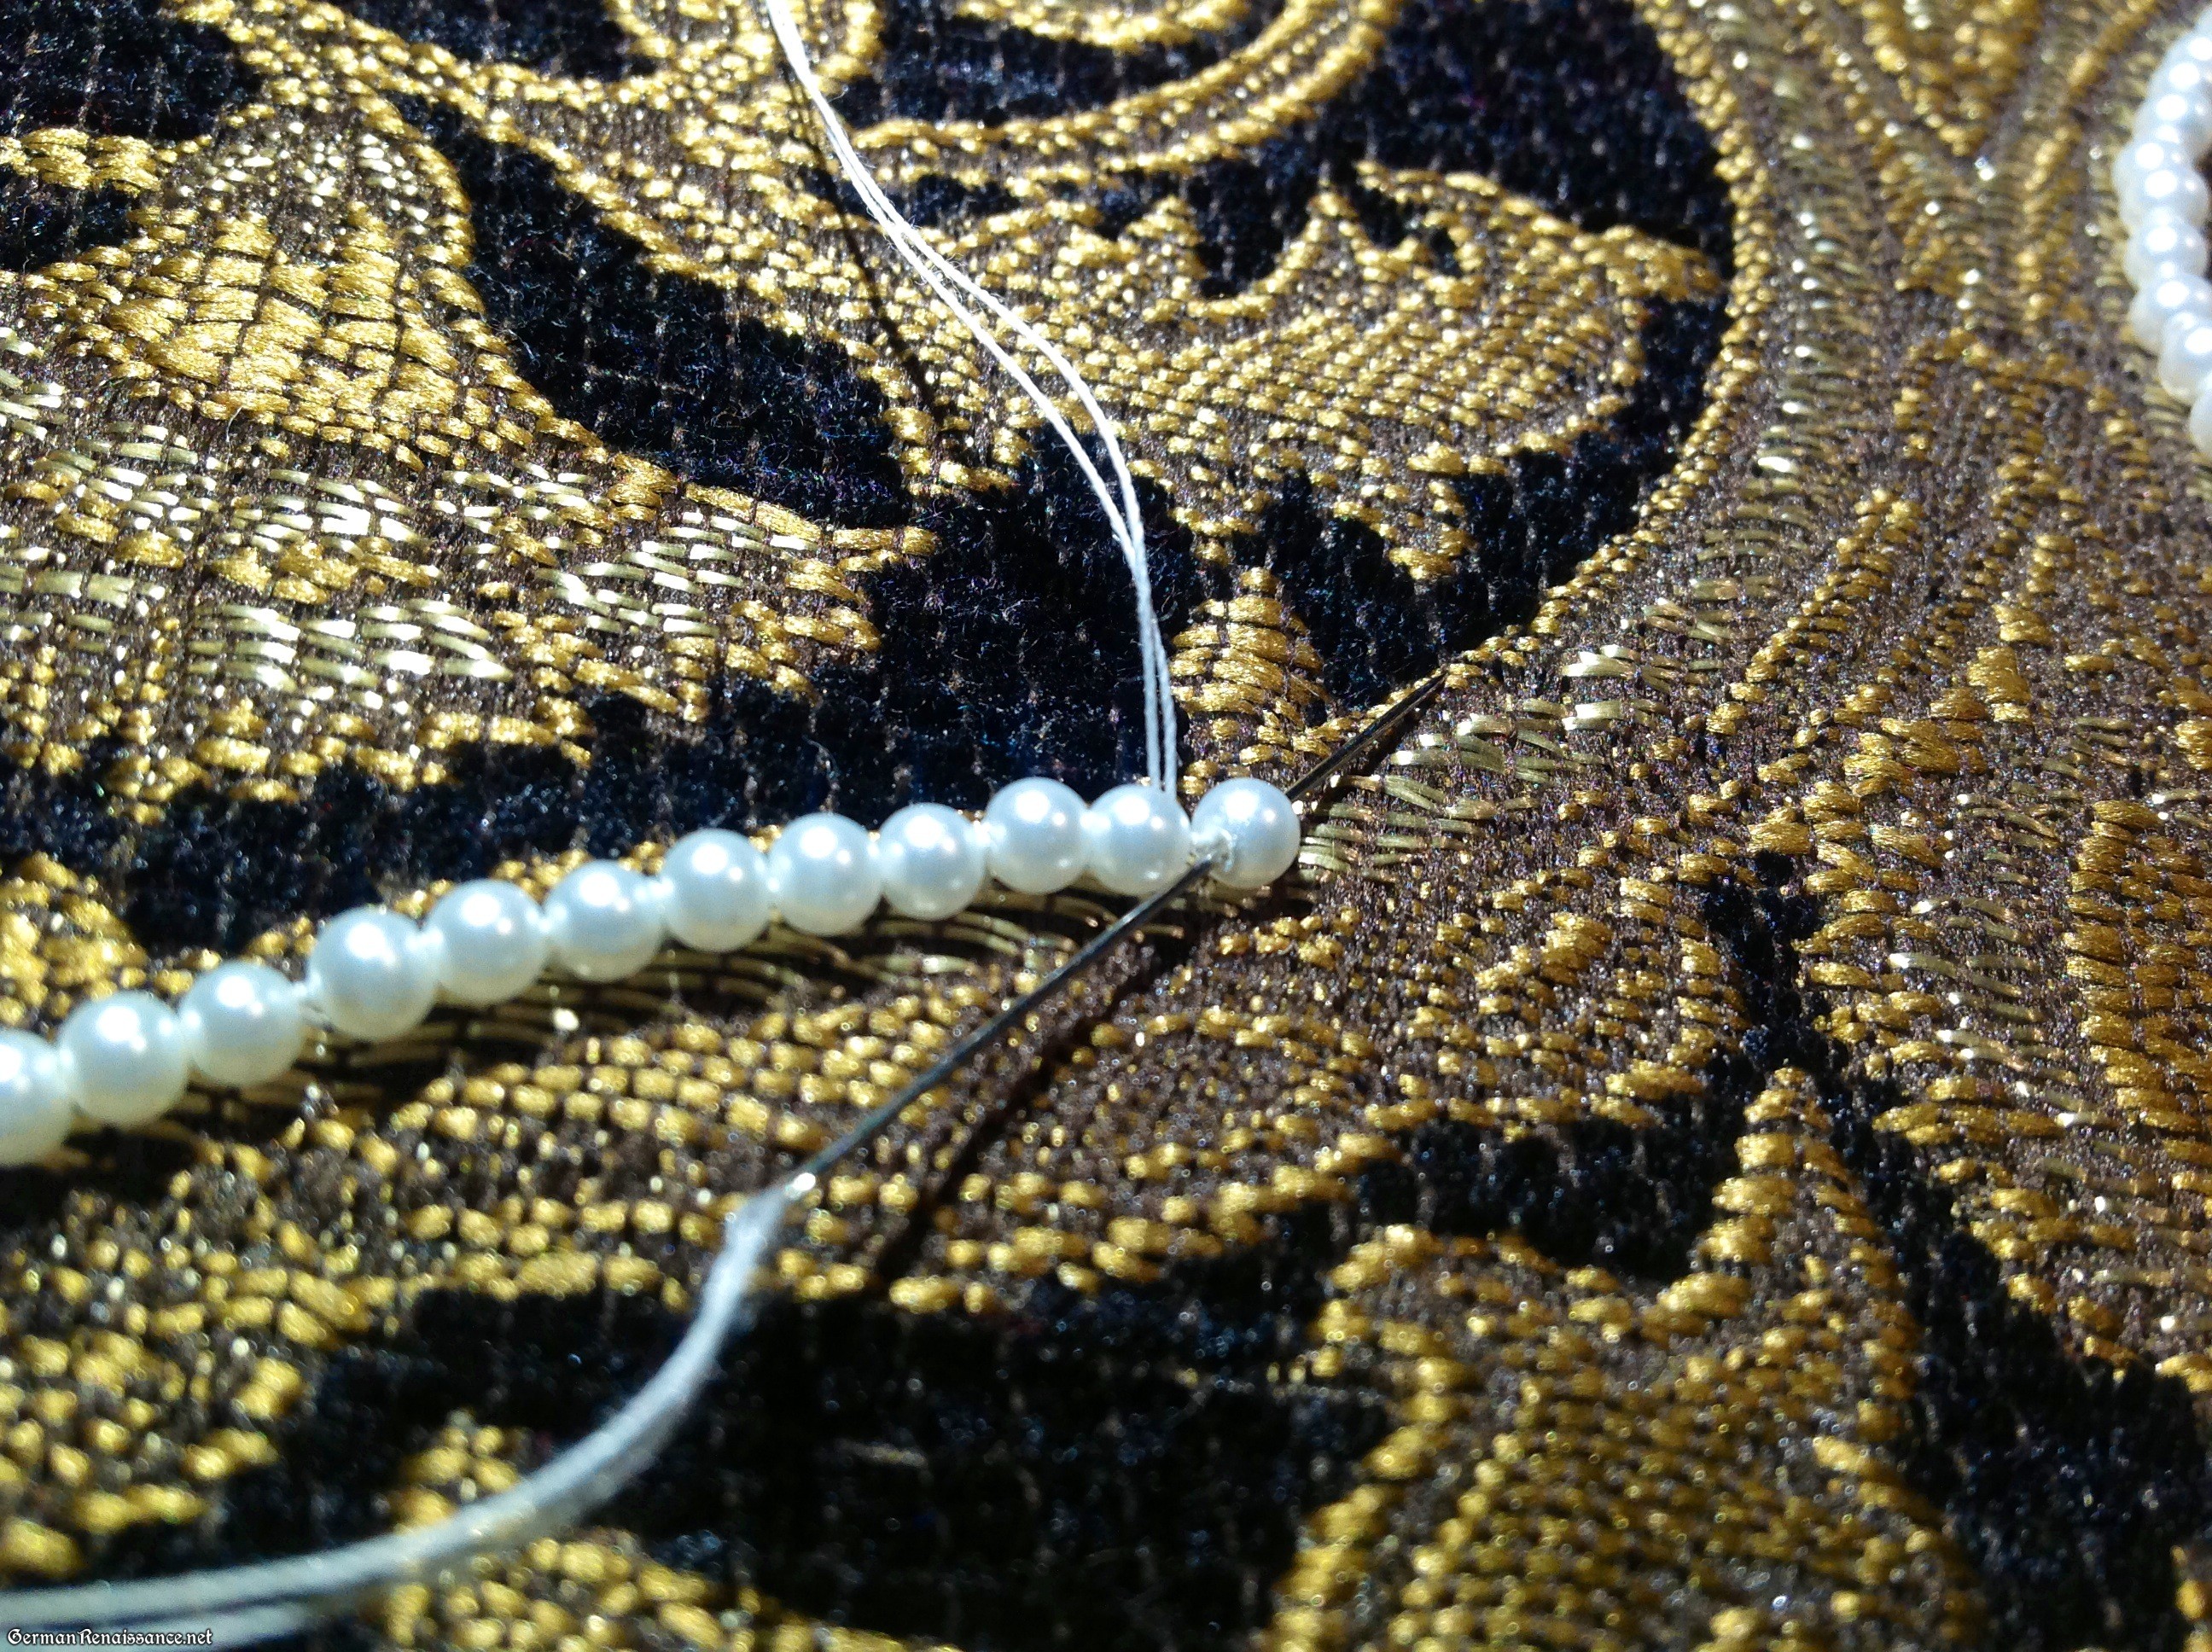
8. When your beads and thread look like this, you can repeat steps 3-7 to continue beading in long, flowing lines.

Ready to begin again!
Tips:
- You don’t always have to do three beads at a time. Depending on your design and how tightly your curves are, you may want to do two, or even just one.
- Watch carefully for your the dreaded “bubble” effect from beads that are just a bit too tight against one another. Don’t be afraid to back up and re-do the beads. I did it a number of times.
- If you have a pearl that just doesn’t want to stay in the correct position (happens in tight curves), feel free to go back and couch it down into the right spot.
- It’s a good idea to tie a knot in your thread up against the fabric every so often, to secure the beading in the event of breakage. It’s best to do it between steps 5 and 6.
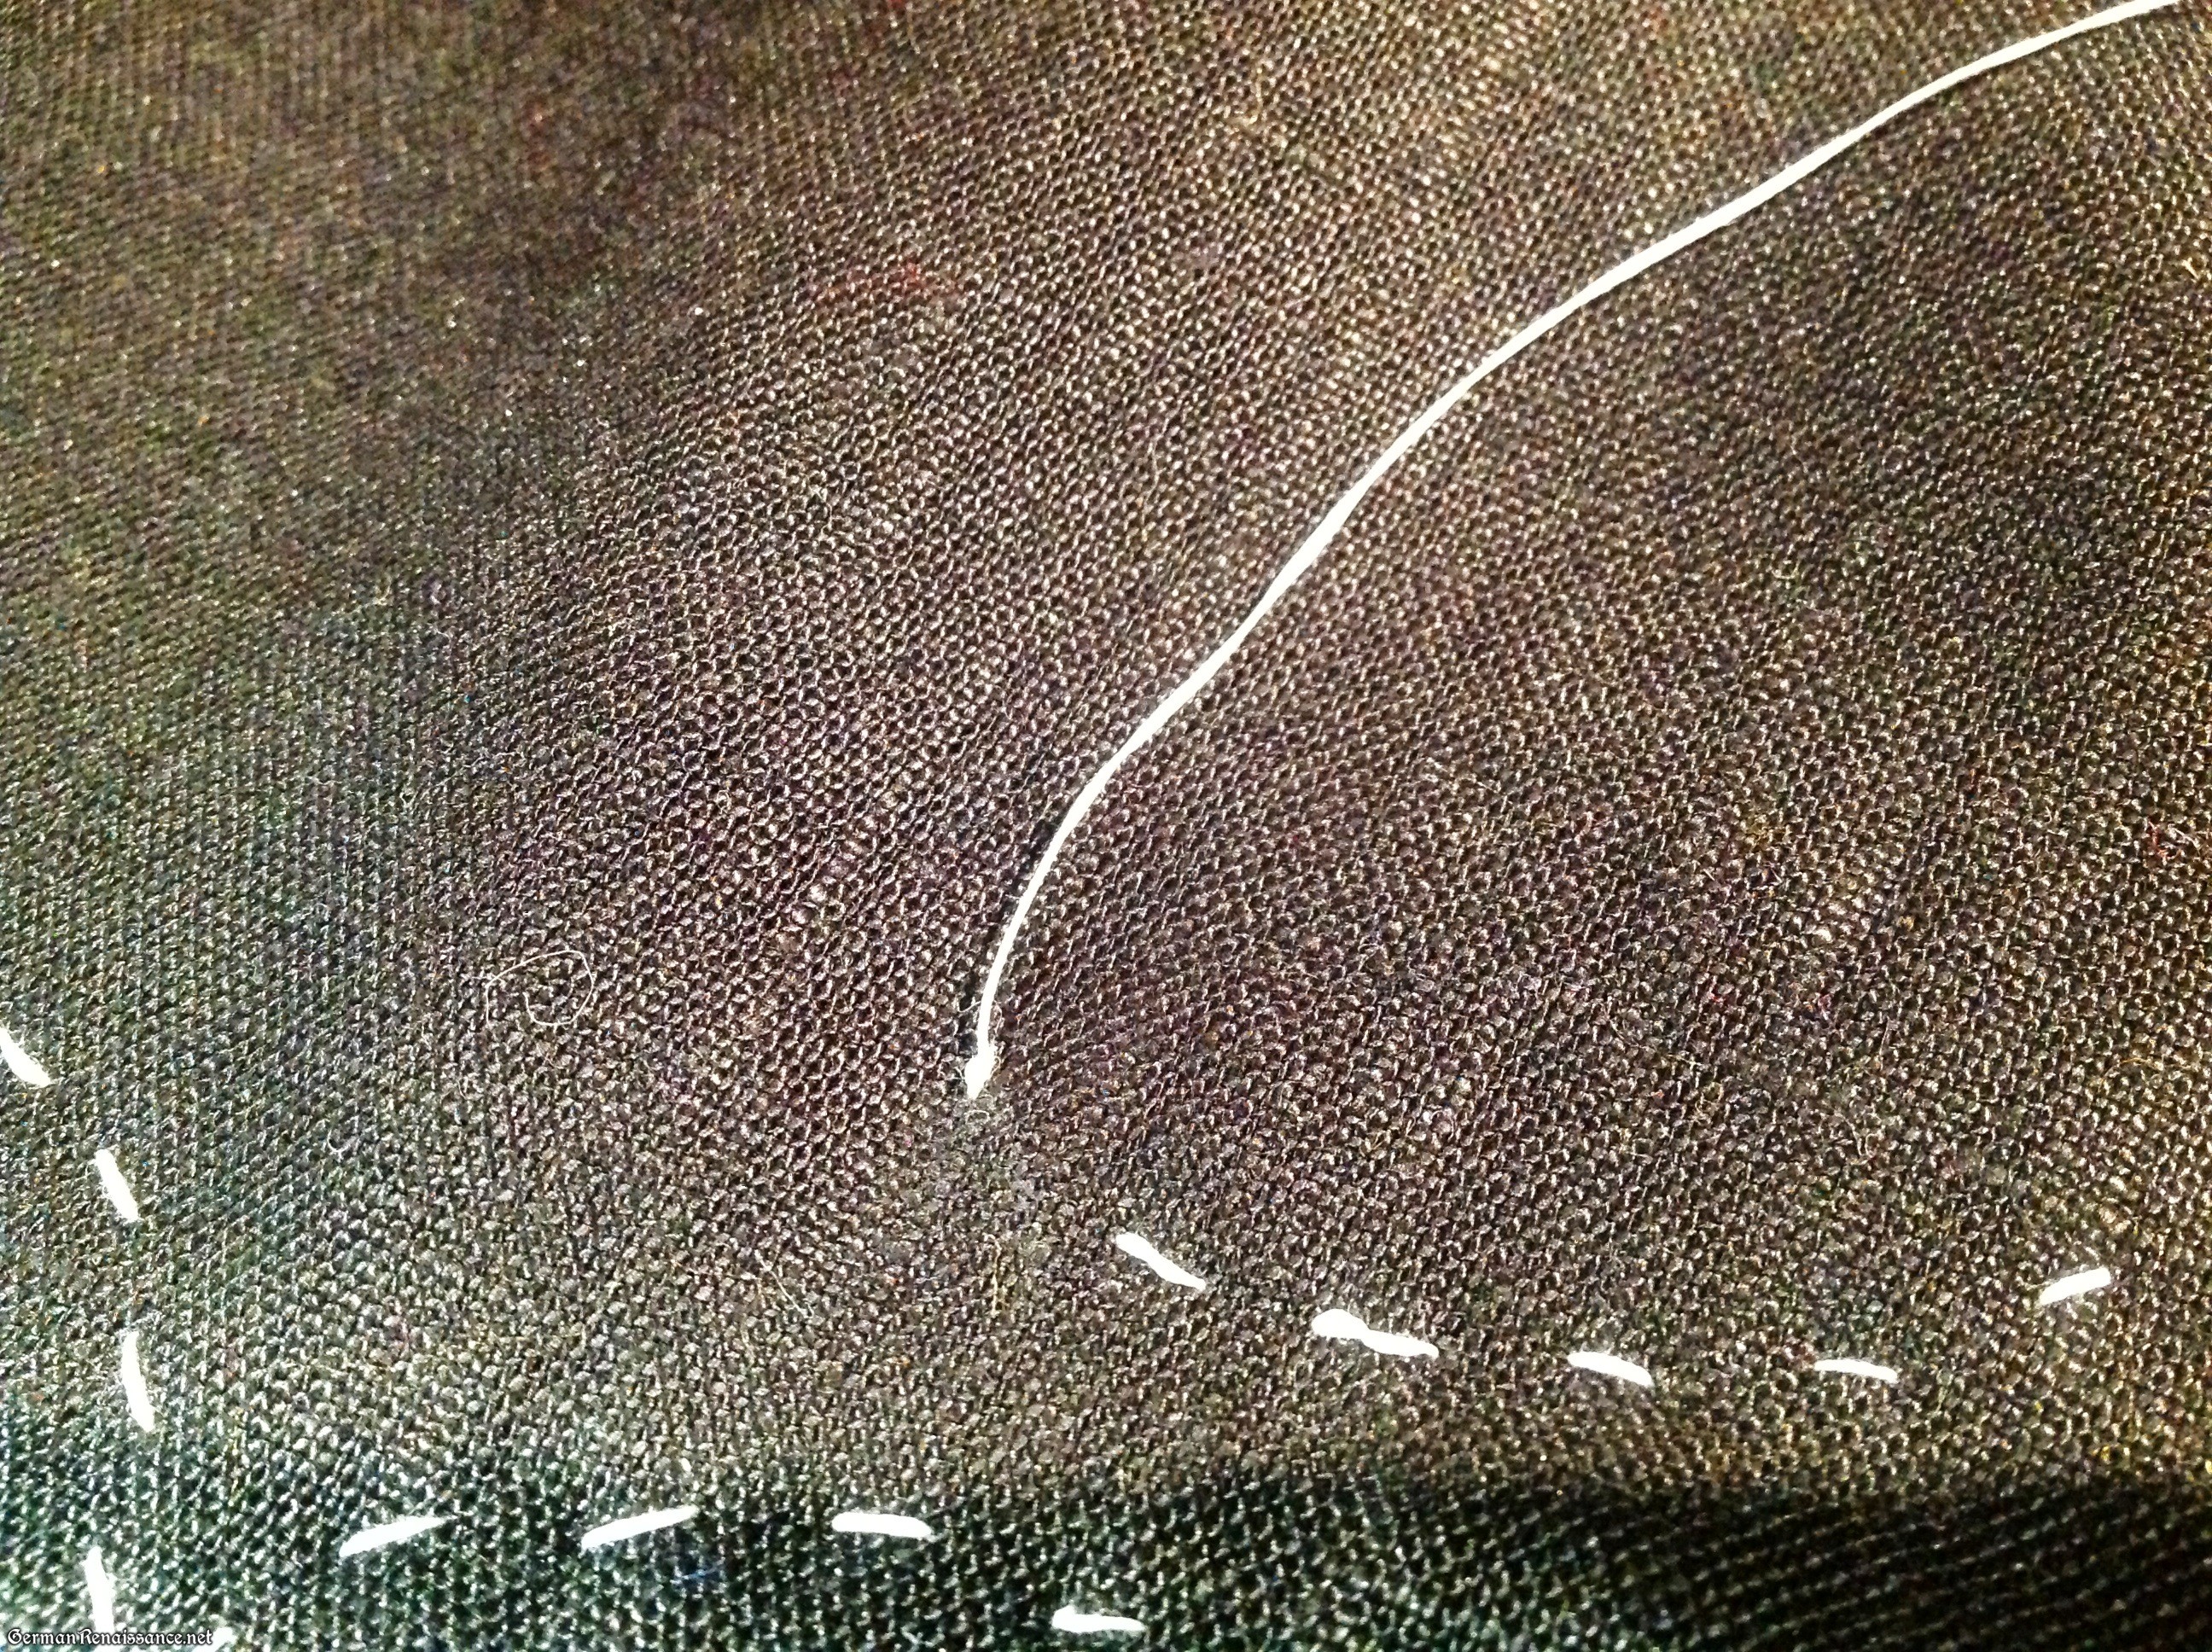
Making a note in between steps 5 and 6.
Here is the finished piece. Note how the pearls remain in their lines even when the fabric isn’t flat.
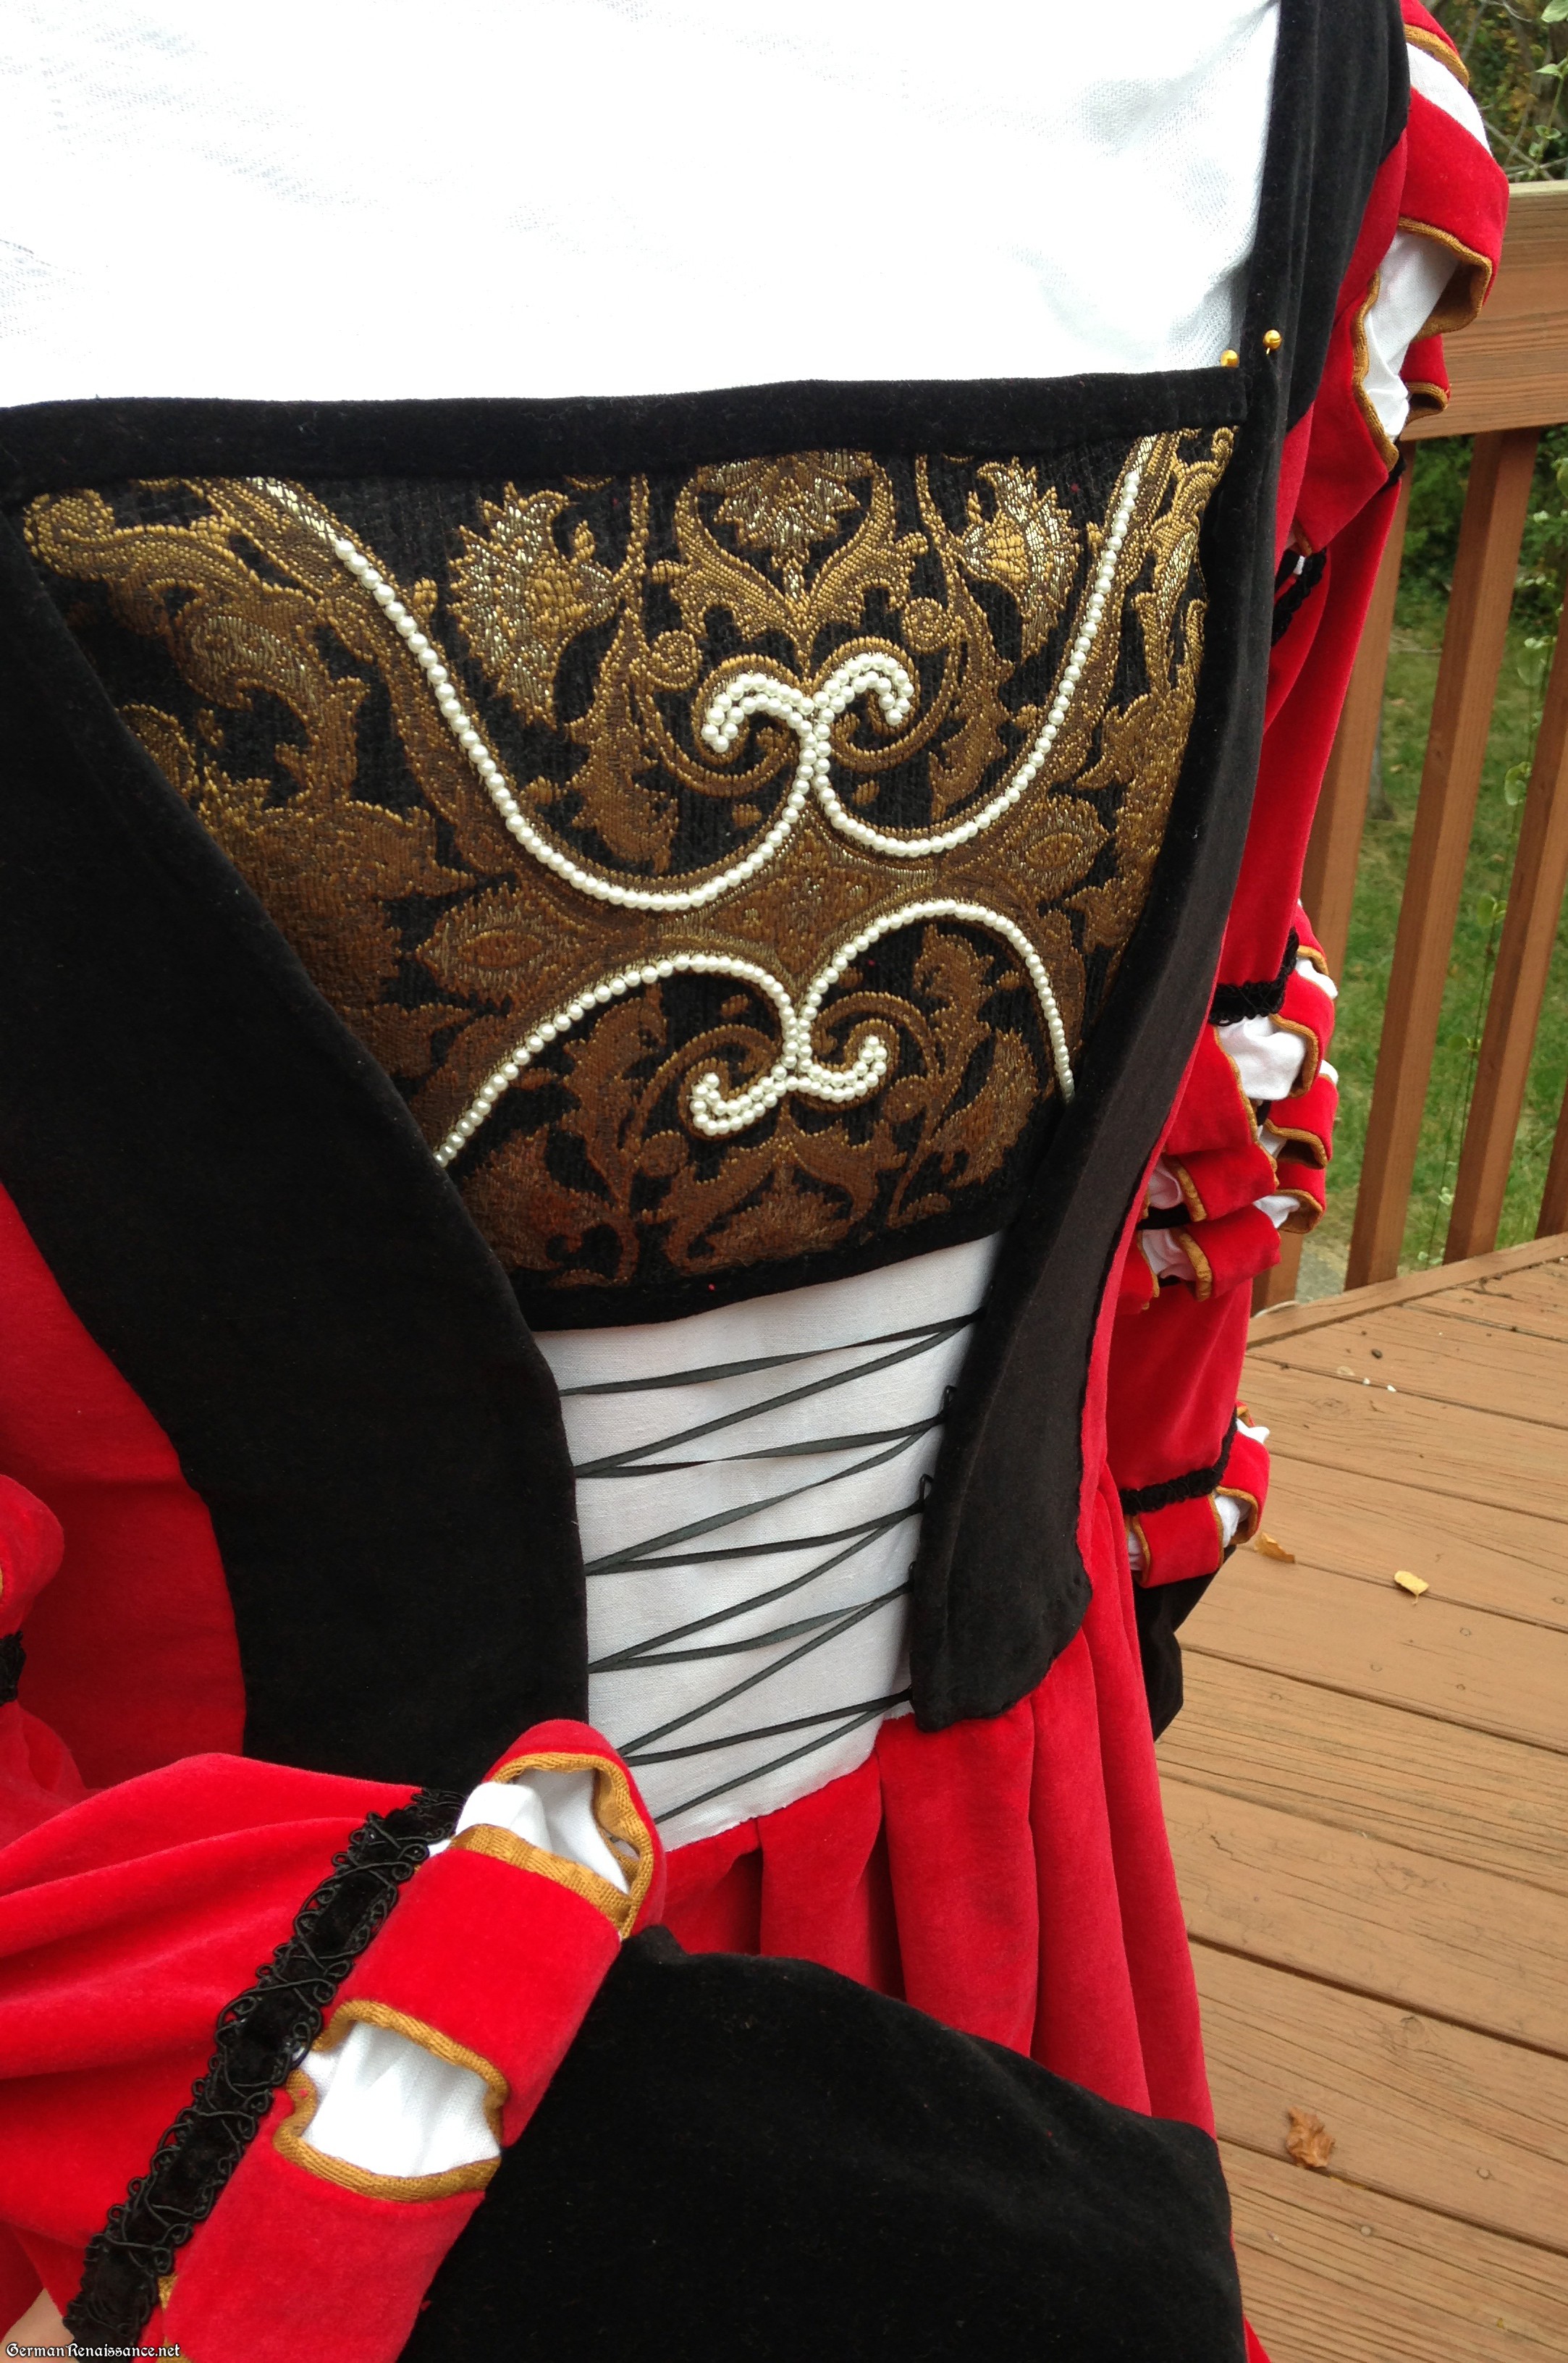
Detail of the front
Writing this tutorial makes me want to pearl more things!

Brilliant! Thank You! As well as Mistress Melisant. I tried this and it really helps! Lady Cate
Pingback: Garb | Pearltrees
Pearl ALL THE THINGS!
Instead of putting the beads/pearls in a bowl, I suggest putting them on a piece of softish cloth (got this idea from a beading magazine). It’s much easier to pick them up, because you don’t have to “chase” them around the bowl; they’ll stay put on the fabric. I use a piece of white cotton for dark-colored beads and a piece of red cotton for light-colored beads or pearls.
That’s a great idea! Thank you, Ellen! I’ve added your tip to the instructions. 🙂
When you write “third bead” are you referring to the third bead from the knot end of the thread or third bead from the needle end?
I’m referring to the last bead from the needle end; the “third bead” you picked up in the previous step.
Love the finished look…I haven’t delved into beading yet, but this definitely makes me want to!
Great “how to article”. Thank you so much for sharing. 🙂
I have found that a piece of felt works really well to hold my loose beads while beading. They don’t roll around, and they are easy to pick up. Cate
That is so great. You write such helpful tutorials.
thank you I am beading an article right now
Your hints helped me alot